It’s around five years ago that I changed the Alde central heating fluid in our caravan and it’s ready for its next change. I learnt a lot last time round and decided to adopt a slightly different approach.
Key points for the planning were:
- Buy a cheap 12v pump from Amazon or eBay. Note I think the one I bought will also substitute as a spare for our Thetford toilet
- Don’t faff around trying to drain the system – which on our van isn’t even possible. Just use the pump to flush and fill.
- We know the system holds 12 to 15 litres of fluid so the flush and fill was in multiple stages.
- Flush with 30 litres of tap water
- Then flush through 5 litres of de-ionised water
- Then mix 7 litres of Comma Xstream with 5 litres of de-ionised water
- Pump this into the system
- Continue pumping de-ionised water until the output is pink
- Top up the header tank with neat fluid
Let’s kick off the fluid change. Remove the covers from around the header tank. This is what you will see.
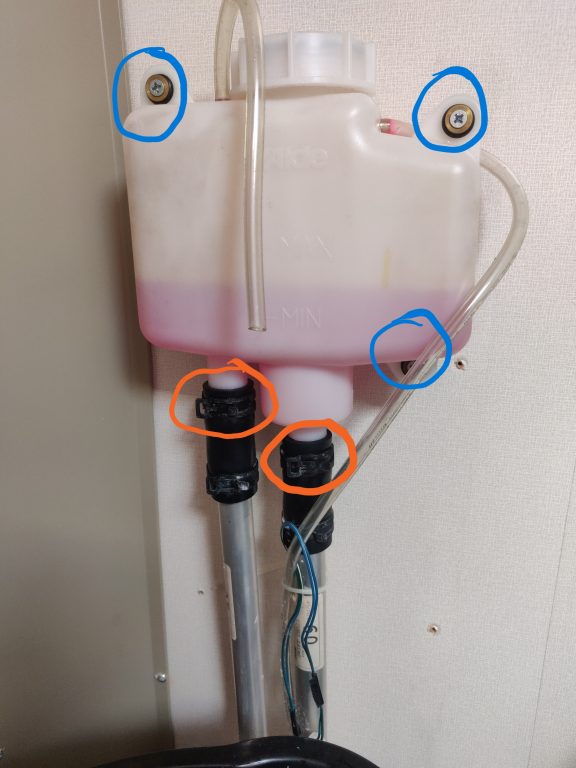
I wanted to double check the flow of liquid around the system as I believe there is a one-way valve somewhere. To do this I just operated the heating for a few minutes and noted the warmest pipe into the header tank. I’d already figured this out as I know which radiators get the warmest first but this just confirmed it.
You then need to remove excess liquid from the header tank and a good old suction technique sorted this for me. Fill a 1m length of thin clear plastic tube with water. Place your finger tightly over one end and insert the other end into the header tank and down into the pipe below the tank. Take you finger off the tube and let the liquid drain into a bucket. Repeat for the second pipe.
There are three or four screws circled blue in the picture which will release the tank from the side panel.
Two spring clips, circled orange can then be loosened to allow the extraction of the header tank from the rubber pipe couplers.
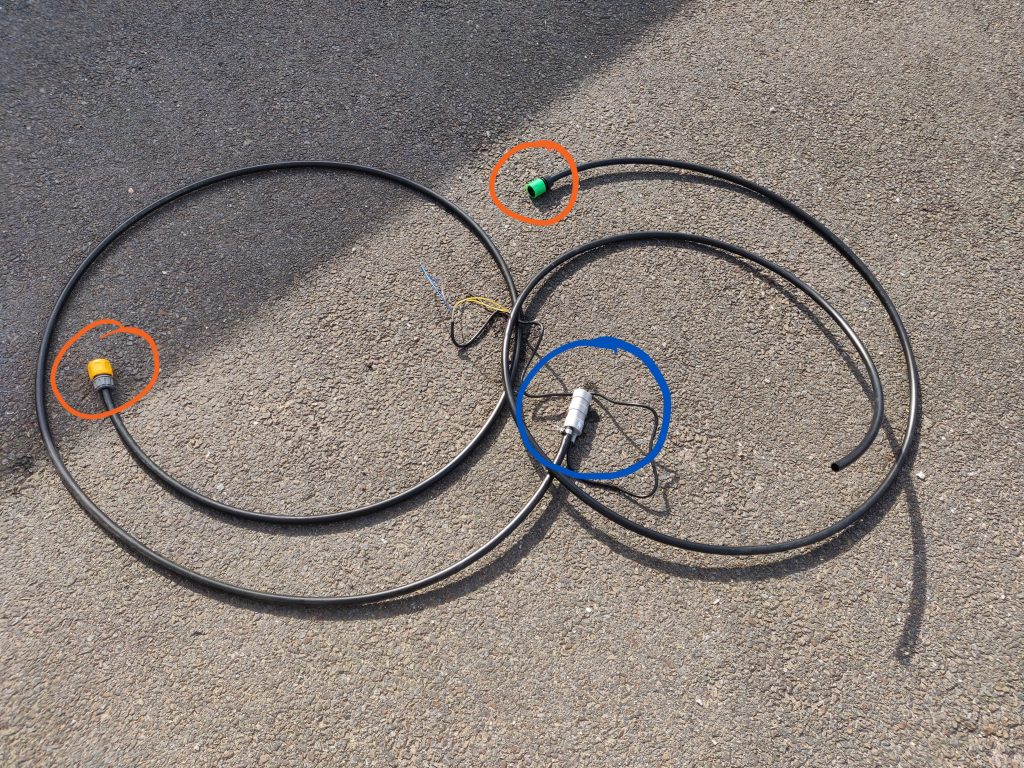
I cobbled together 4 pieces of pipework which interconnected using Hozelock fittings. You can use whatever works for you with regards to this.
The two short lengths connect to the rubber boots of the caravan pipework. I happened to have some Alde metal tube, circled blue, of the correct diameter with which to do this.
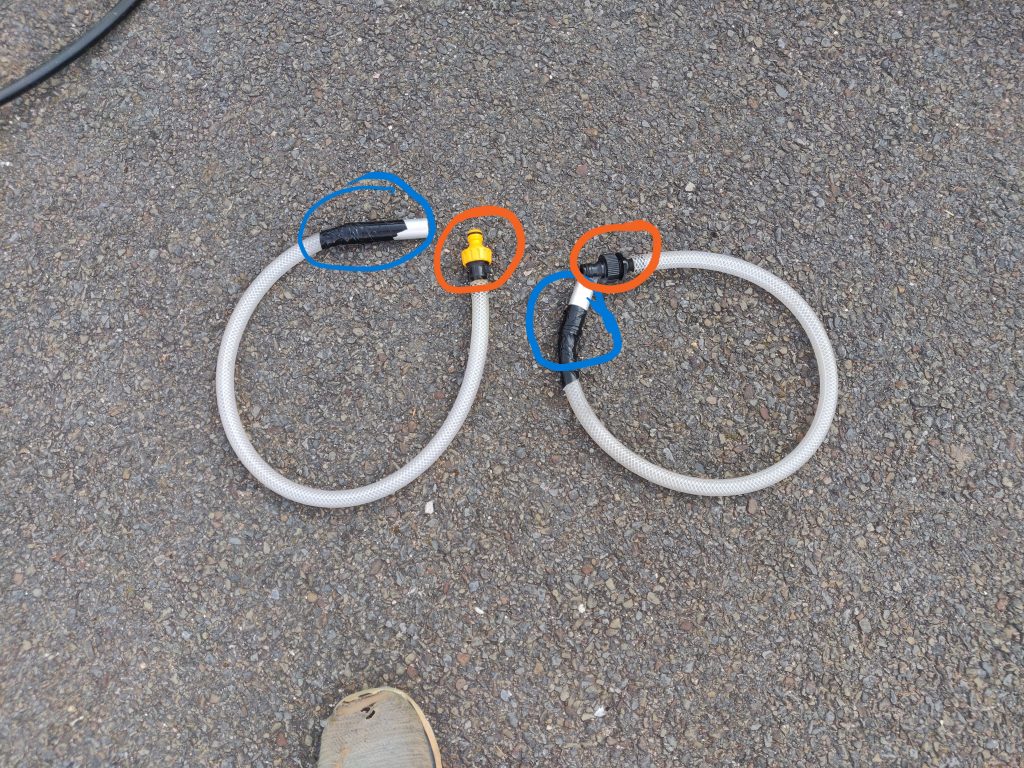
The two longer sections are cheap 14mm irrigation pipe. Terminated with the appropriate Hozelock connectors at one end and the pump at one of the others.
It was then just a case of dropping the pump into the bucket of liquid (see order of liquids above) and activating it by hooking up to an old 12v battery.
Once the fluid was replaced, the procedure to reconnect the header tank was the reverse of the above.
Here’s an image of other equipment used for the swap-out.
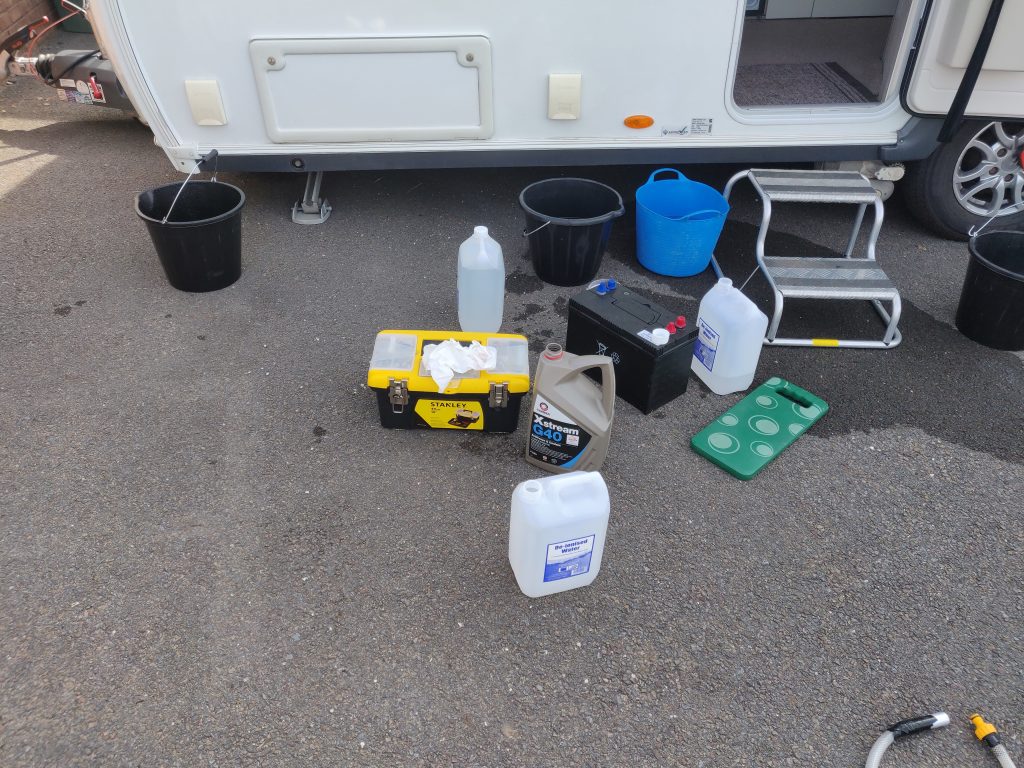
Finally, the heating was operated for 10 minutes with the pump at full power.
Links to the previous fluid change are below.