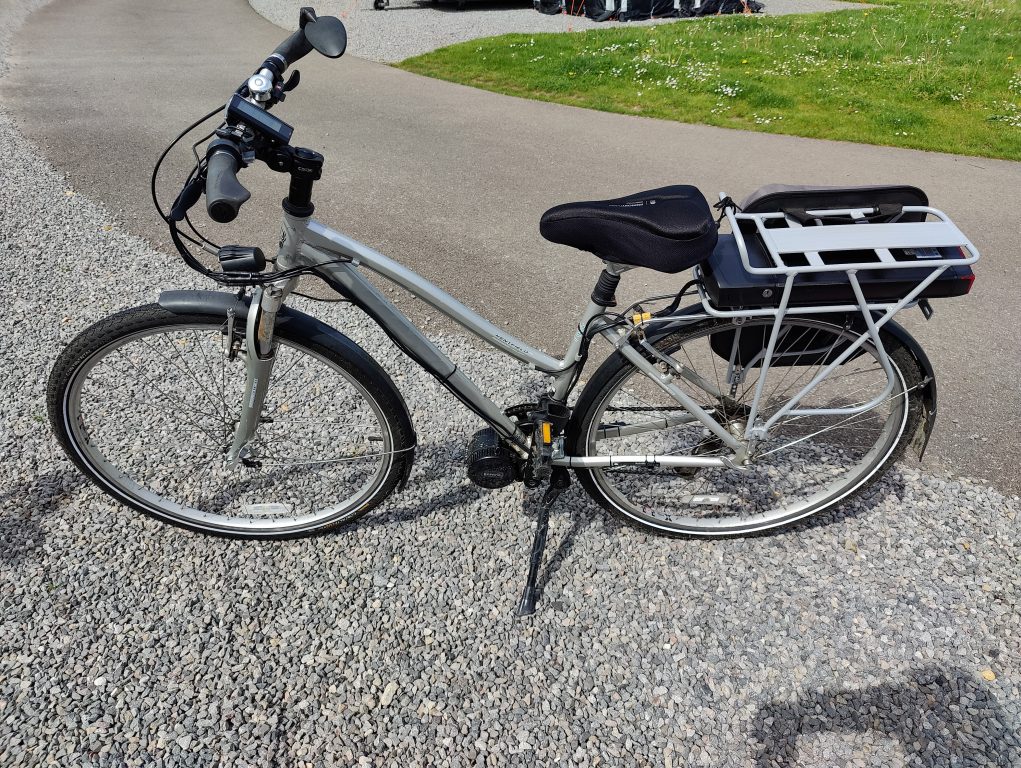
As yet another storm barrels off the Atlantic into our Campsite in Conil, what better opportunity to document some recent upgrades and additions to my bike.
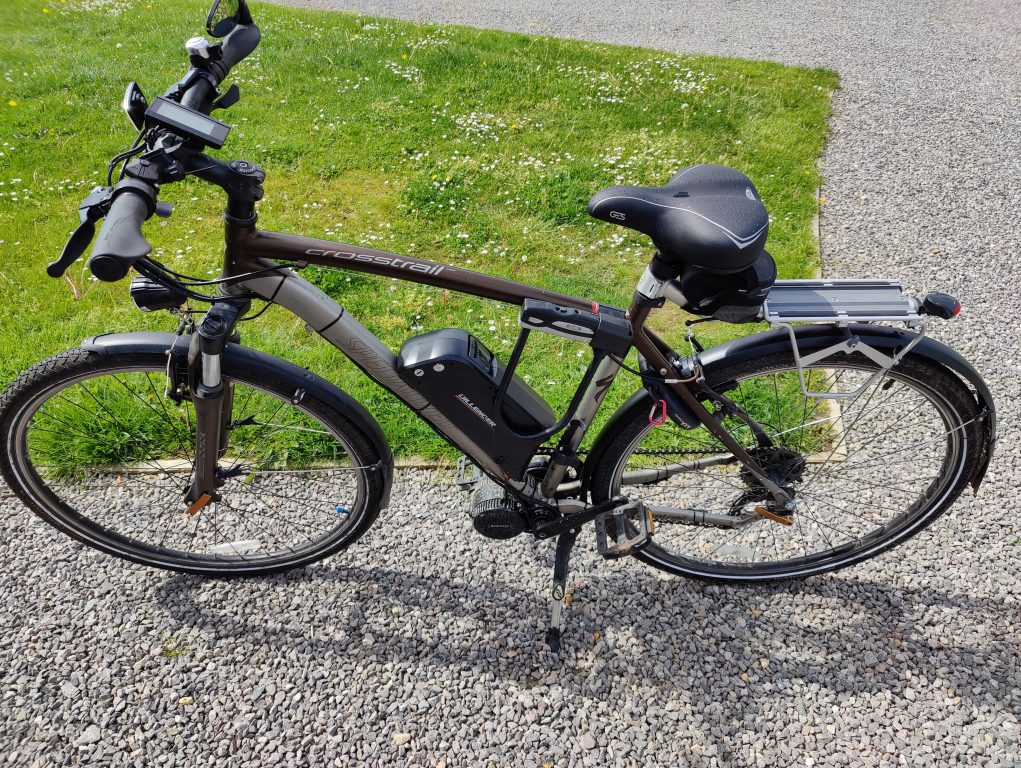
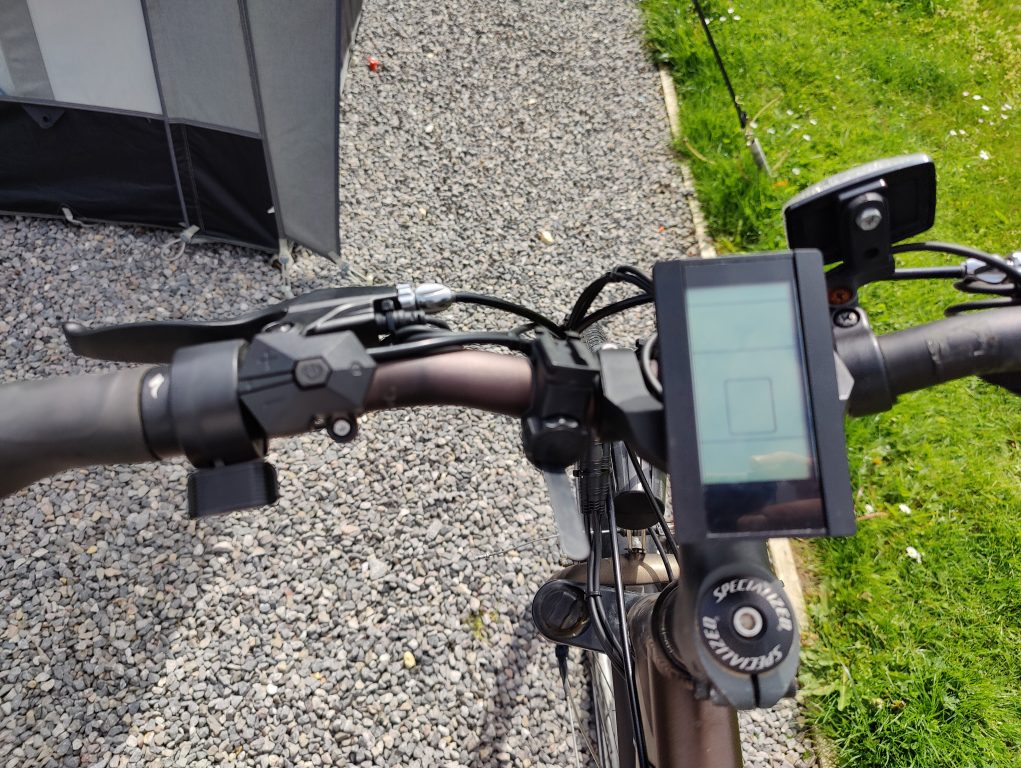
During an Autumnal visit to the New Forest, I tried out Paul’s Specialized Vado ebike. We’re comparing a 2009 Specialized Crosstrail elite conversion with a recent Vado SL, so perhaps it’s a little unfair… Anyhow, my Crosstrail faired rather well. It felt more robust and a better cycling position than the Vado but what really struck me about the new Vado, was how responsive, smooth and quick the gear changes were. This inspired the first of the upgrades.
* * * * *
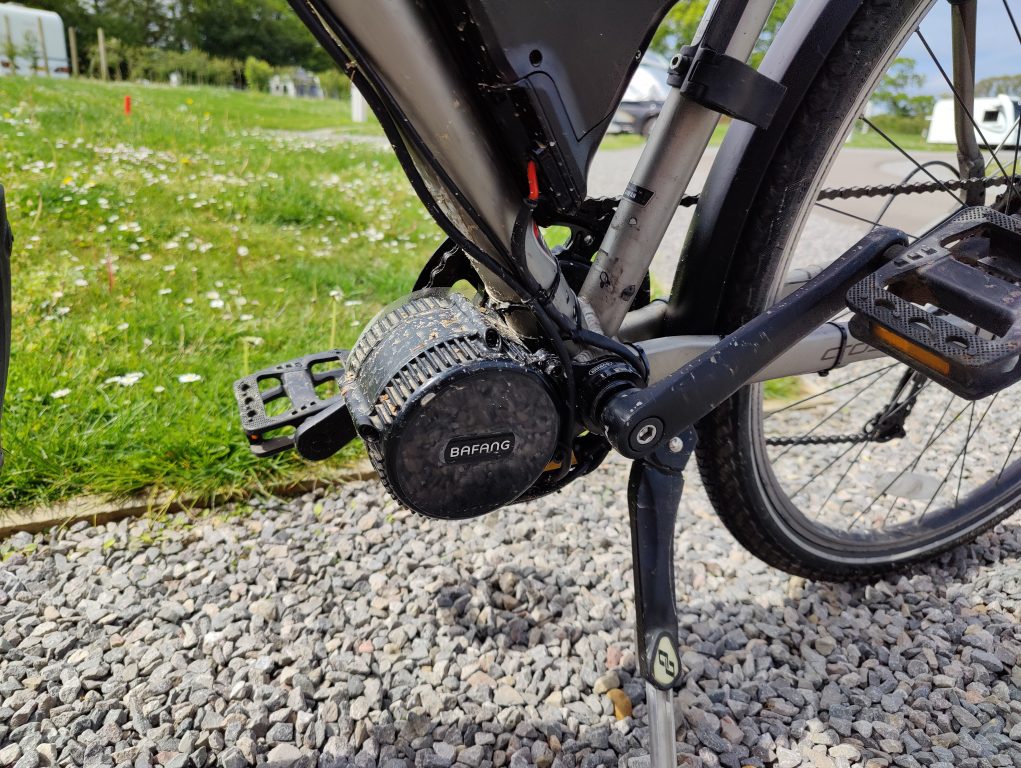
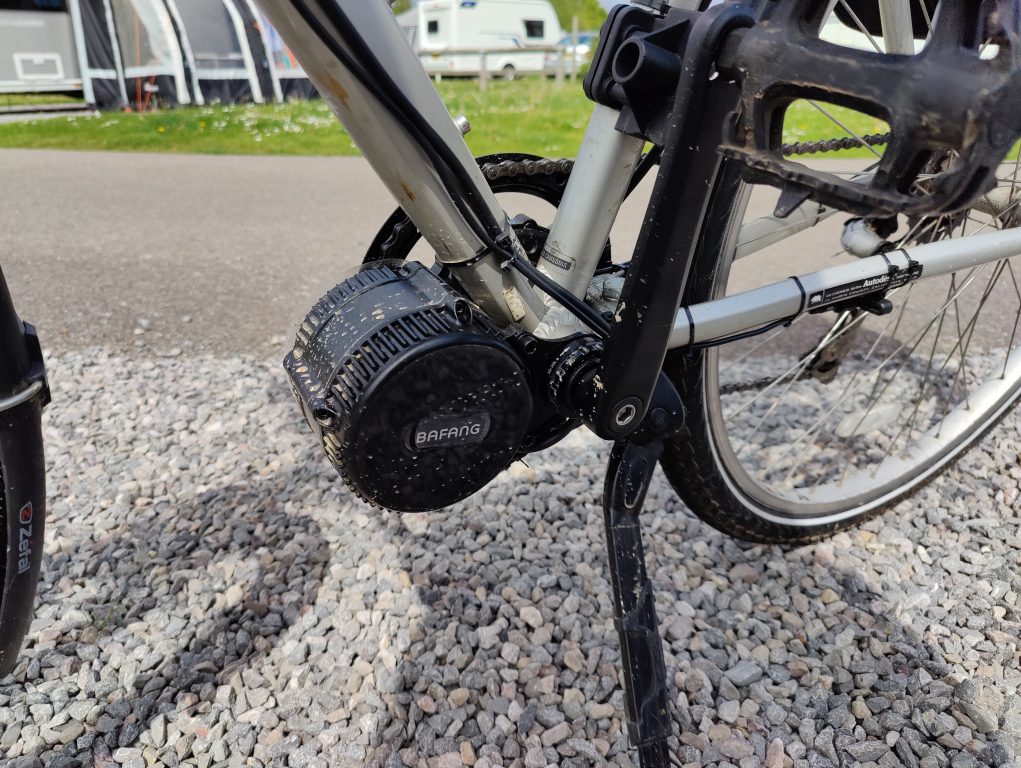
The original gearset on my Specialized Crosstrail elite dates back to 2009 and despite installing a wider range cassette after upgrading to a mid-drive motor, I decided it was time to rip-out all the gear components and replace with something a little more recent.
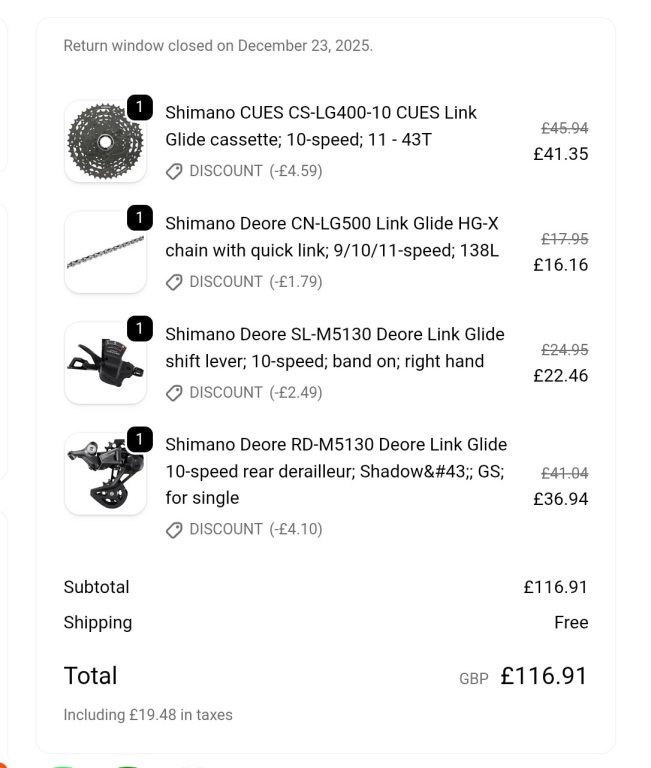
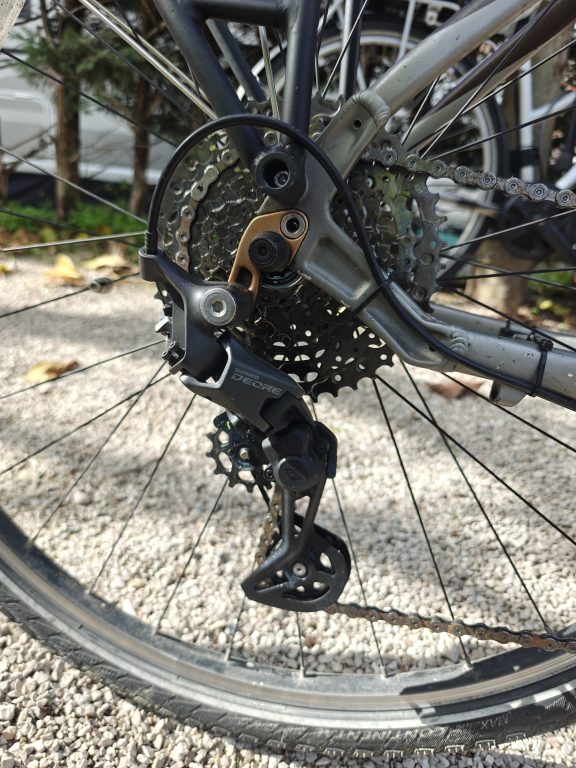
This new rear gearset is designed to work with a wide-range cassette, rather than having to bodge things with a derailleur hanger. The cassette is a Shimano Cues 10-speed matched with the M5130 read derailleur and matching link-glide chain and new shifter.
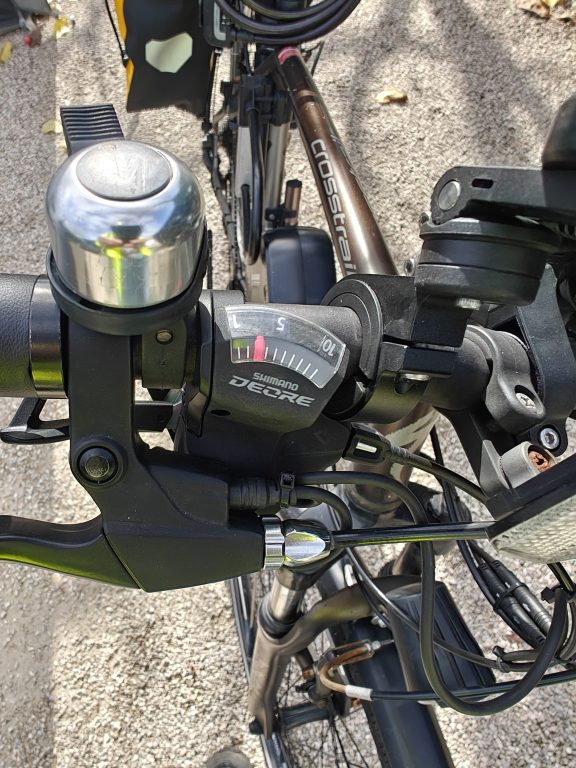
All installed with easy and it works magnificently. Smooth, quick and effortless changes.
Here’s the “shopping list”.
And in situ…
* * * * *
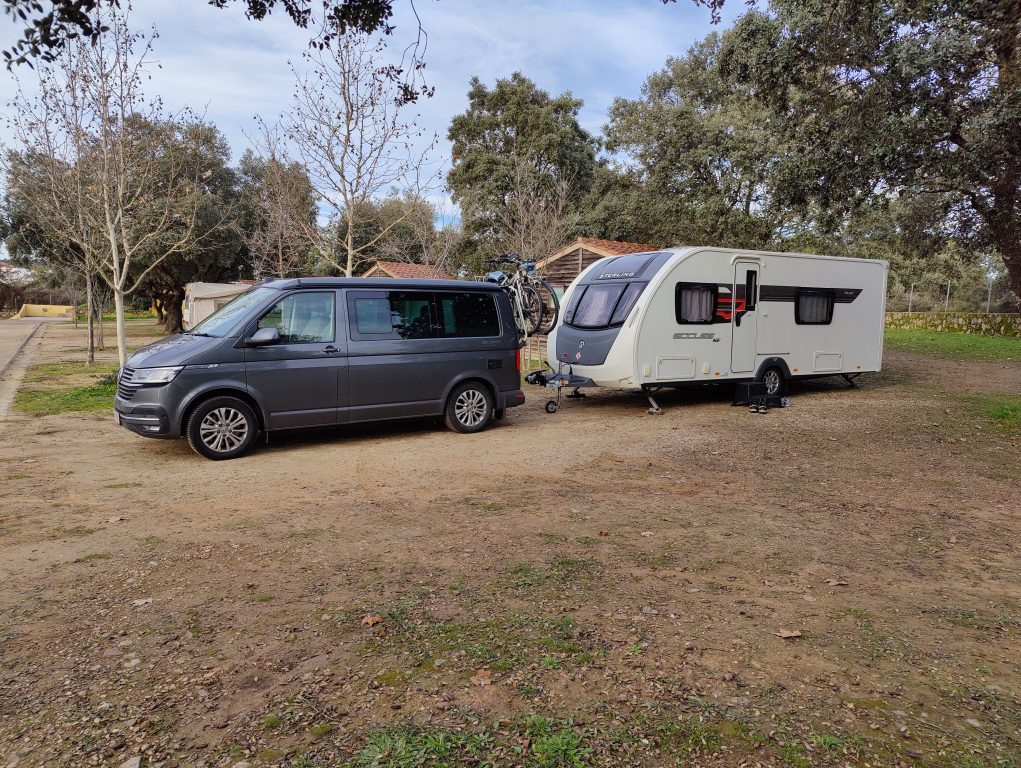
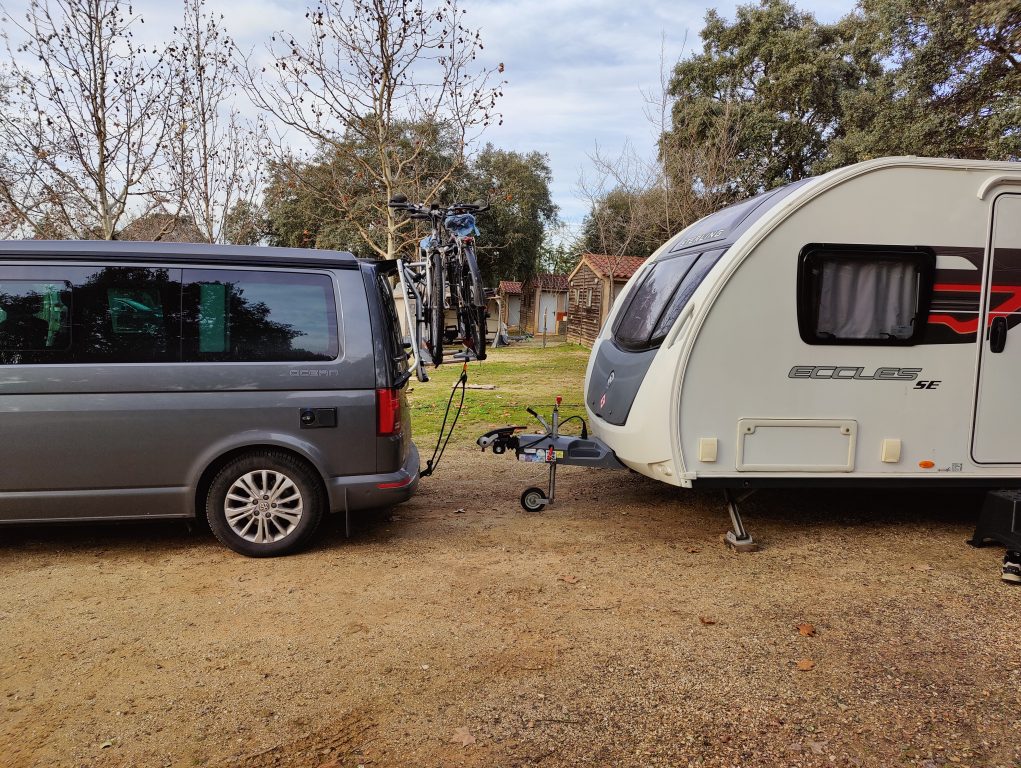
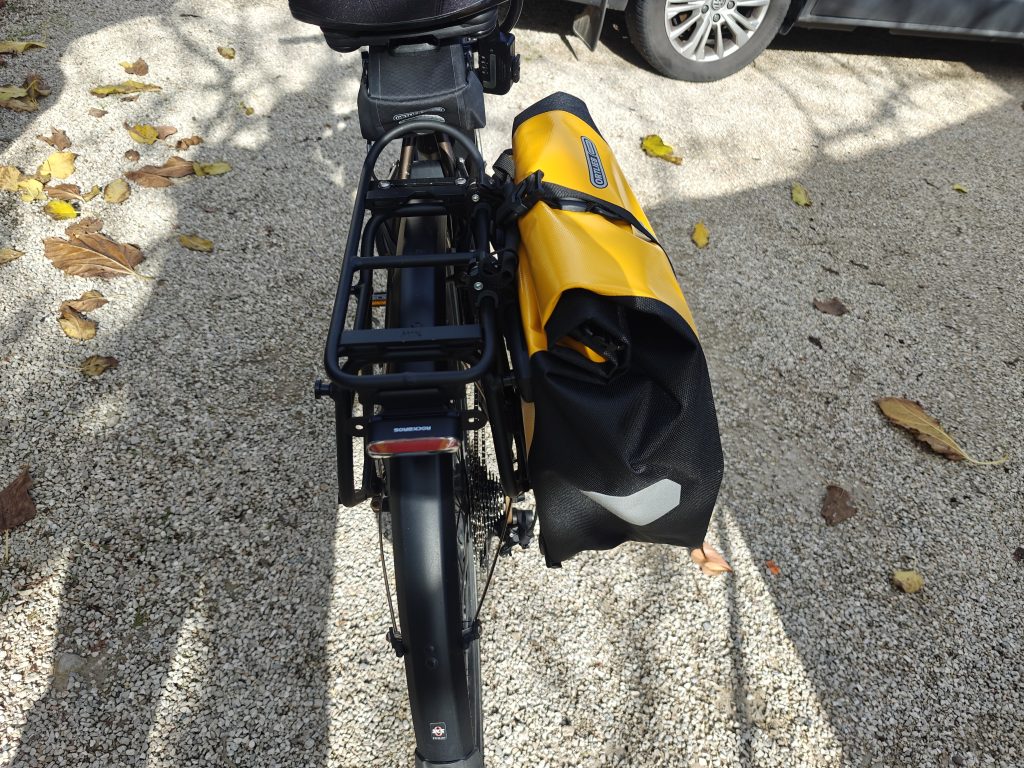
Next up was to sort out the cargo-carrying capabilities. I’ve had a lightweight Topeak RX bag which is pretty limited in size and weight. Plus I really wanted a lightweight rack which means its easier for two of us to lift the bike onto the campervan’s bike rack.
The standout offering for this turned out to be a company / brand called Ortlieb. Known for their durability, total waterproofing and huge range, it was easier to identify the Brand I wanted than the individual components.
Things to bear in mind… There’s two systems of attaching the bags (and the early one also has two kinds of quick-release fasteners). I opted for the latest version although it now appears this is the only option which can be purchased (it is backward compatible) – known as the Rack Three.
This has a series of lugs which the latest bags attach to. But you can also attach earlier QL2.1 bags. Just the QL3.1 fittings are marginally more robust and easier to adjust.
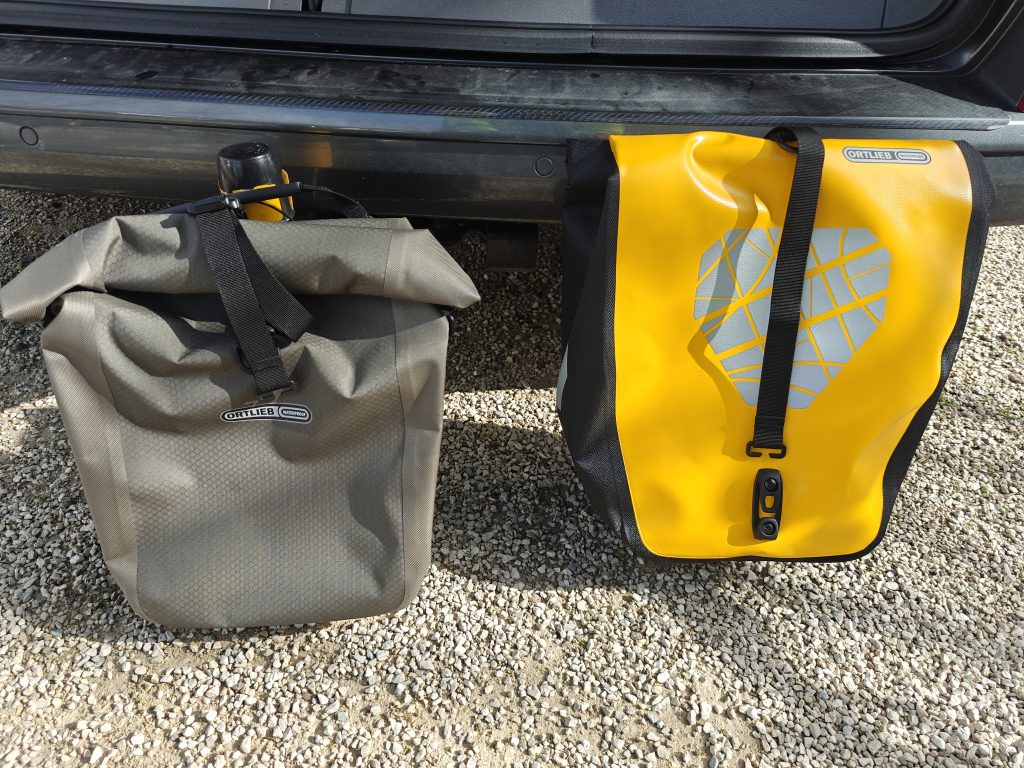
Anyhow, after deciding on the Rack Three, I purchased a Single Gravel-Pack which is a small ultra-light bag.
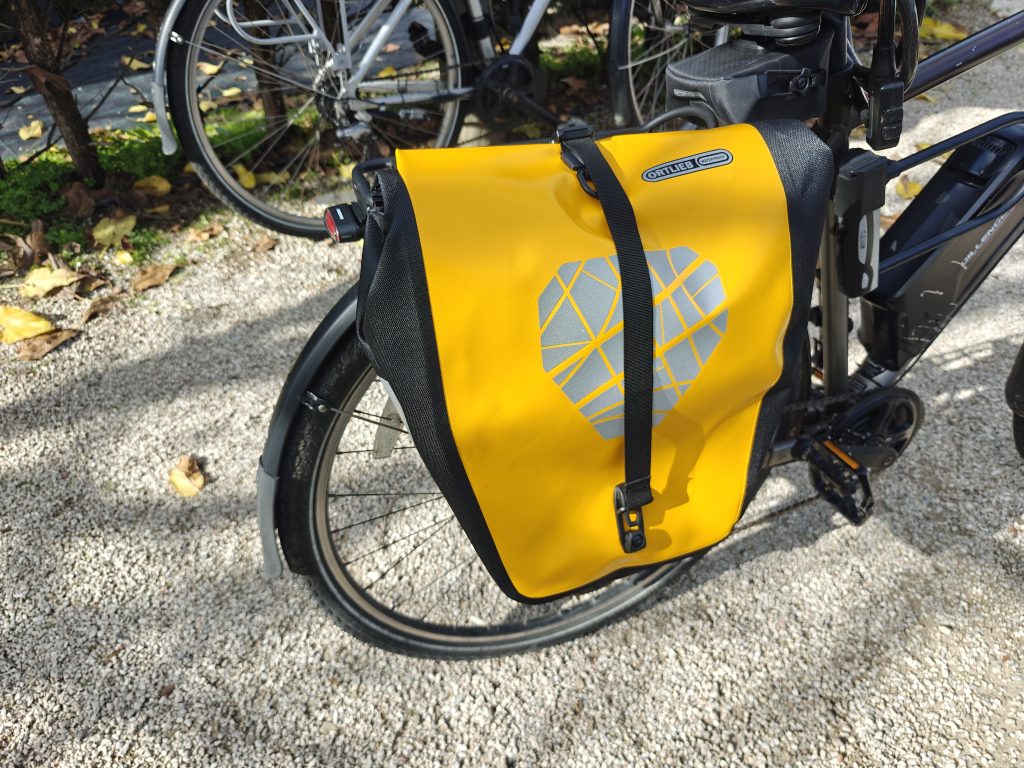
In addition to this, a pair of Back Roller classics. According to the website “the absolute classic among panniers: robust and waterproof”. And they are.
Just for good measure, I added an Ortlieb Saddle-bag with flexible adapter system.
The rack was easy to fix and is robust – the bags are first rate with hi-vis highlighting.
Back roller classic in Yellow alongside the ultra lightweight gravel pack.
* * * * *
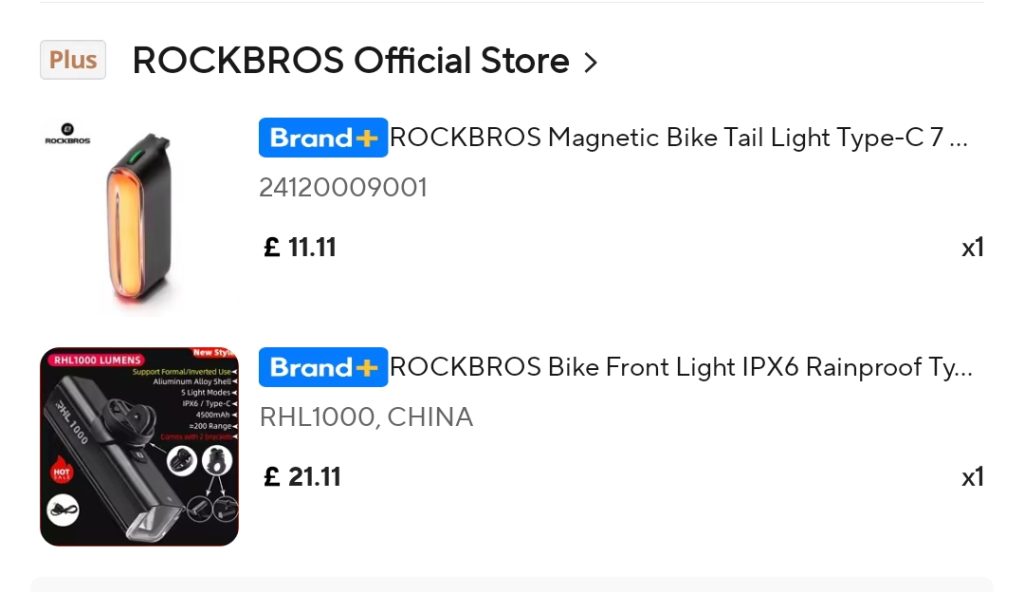
Finally some new lights from Rockbros. Intelligent brake sensing, very powerful front light and of course, USB-C charging.
I don’t want to temp fate here but Aliexpress has performed really well for over a year now with no problems.