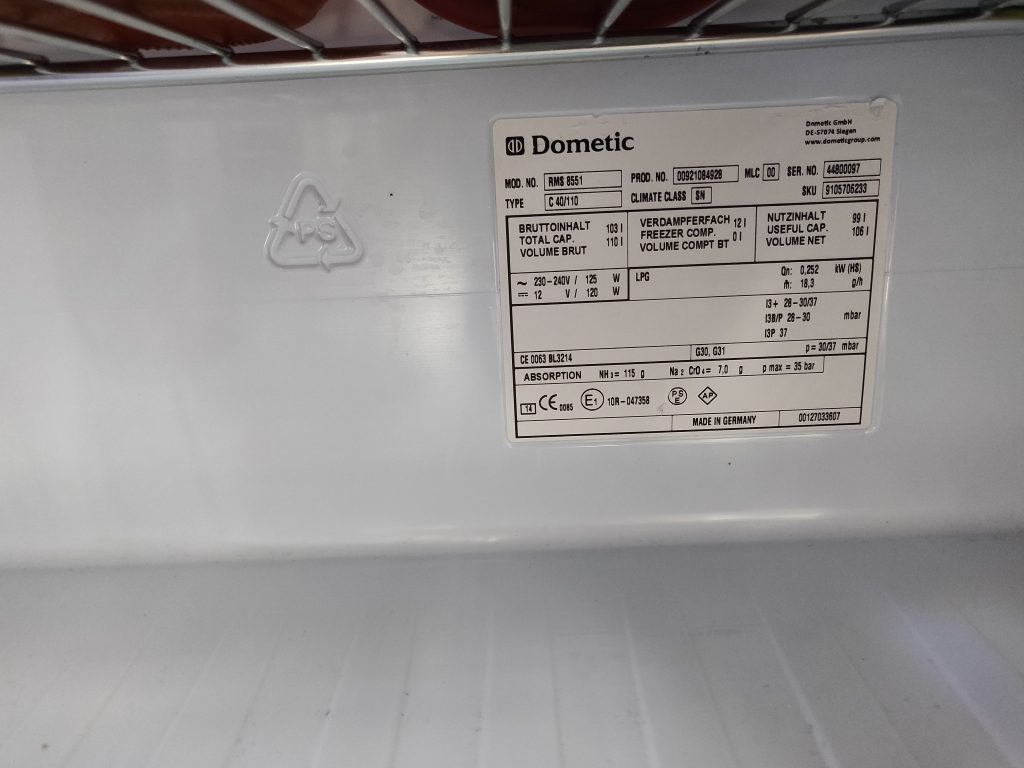
There seem to be a number of problems with the Dometic RMS 8551 door latching shut and not opening without manually lifting the door at the same time.
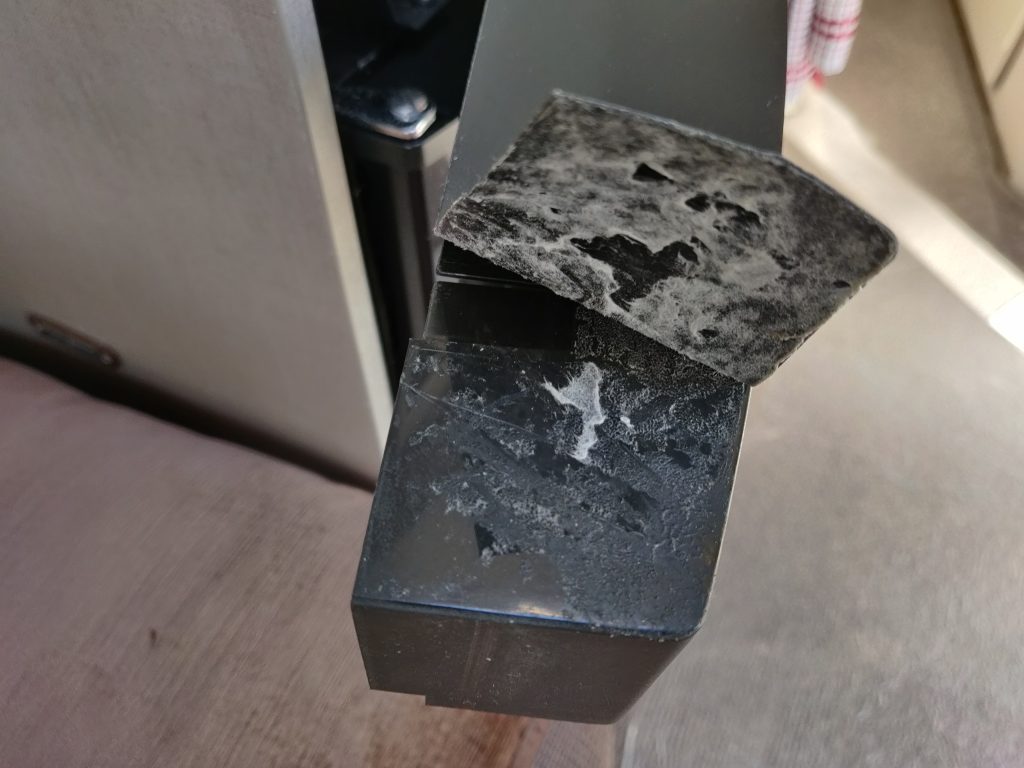
Ours had stuck closed in this manner and it looked like the bottom hinge had bent downwards ever so slightly – probably as a result of constant vibrations on the road with provisions lodged in the door.
It seemed like it could either be bent back or a number of packing washers placed between the door and the lower hinge pin. In the end we bent the hinge very slightly and added a single washer.
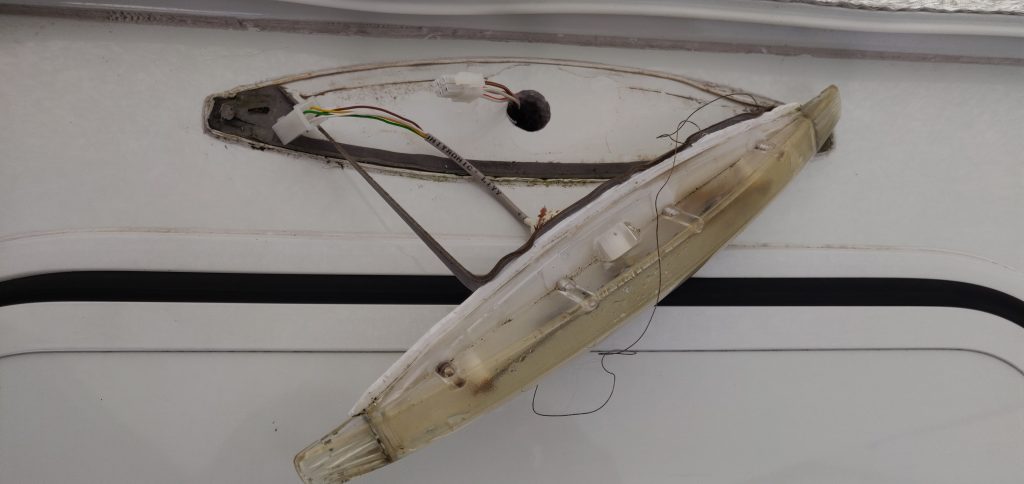
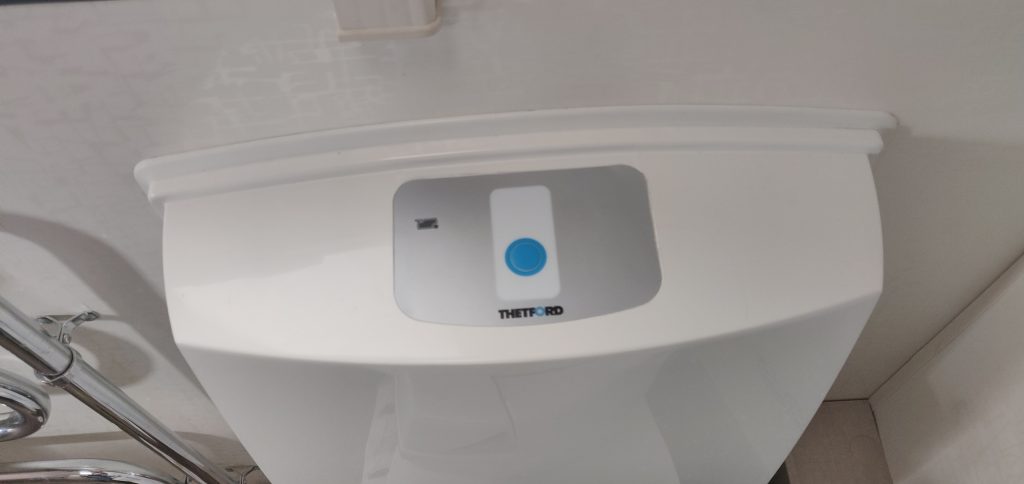
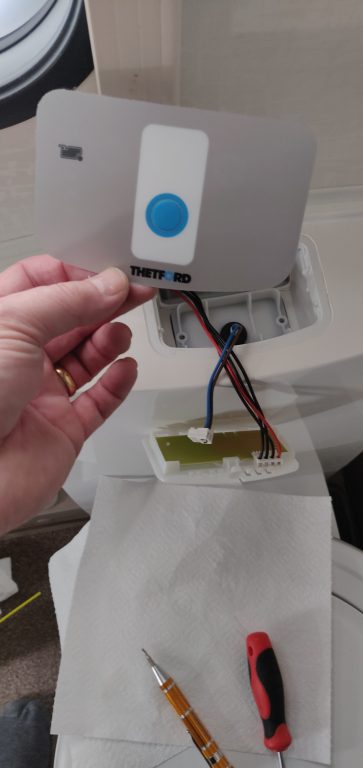
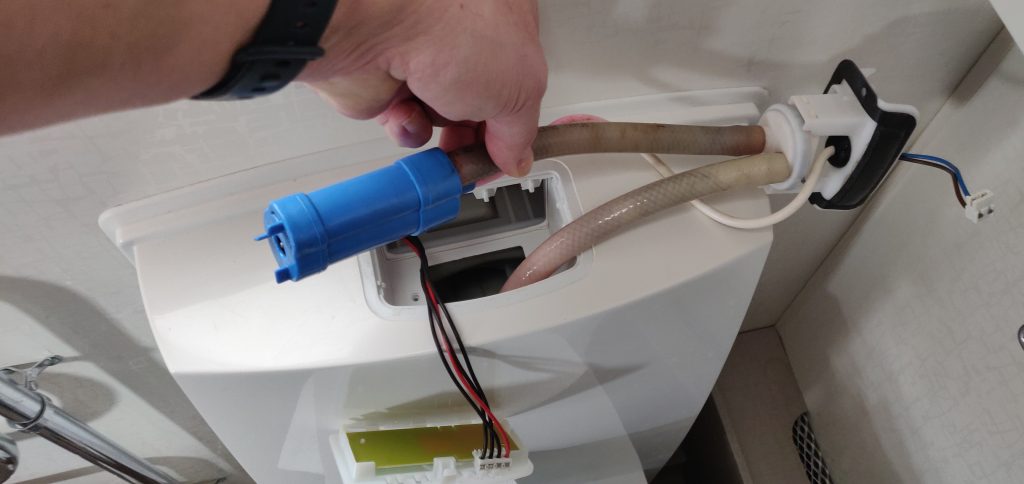
That was the easy bit. The hard bit was removing the door so that we could pack out the hinge pin. The control panel electronics themselves sit in the centre of a plastic cover which runs across the entire width of the fridge. There are two small screws which need to be removed from underneath the panel. In theory, this allows the panel to pull forward. The lower part of the panel was free but major resistance from the top of the panel.
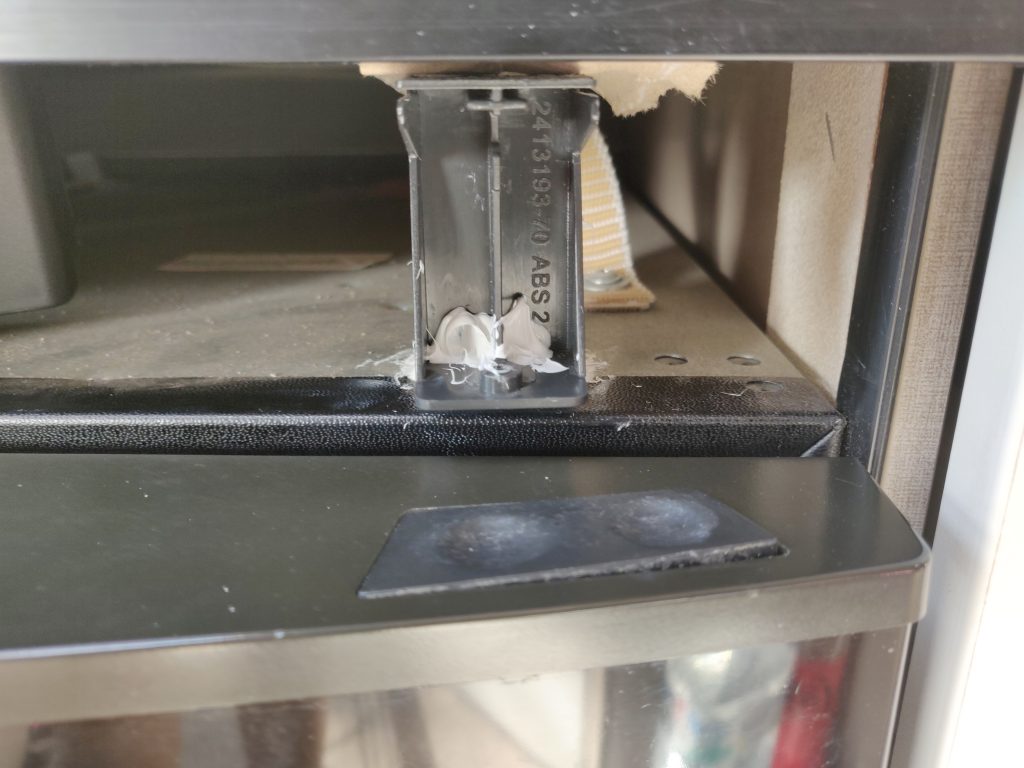
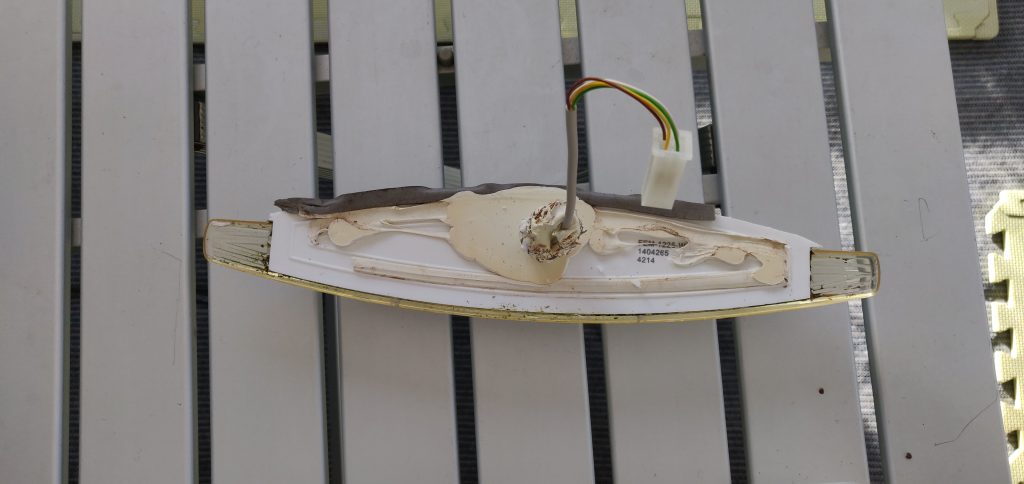
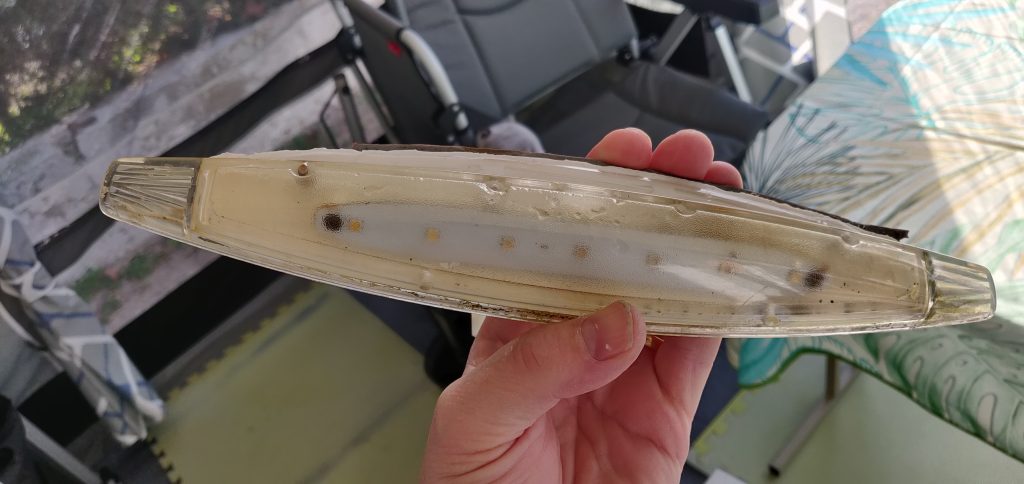
Eventually there was the sound of plastic breaking and the right hand retaining click had broken, revealing the issue. Dometic had glued some kind of plastic finishing strip all along the top of the panel – including the section where the panel clips on the retaining clip. This strip was stopping the panel sliding forwards.
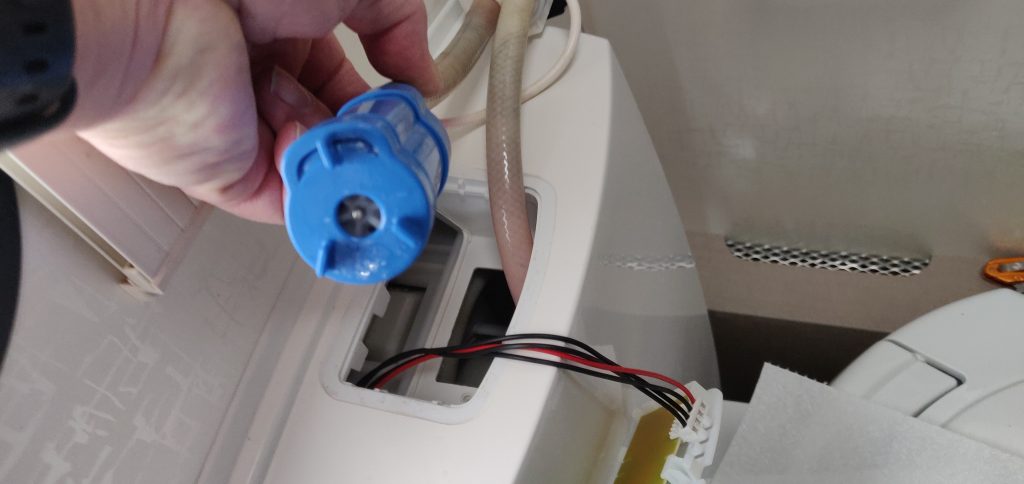
I was able to slide a screwdriver under the foamy plastic on the left hand side and this freed up the panel from the clip. Access is tight but I *think* a wallpaper scraper would have done the job a bit tidier than my screwdriver.
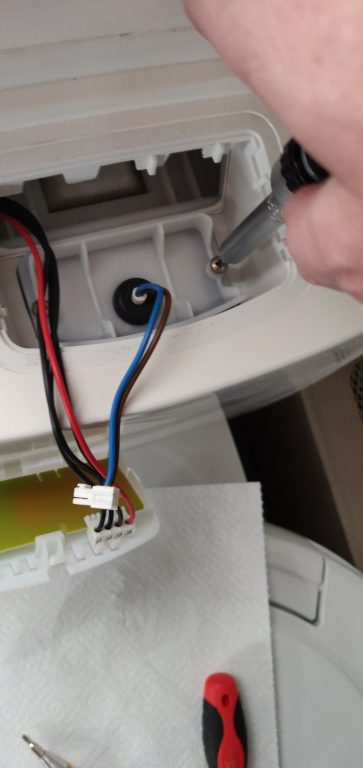
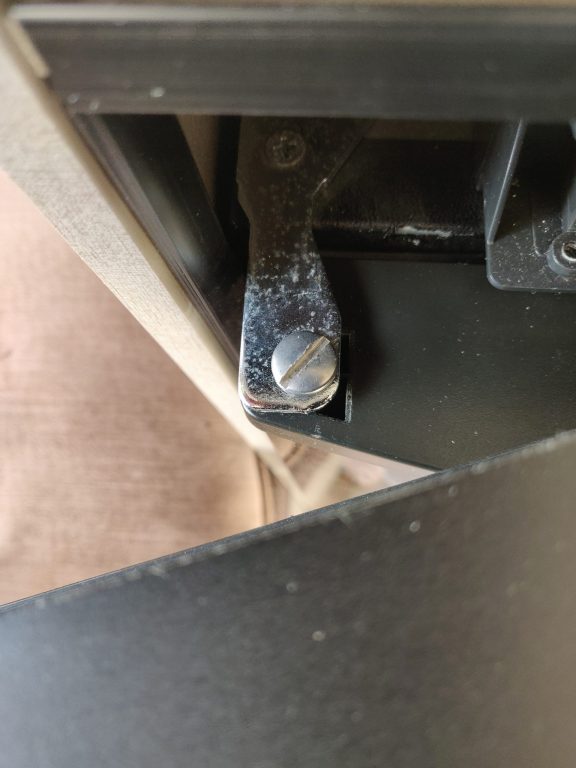
Once the panel is out of the way you can see the screw-in upper hinge pin. Remove this and the door lifts off allowing the hinge to be bent back into shape or packed-out.
If I was doing this job again, I would try to undo the hinge pin with the panel in situ; maybe with a knife blade or some pliers. Don’t know if that would work or not but worth a try.
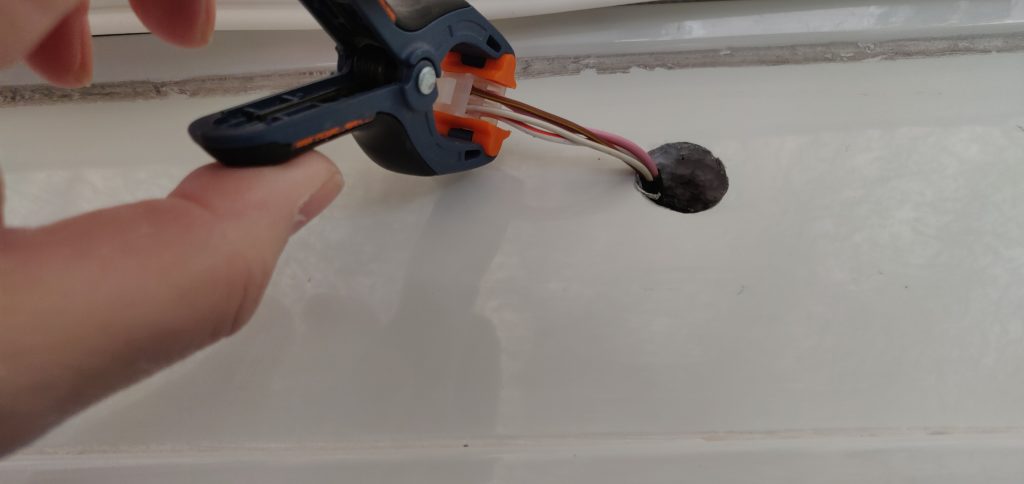
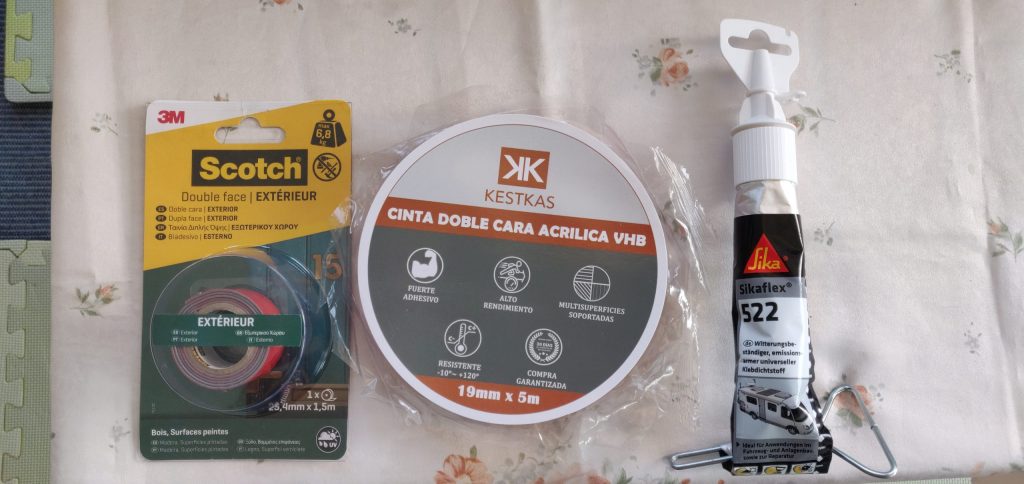
I stuck the broken retaining clip back together with Sikaflex and it will hold until a new clip arrives.
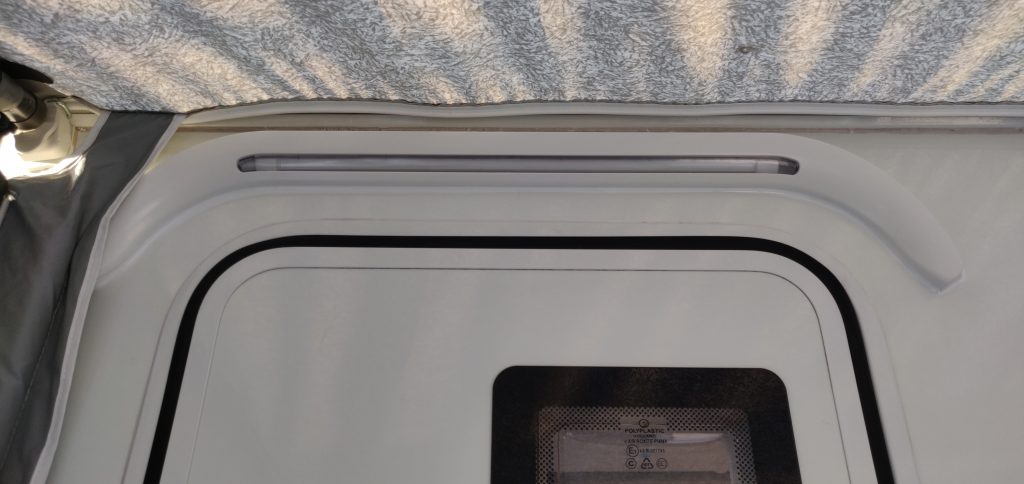
For re-assembly, I also removed a section of the stick plastic where the clip fits. This means it won’t get stuck again!