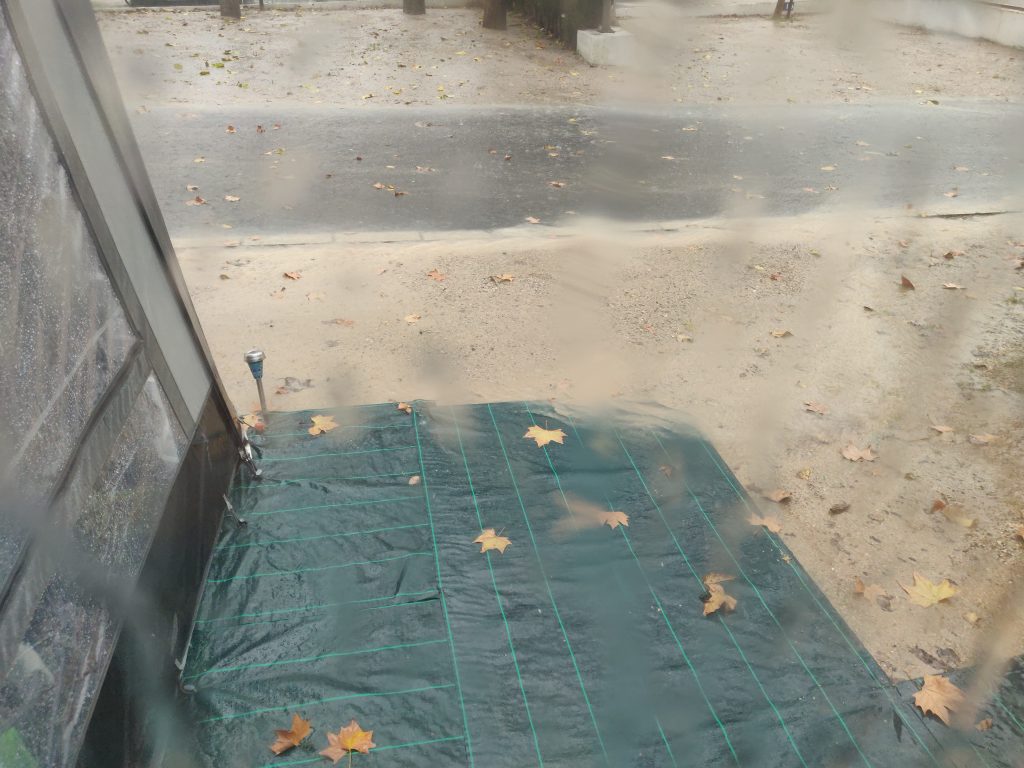
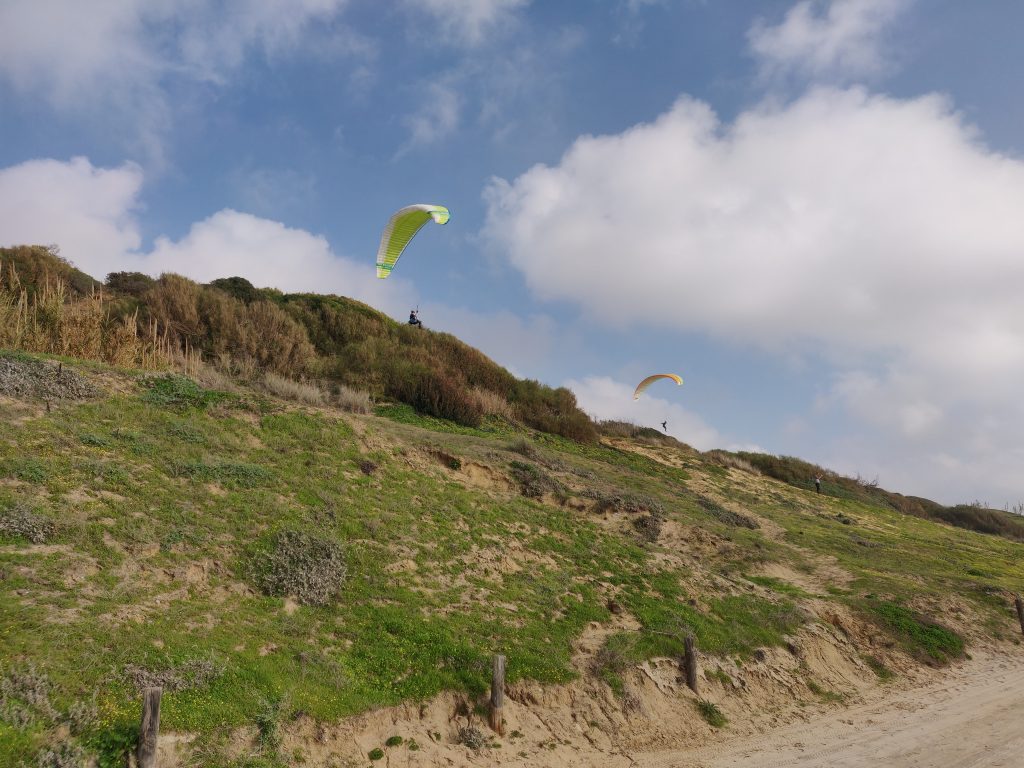
We were woken this morning to the sound of torrential rain bouncing off the caravan. Within a few minutes the road had turned into a stream and our awning floor is looking a little bit soggy.
A wet morning in Conil
Fortunately this inclement weather appears only to be with us for the day and then we return to sunny days, but not quite as hot as we have a northerly wind in place.
Since our last diary entry, we have taken in some nice walks around Conil de la Frontera and two of our favourite bike rides.
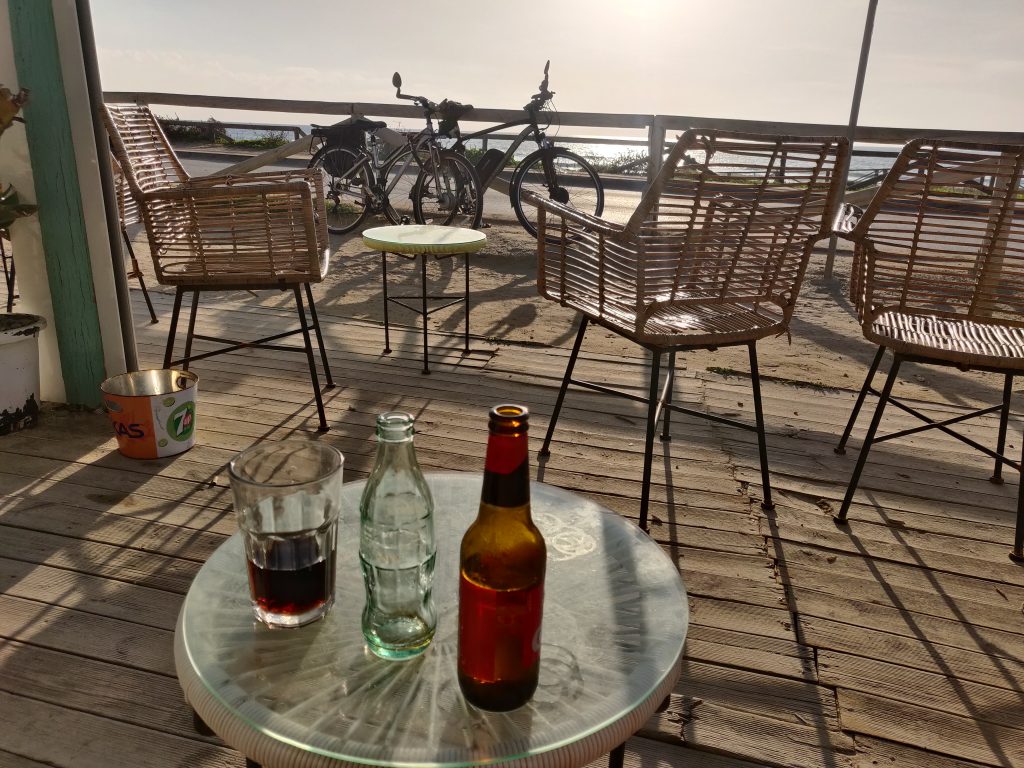
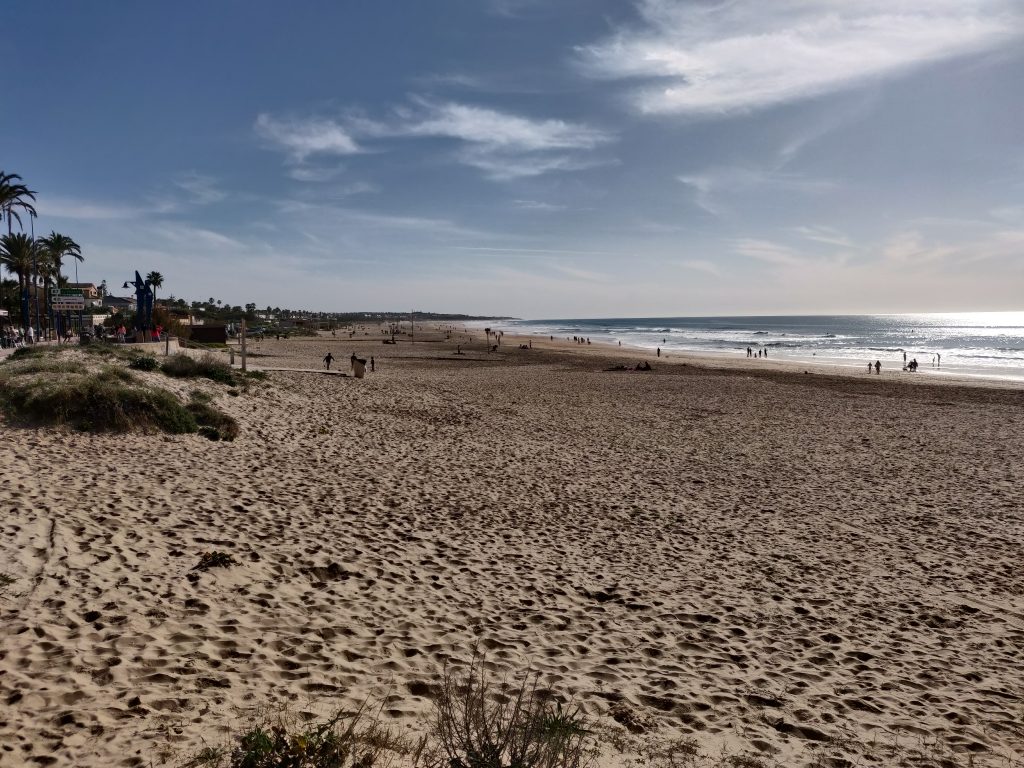
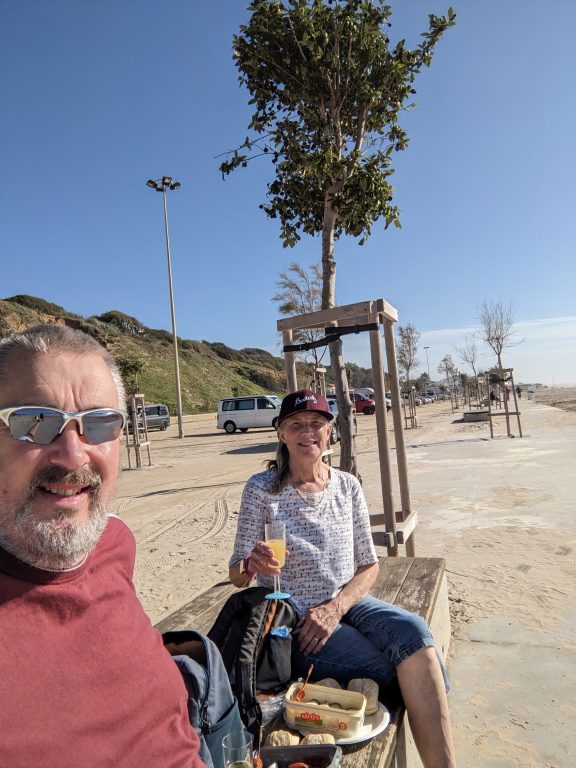
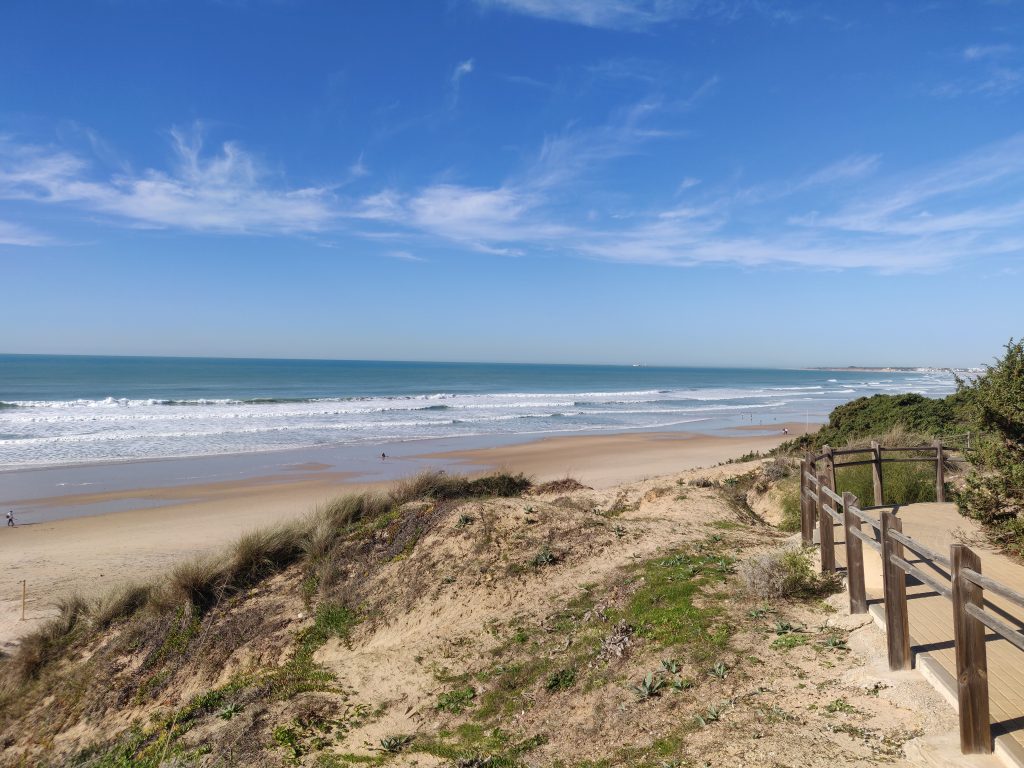
One day we cycled to the surfers beach at El Palmar and stopped off at one of the beachside bars for refreshments.
Surfer’s beach at El Palmar
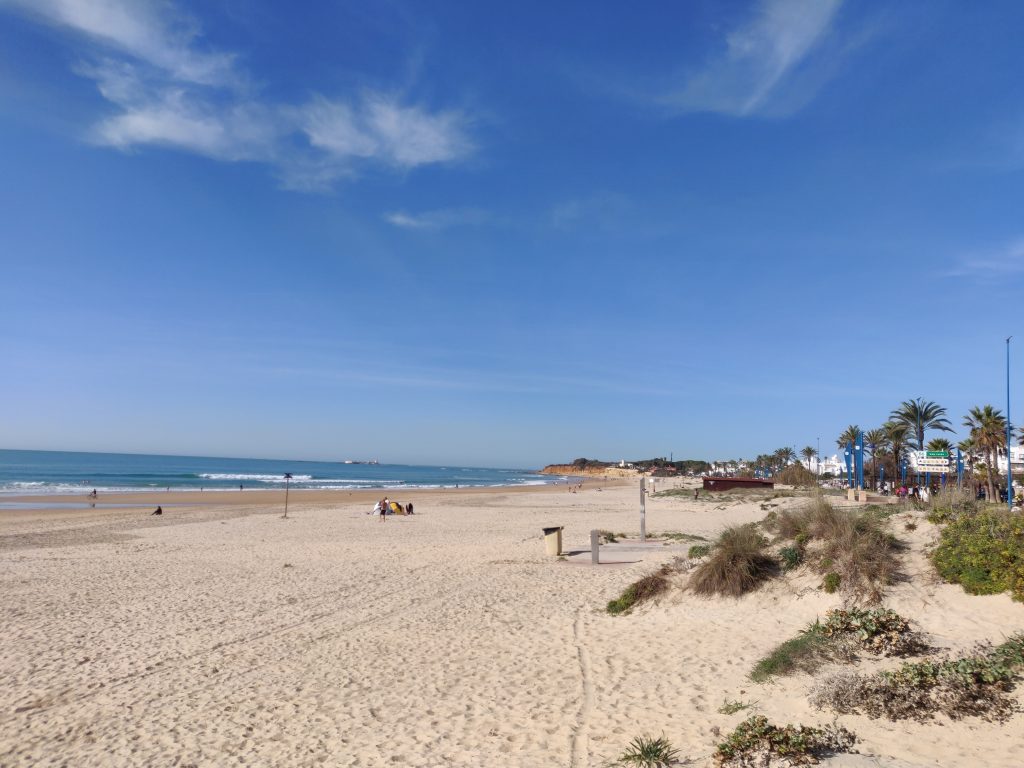
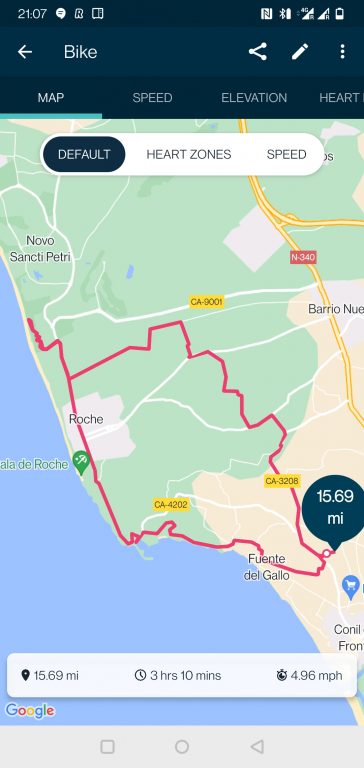
And then on New Years Eve, we cycled over to playa La Barossa. A pleasant 22 mile ride when you take into account we didn’t start the tracker right away.
Cycle ride to La Barossa
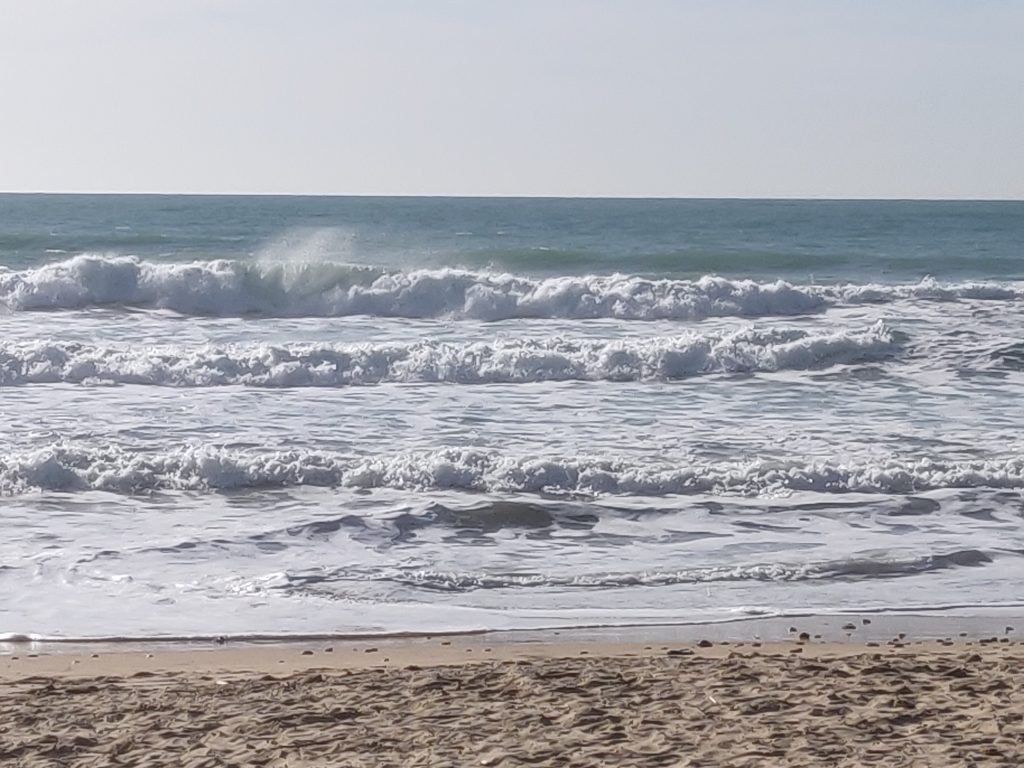
Playa La Barossa
Playa La Barossa
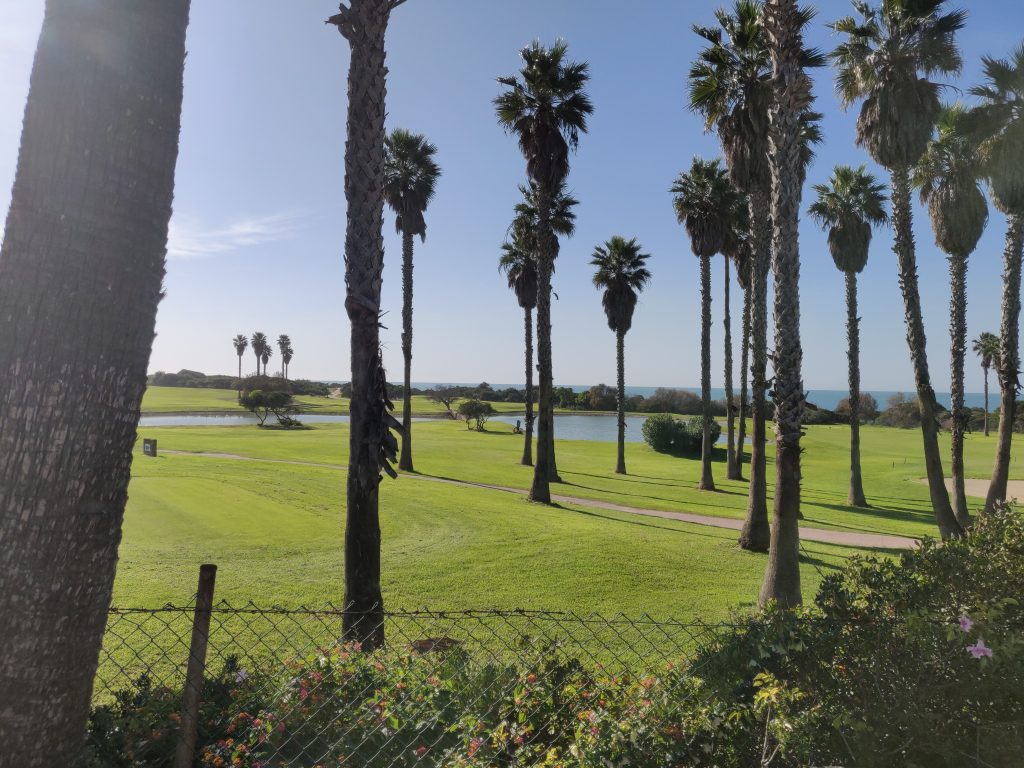
One of the many golf course near Novi Sancti Petri on our route back
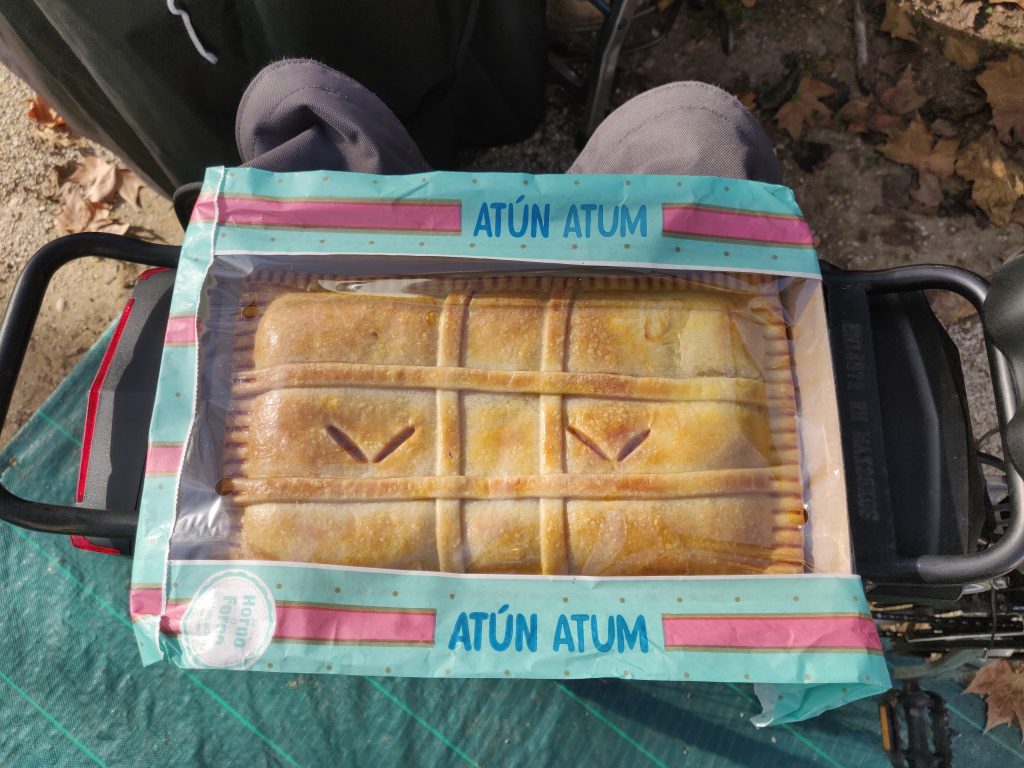
Tea for New Years eve was a very tasty Tuna pasty from the local supermarket, washed down with some local red wine.
Tuna Pasty
*** Wishing everyone a Happy and prosperous 2023 ***
Christmas has been and gone. Tempus Fugit et al – we’ve been camped here at Conil de la Frontera for over a week now and Christmas day seems a distant memory. We did contemplate a pre-Christmas day visit to the “English (Litchfield)” butcher in Chiclana, in an attempt to re-create a traditional English turkey meal, but decided instead to embrace our surroundings and do something a bit different.
And what better way to spend Christmas day than watching the world go by at the beach, with a bottle of sparkling and a nice ploughman’s (constructed from Spanish Iberic meats and cheese).
It was another glorious day with highs around 23 degrees and full sun.
Christmas lunch at the beach
Our lunchtime view
Boxing day arrived and a repeat of the dry sunny and still weather. Today we headed off on the bikes to Novi Sancti Petri and enjoyed a picnic alongside the cycle track there.
Novo Sancti Petri
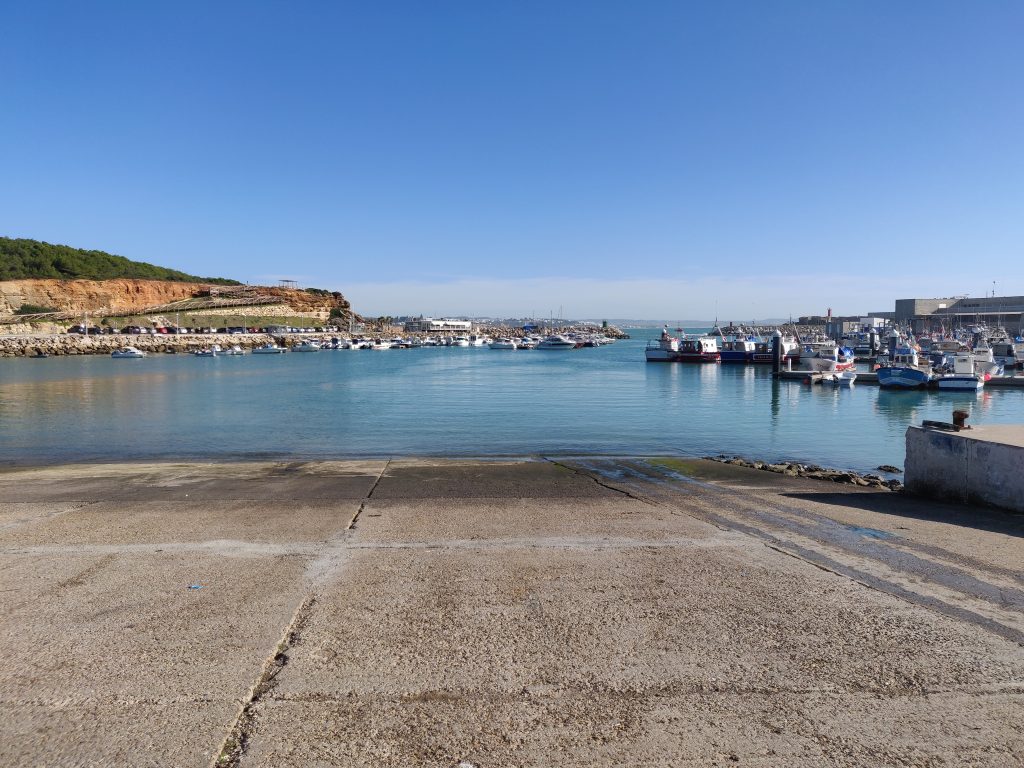
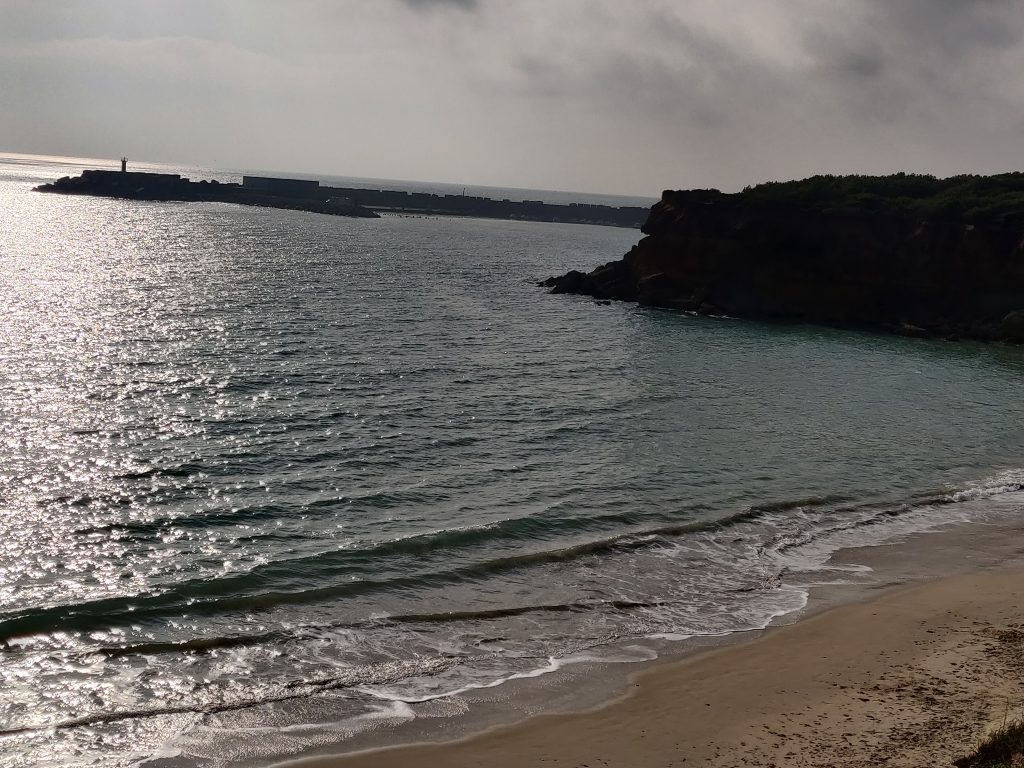
We stopped at the Port of Conil on the way back but sadly our favourite bar was closed.
The port of Conil
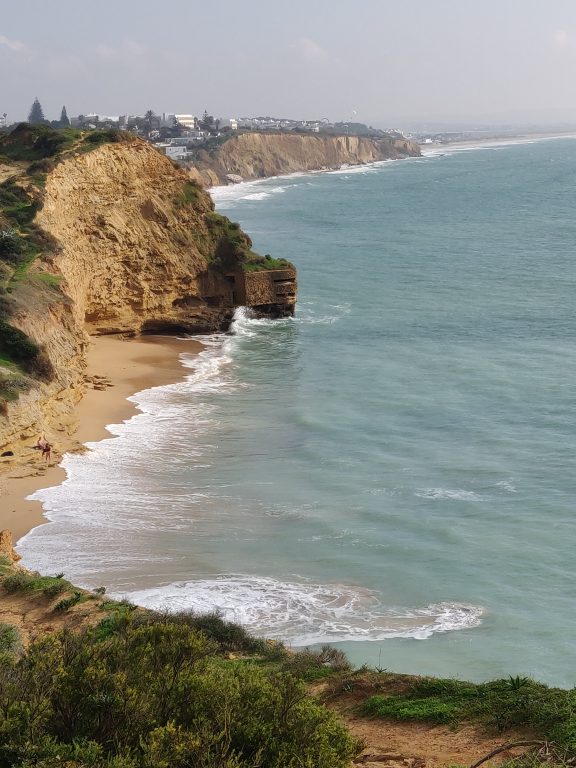
It was a pleasant 16 mile ride through some interesting wooded areas and finally returning to Conil on the spectacular cliff tracks.
Boxing day ride
We have spent the last couple of days taking care of the mundane; washing the car, washing our clothes; shopping; sunbathing and reading. We also arrived at the “English” butcher today and were bemused by how busy the cafe was next to it, and just how many “local” residents from Rosaleda were enjoying their Expressos. Turns out they were also intent on shopping there but alas, he’s not open until manana!
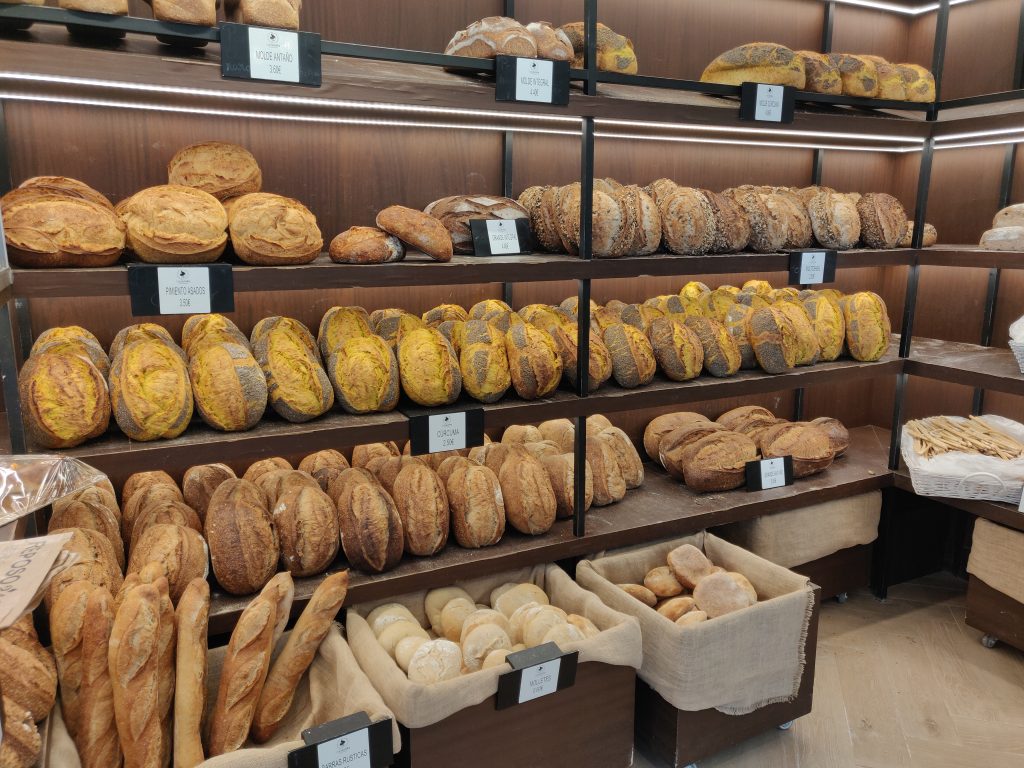
Whilst there we visited a fantastic bakery, a prior award winning establishment in the “Ruta de pan”. It’s in the middle of an industrial estate and all the bread is authentic Sourdough. Moe found the cakes more interesting than the bread…
La Cremita Obrador, Chiclana de la Frontera – award winning bakery
Today, 28th December and the site is still dressed for Christmas!
There always seem to be a few issues when we arrive on site, particularly after a long journey through Spain.
The first issue was the fridge – the door was stuck closed. It turns out that the bottom hinge has moved or bent downwards slightly, so the catch doesn’t release the door. It seems to be a bit of a known problem with the Dometic RMS 8551 3-way fridge.
We had also brought some Sikaflex 522 sealant adhesive to reseal above and below the awning rail. The warm dry weather should assist with the curing of the adhesive.
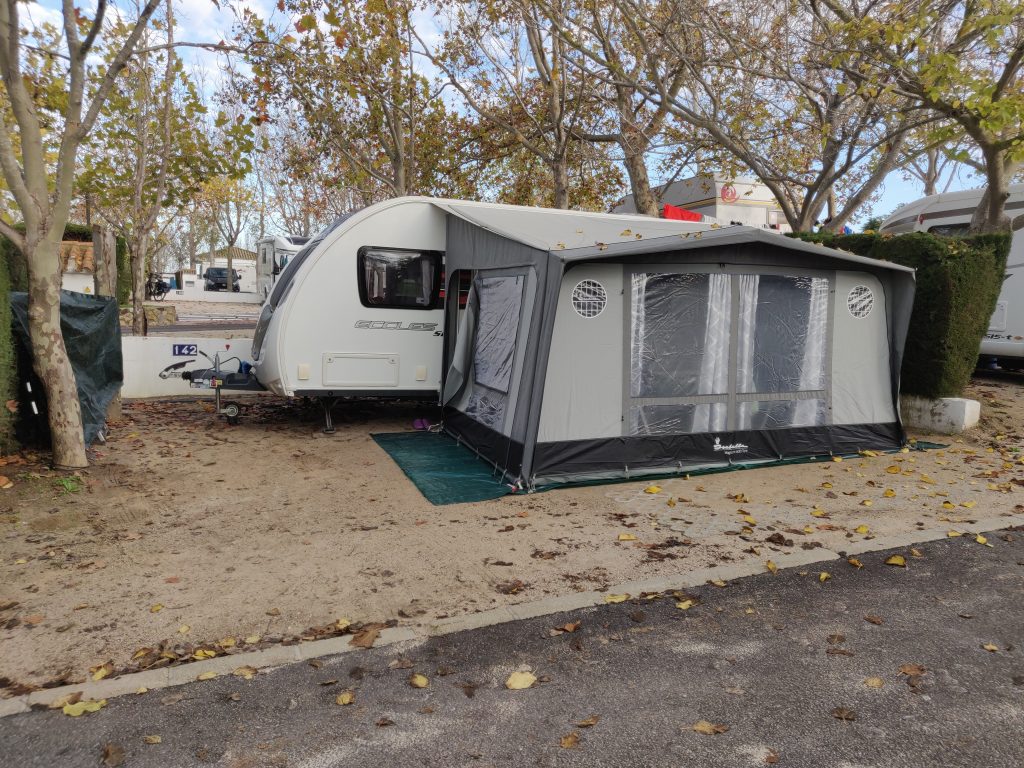
Finally, on Wednesday, we were ready to pop up the awning. We had driven to LeRoy Merlin in order to buy some weed barrier in an attempt to cover the muddy bits of our pitch.
Awning setup
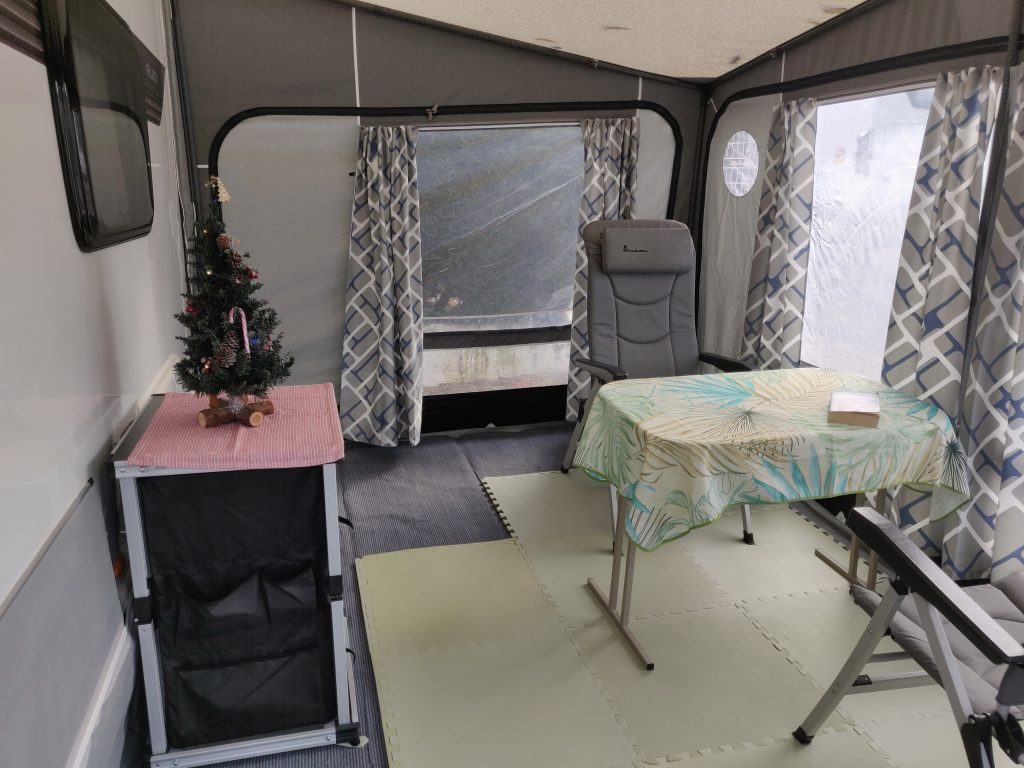
Awning complete with Christmas tree
When we are away for this length of time, we always wonder what we have omitted to bring with us. That’s apart from the myriad of jobs to fix all the broken bits of caravan. Most of the screws rolling around on the floor can be identified and re-inserted but there’s always a couple of bonus ones!
The first omission is that Joe didn’t pack any contact lenses – or maybe he did but just doesn’t remember where. The nearest optician in Conil was “Centro Optica la Bodega” and the chap was ever so helpful. He explained that he didn’t have any lenses of my exact power in store and it would take nearly a week to get hold of my Acuvue Oasys dailies. I ordered them and then he asked if I had enough lenses for the next week, which I didn’t. He handed me two trial packs of Mincon lenses, the left eye slightly stronger in power but he say’s that won’t be a problem.
The NEXT day I get a Whatsapp at 09:00 from him to say the lenses have arrived. What a stunning service. Can you imagine approaching an opticians in England with two empty contact lens pods, no prescription and seeking a 3-month supply? Thought not!
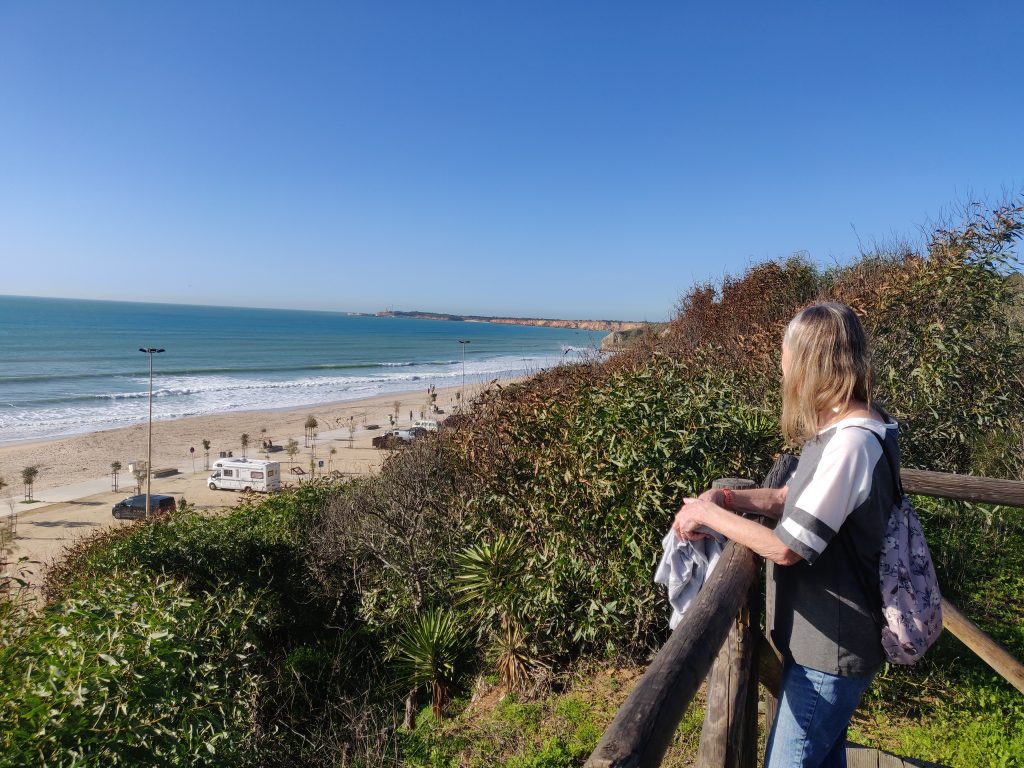
Thursday, and the weather continues to be set fair – no wind, high of 21 degrees and lots of sunshine. We drove to Chiclana to fill one of the Safefill gas bottles and then in the afternoon took a walk down to Conil beach.
Perfect weather day – overlooking Conil beach
Later in the evening was our first communal meal at the Rosaleda restaurant – Christmas dinner – despite not a Turkey in sight it was nevertheless a hearty offering.
Christmas Menu at Camping La Rosaleda
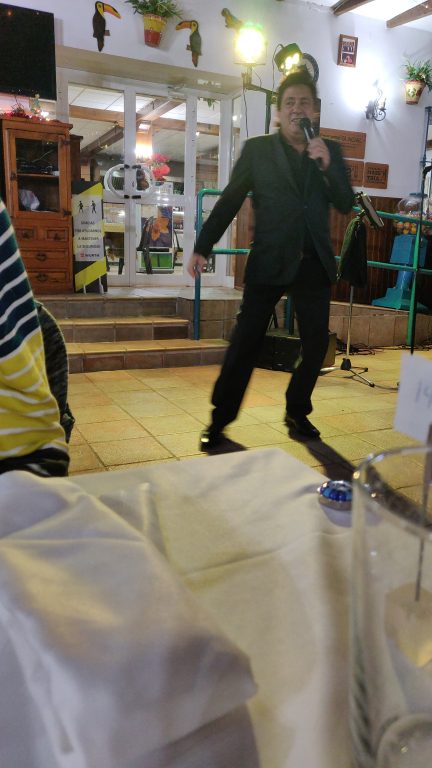
Entertainment provided by “Spanish Elvis” although his repertoire of “covers” stretches way beyond Elvis…
“Spanish” Elvis…
On Christmas eve we set off on our bikes – after spending the morning making them ready for the road. Another sunny day, highs around 20 Celsius, no wind and a stunning ride out.
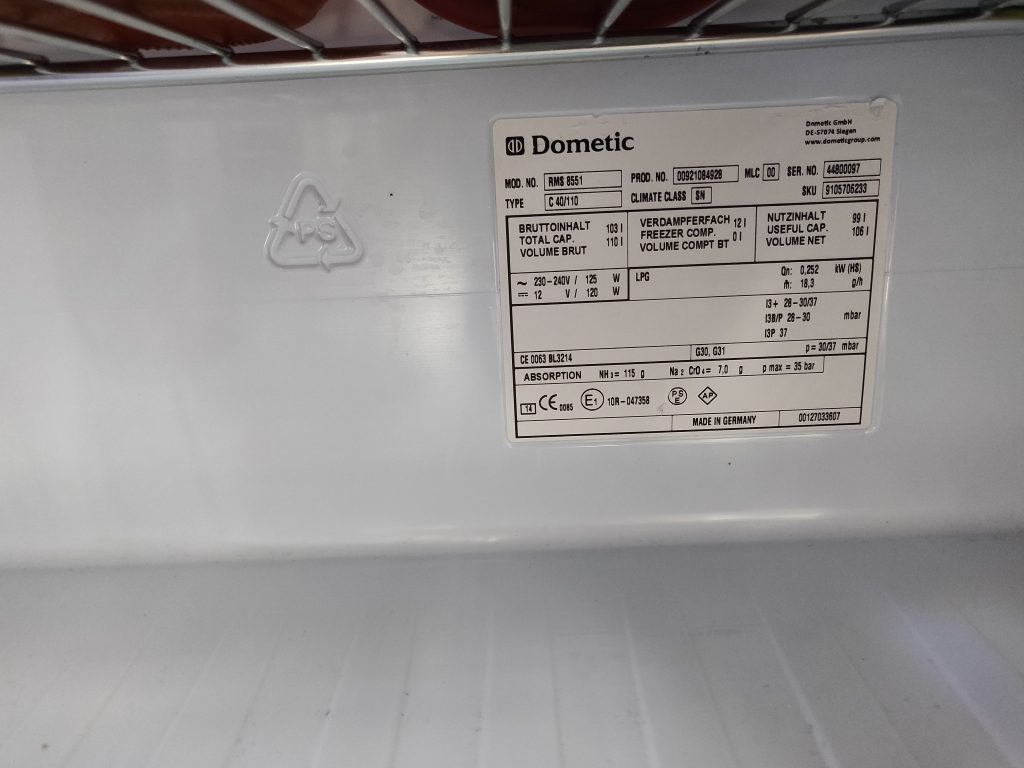
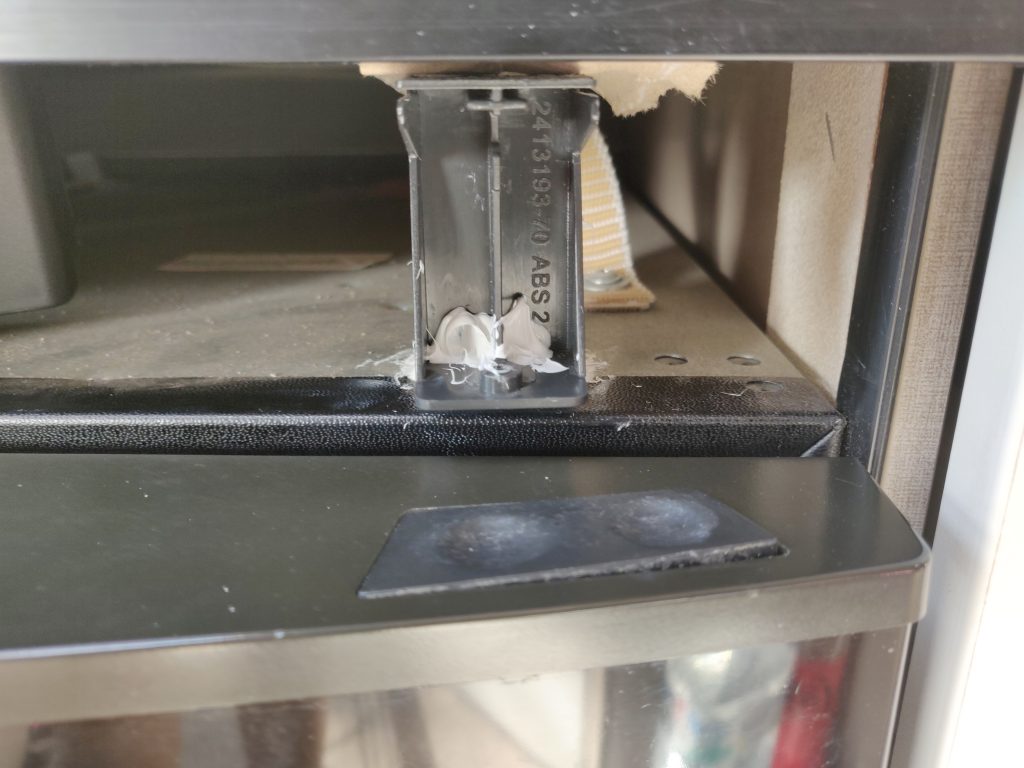
There seem to be a number of problems with the Dometic RMS 8551 door latching shut and not opening without manually lifting the door at the same time.
Dometic Fridge Model number
Ours had stuck closed in this manner and it looked like the bottom hinge had bent downwards ever so slightly – probably as a result of constant vibrations on the road with provisions lodged in the door.
It seemed like it could either be bent back or a number of packing washers placed between the door and the lower hinge pin. In the end we bent the hinge very slightly and added a single washer.
That was the easy bit. The hard bit was removing the door so that we could pack out the hinge pin. The control panel electronics themselves sit in the centre of a plastic cover which runs across the entire width of the fridge. There are two small screws which need to be removed from underneath the panel. In theory, this allows the panel to pull forward. The lower part of the panel was free but major resistance from the top of the panel.
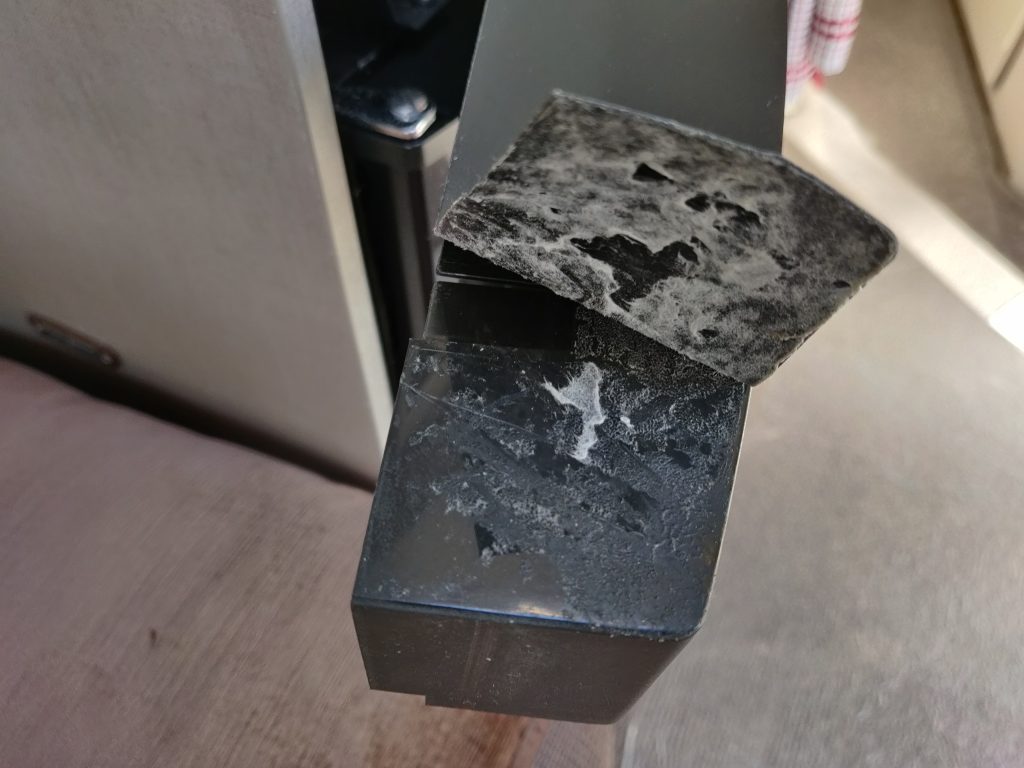
Eventually there was the sound of plastic breaking and the right hand retaining click had broken, revealing the issue. Dometic had glued some kind of plastic finishing strip all along the top of the panel – including the section where the panel clips on the retaining clip. This strip was stopping the panel sliding forwards.
The sticky plastic cover
I was able to slide a screwdriver under the foamy plastic on the left hand side and this freed up the panel from the clip. Access is tight but I *think* a wallpaper scraper would have done the job a bit tidier than my screwdriver.
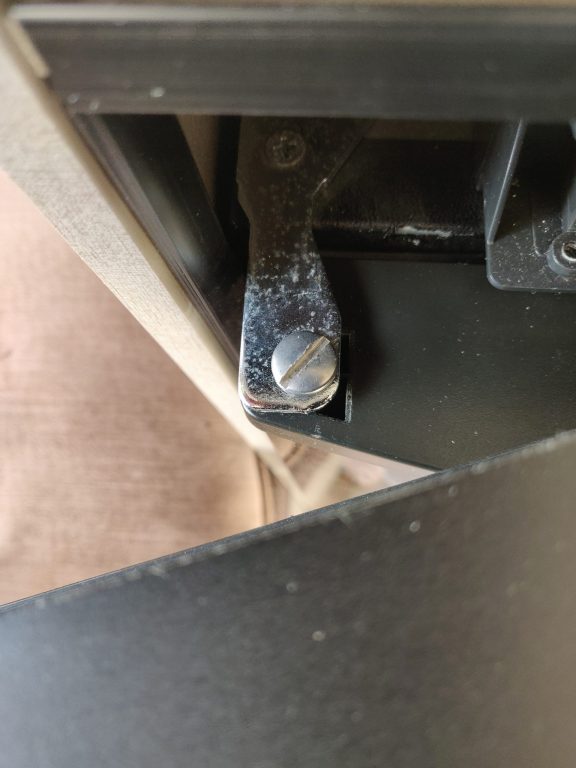
Once the panel is out of the way you can see the screw-in upper hinge pin. Remove this and the door lifts off allowing the hinge to be bent back into shape or packed-out.
Upper hinge pin, with slotted screw
If I was doing this job again, I would try to undo the hinge pin with the panel in situ; maybe with a knife blade or some pliers. Don’t know if that would work or not but worth a try.
I stuck the broken retaining clip back together with Sikaflex and it will hold until a new clip arrives.
For re-assembly, I also removed a section of the stick plastic where the clip fits. This means it won’t get stuck again!
Bodged retaining clip – new one on order from eBay!
Previously on day 3, we had travelled some 350 miles from Santander to Caceres and it had taken 7.25 hours, which included one stop for fuel and a second combined stop for lunch and more diesel. Today we had a shorter journey of 250 miles.
After yesterday’s drive and a few beers watching the World Cup final (devoid of any stresses associated with following England), sleep came easy and by 09:00 today (Monday) we were ready to drive the final leg south to Conil de la Frontera.
A similar story to the prior day – one mid-morning break for fuel and an early afternoon lunch break just south of Seville. A mostly un-eventful day (apart from a near collision with a maniacal coach driver), we arrived at Camping La Rosaleda around 14:30.
We received a warm welcome at reception and booked onto out usual pitch where we will stay for around 6 to 8 weeks of our 90 day stay.
The site is surprisingly busy and the weather just superb with the daytime high today of between 21 and 23 Celsius. However, our pitch was sodden and muddy – a result of torrential rain and storms which have beset this region for at least the last 3 weeks. Always worth noting that lovely weather in Spain is not guaranteed over the winter months.
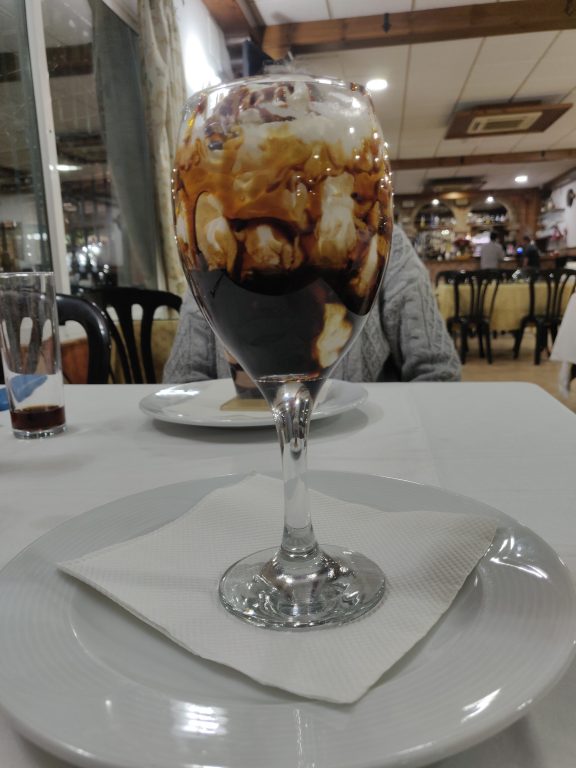
After a quick wash of the caravan, which had turned a mucky grey / black colour, we headed to the bar for a couple of drinks and dinner. Desert was a “something” Pedro Ximenez.
… “Pedro Ximenez” desert
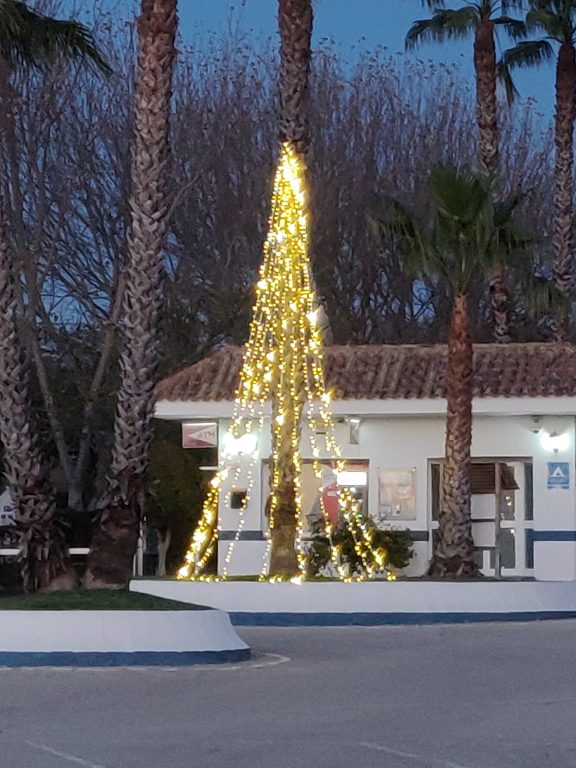
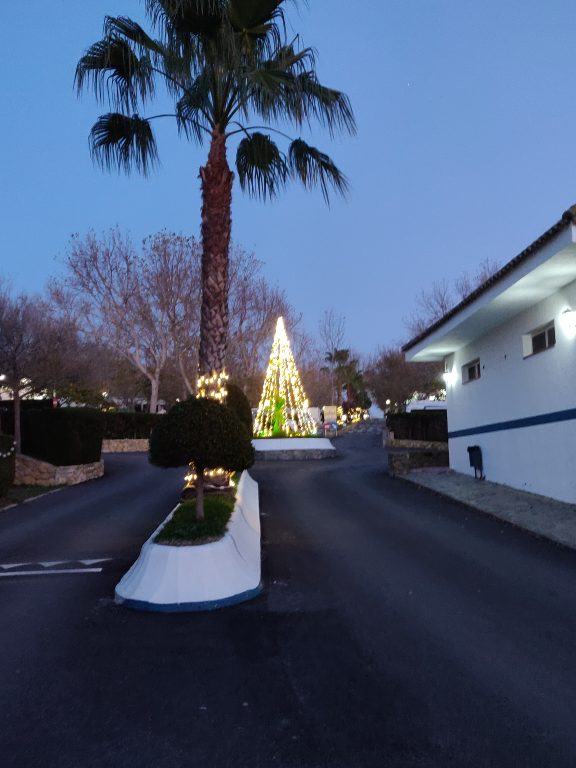
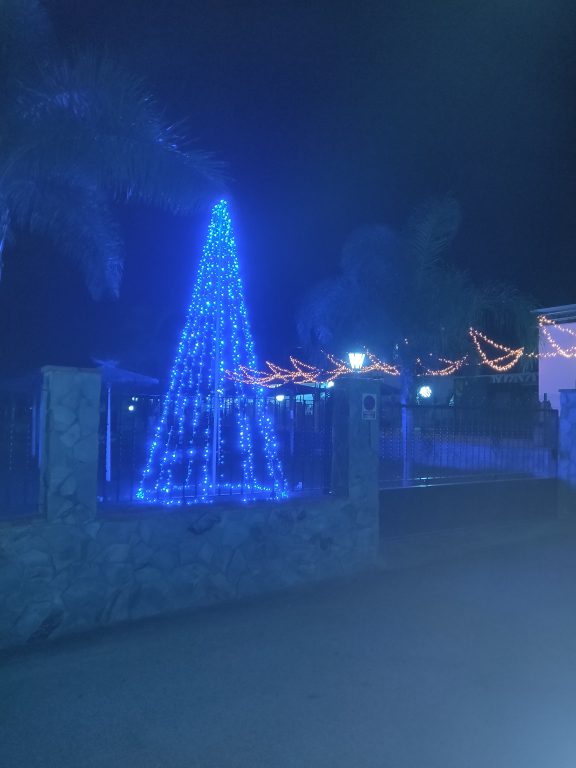
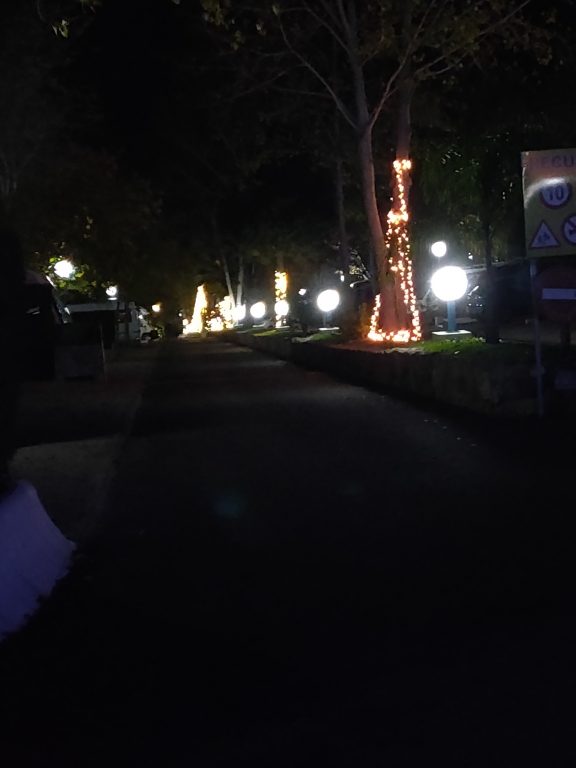
A couple of night-time photos from Camping La Rosaleda.
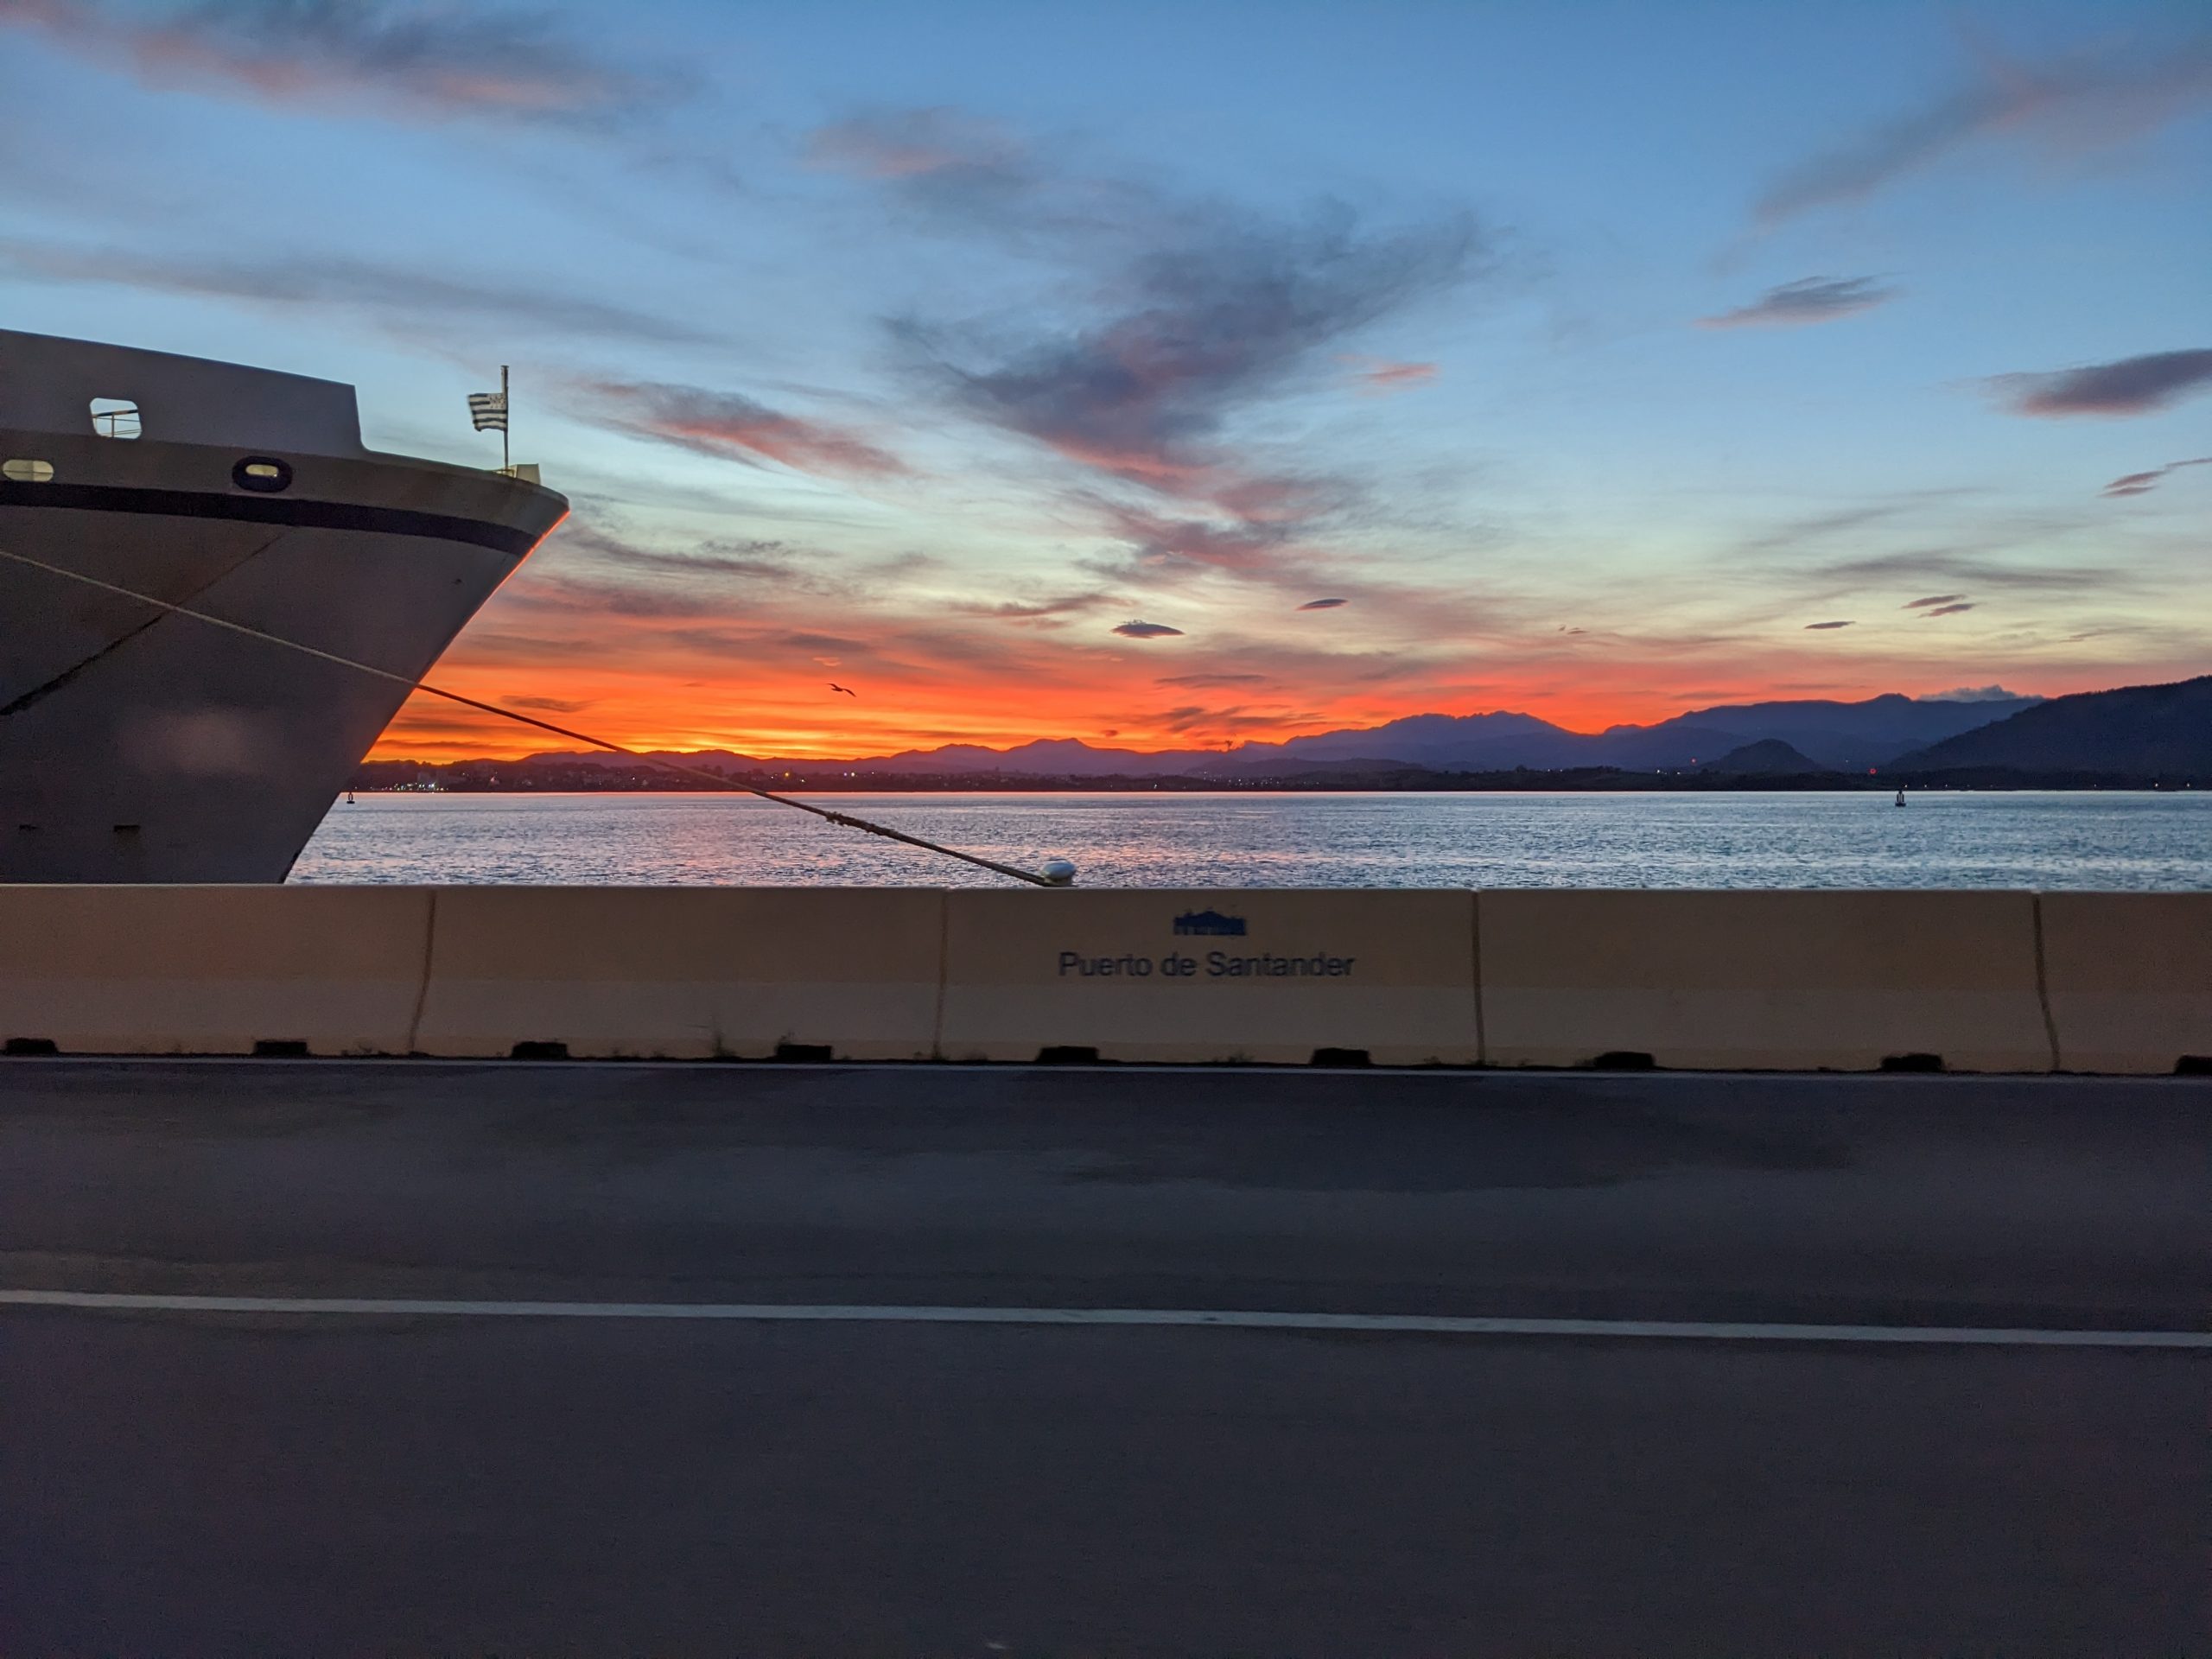
After a very calm, almost 36 hour crossing, we docked at Santander one hour before the official arrival time. This didn’t of course make any difference to our dis-embarkation which commenced promptly at 08:00 Spanish time.
After the extreme cold weather in England we were pleased to be greeted by a lovely sunrise and temperatures hovering around 10 degrees.
Arrival at Santander, Dec 2022
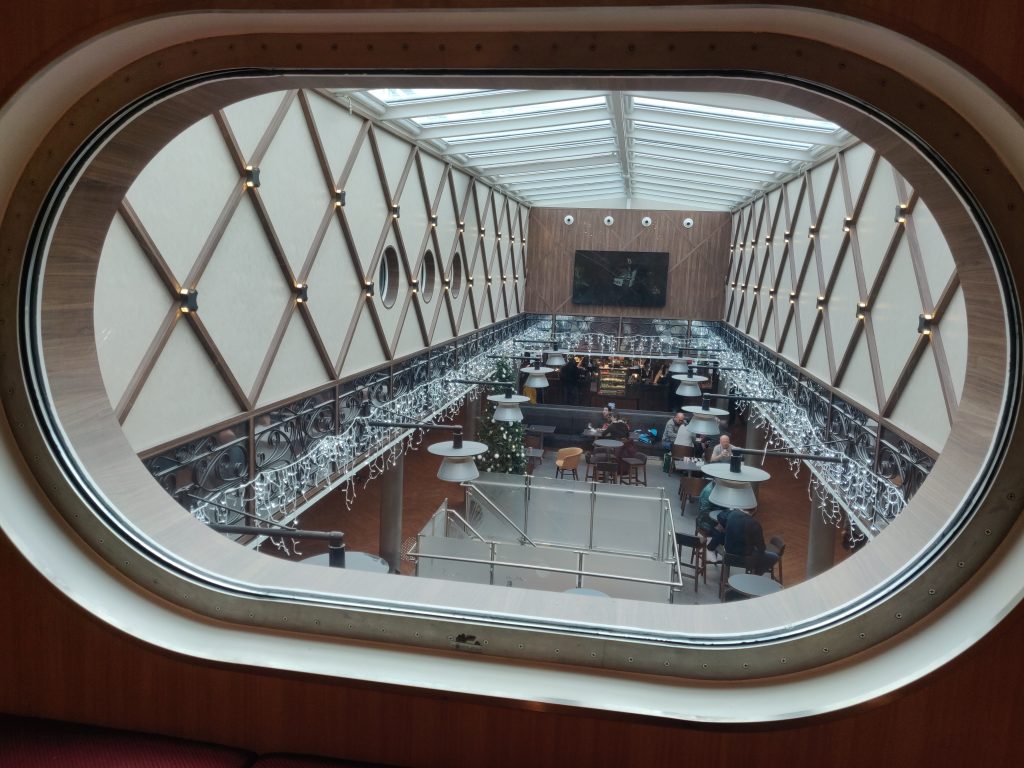
Here are a few pictures from our time onboard “Galicia”.
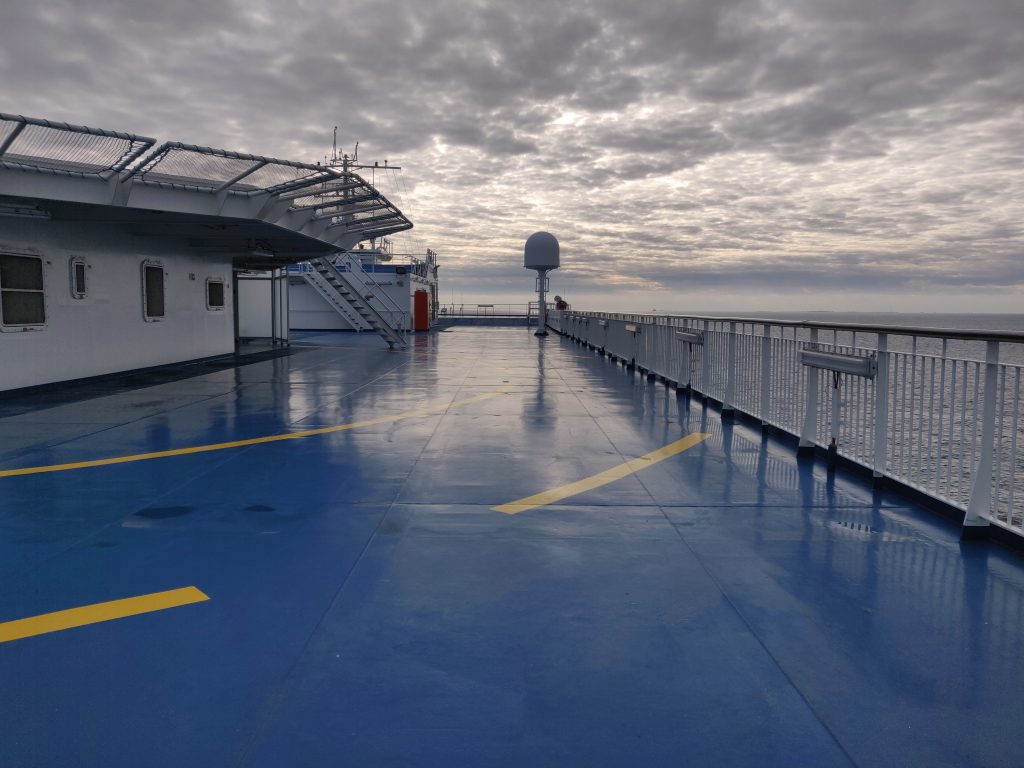
Galicia, view from the Upper deck
Galicia off the French coastline near Brest
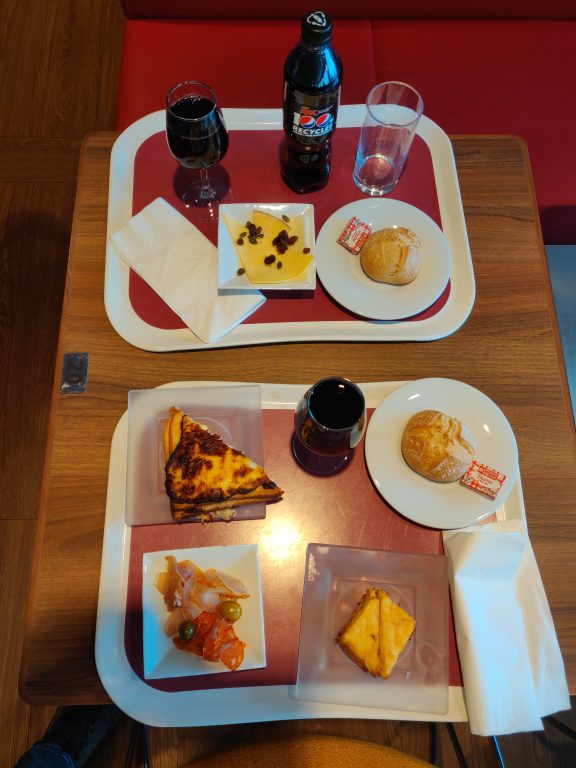
Galicia, lunch in the Tapas bar
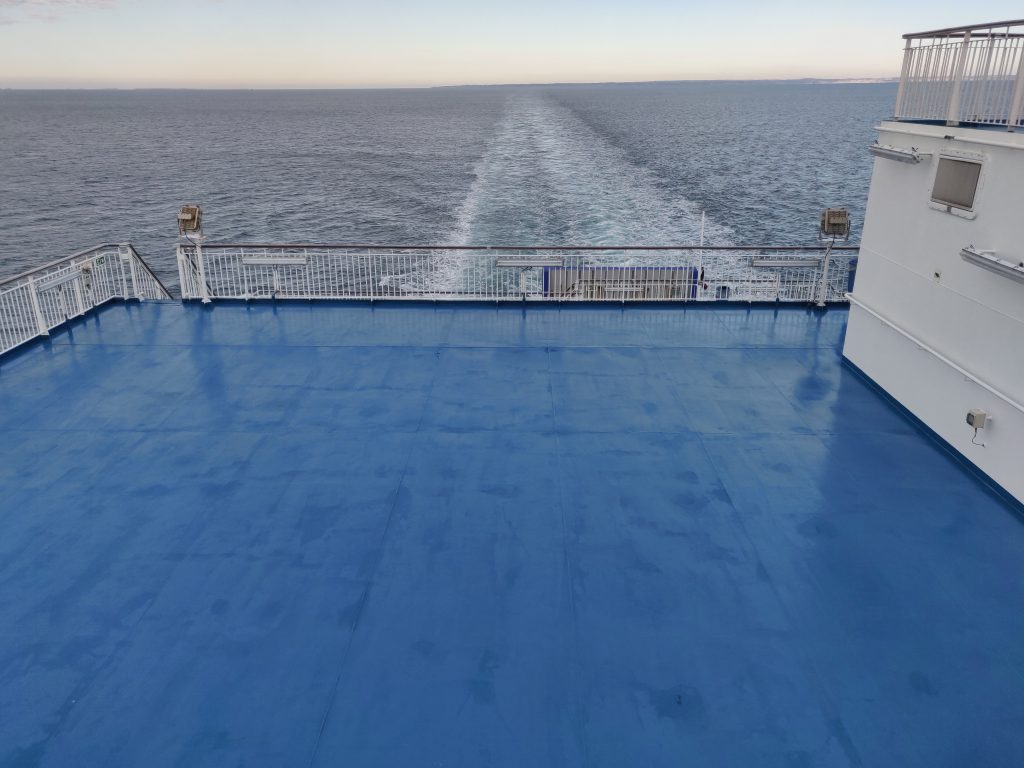
Galicia, view from the stern
Galicia, bow view
We exited the port at precisely 08:30 after being waved through the various check points and customs areas without issue. Our location on the lorry deck was a big advantage for a prompt departure ahead of the 350 mile drive to Caceres.
We headed south on the Autovia network. The first hour of travel through the mountains was a little scary with very strong, blustery winds and accordingly we made fairly slow progress. As we moved away from Santander, the weather improved with the wind dropping and temperatures around 10 – 12 degrees Celsius.
We stopped for fuel after a couple of hours driving and a further fuel / lunch break just after 1:00pm – Diesel prices at Euros 1.71 are not dis-similar to the UK. The final leg of the journey took us into the campsite at Caceres just before 4pm and at the start of the 2022 football World Cup final.
By the time we had setup the caravan, Joe headed to the bar to watch the second half; extra time; and penalties. At the last world cup final we had been staying in Chalons-en-Champagne after visiting the Ardeche – France won and the streets and roads were chaos. No such repeat tonight, Argentina winning after penalties following a 3-3 score line aet.
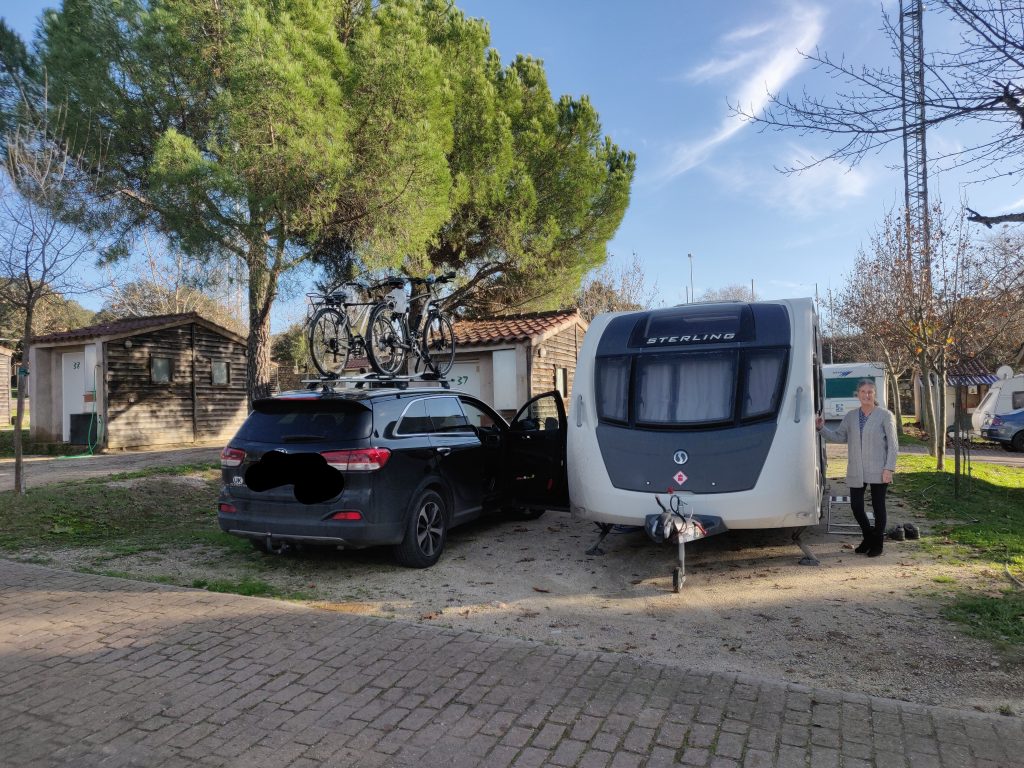
Here at the campsite, this year we are on Pitch 37.
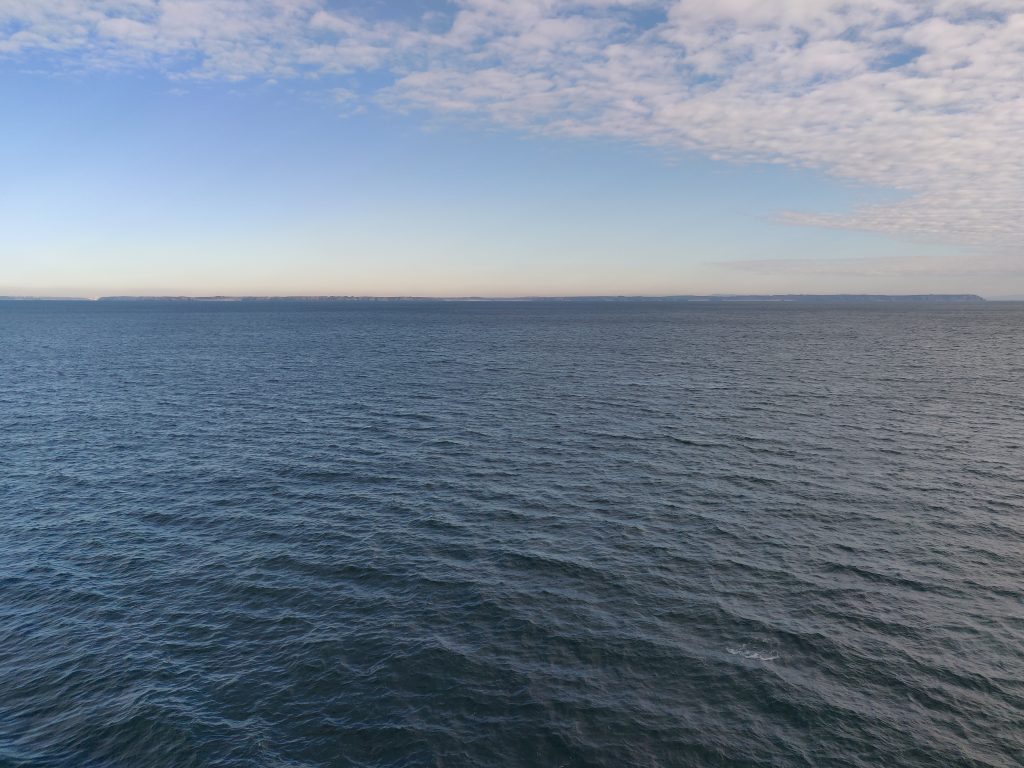
We are just heading around the Northern corner of France near to Brest. About to cross the Bay of Biscay. The journey so far overnight has been very quiet and calm – long may that continue.
Our drive of some 120 miles from East Devon to Portsmouth was uneventful and took some 3.5 hours. We have just had around two weeks of very cold temperatures (feels like lows of minus 10) and are hoping for some decent winter sun.
Portsmouth traffic was gridlocked and our usual petrol station, the Shell garage on the dual carriageway some 200m from the port entrance has closed down and is part demolished. Re-fuelling will delay what we hope is a swift exit from Santander on Sunday morning.
We are on-board one of Brittany Ferry’s new vessels, Galicia and it’s very comfortable. We are also parked on the lower lorry deck so hoping that will elicit a quick exit.
it’s a beautiful sunny day as we enter the Bay of Biscay…
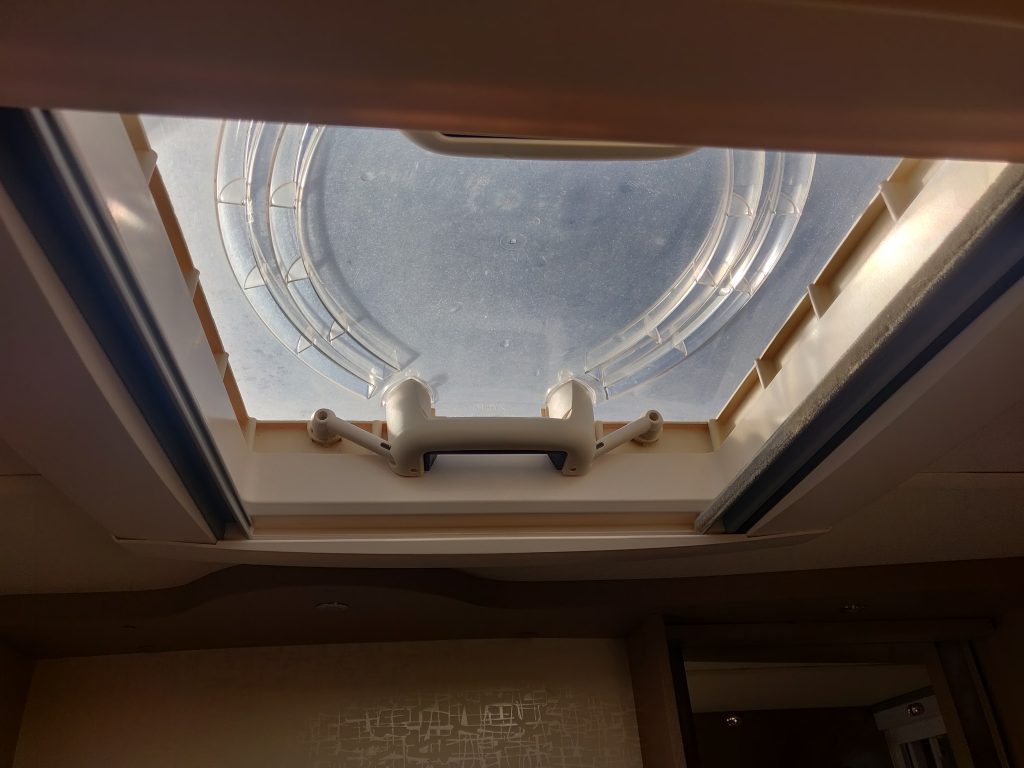
Our Heiki Roof Light hasn’t been cleaned since we took delivery of our Swift Caravan back in 2015. It’s absolutely filthy and there is very little light penetrating into the bathroom.
With the right tools, it’s a very simple job to remove / deep clean and the results are outstanding.
You can see plenty of videos on Youtube but some of them are painfully slow!
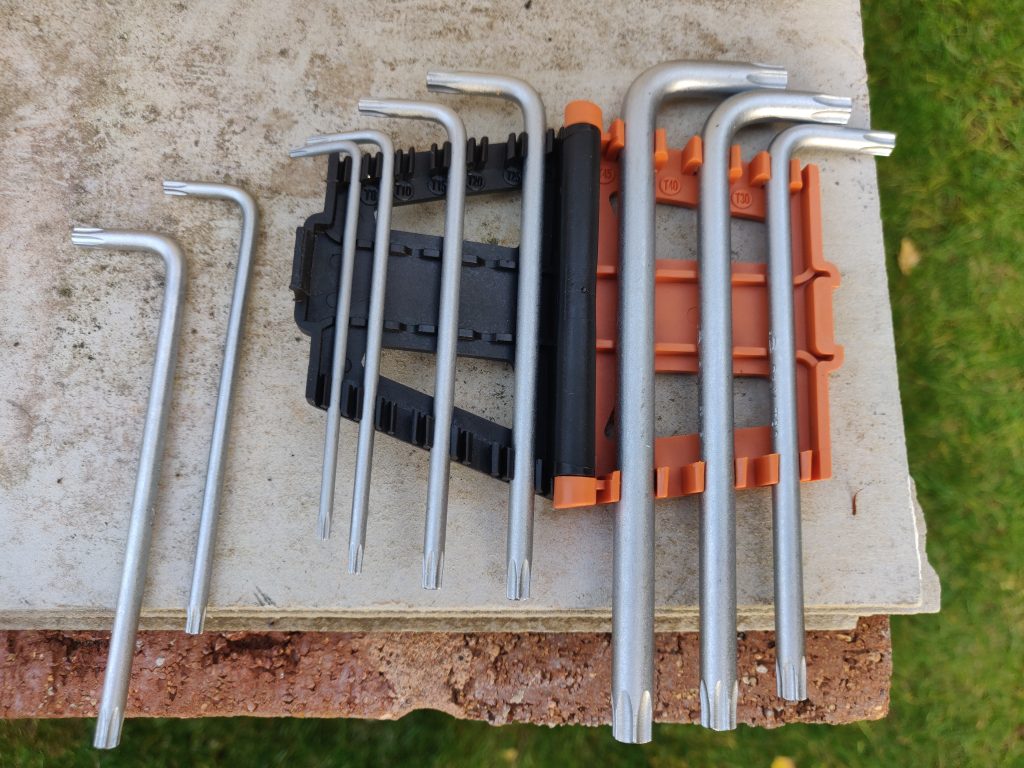
First, make sure you have a set of long reach Torx keys / wrenches. This set cost me nine quid from Screwfix.
Long reach Torx keys
How to remove the roof light:
Raise the roof light into the up / open position.
Using the Torx 15, unscrew the 4 screws in the handles of the roof light.
The handle stems then pull off their spindles (pull them gently inwards).
Once all stems are free, place the roof light to one side on the roof and retrieve it with a ladder
The light can now be separated unto it’s two components – the outer cover and the inner vent. For this you need the Torx 25 key. Once all 4 screws have been removed, the plastic can be thoroughly cleaned with washing-up liquid and a splash of bleach.
Assembly is the above in reverse. The result is outstanding; shame I forgot to take a before picture!!
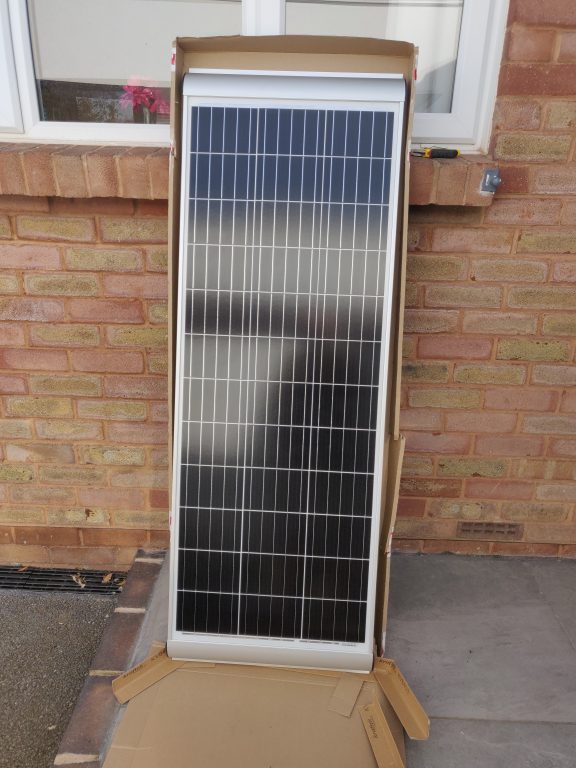
Our Swift caravan comes with a factory fitted Sargent 40w solar panel. This isn’t really enough for some off-grid vanning so we decided to add some additional solar to the roof. The idea was to add an additional 130w panel but it adds another 11kg to the already paltry payload so I decided we would swap-out the exiting panel and replace it with the 130w version.
The panel cost around £200 from Sunshine Solar Ltd and delivery was prompt.
Un-boxing the new 130w Solar Panel
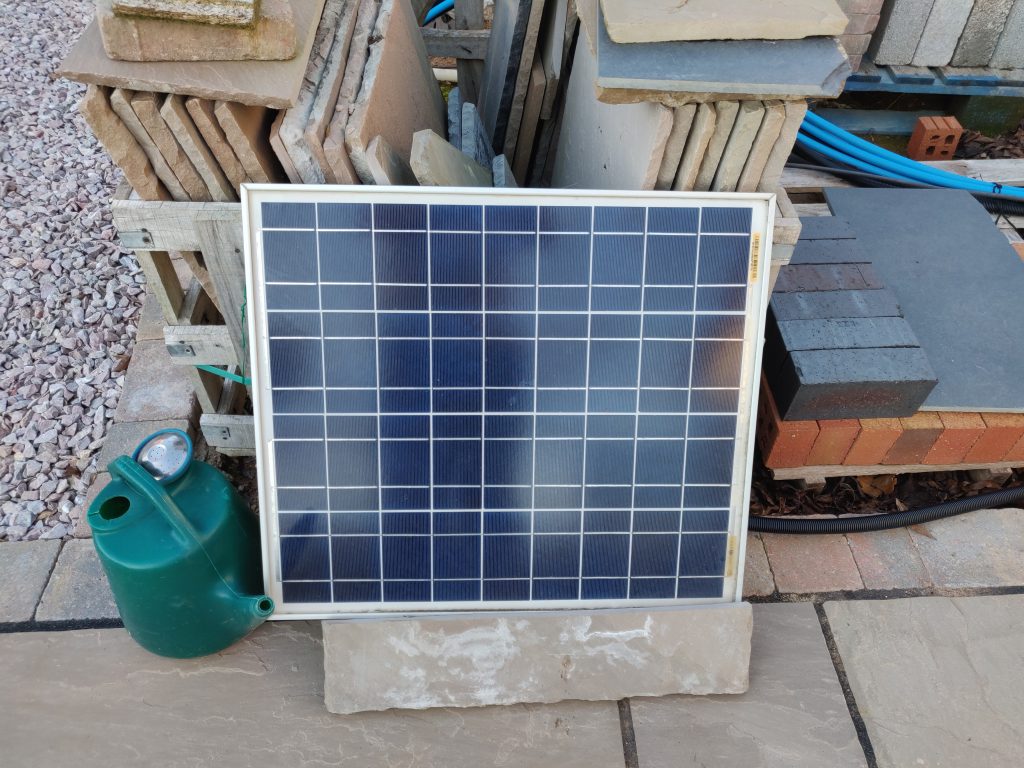
Removing the old panel
The panel was screwed into two plastic mounts so it was straightforward removing the panel itself. The mounts had been stuck down with a silicone adhesive and removing these was more of a challenge. I used a Stanley knife to partially cut into the silicone and then tried the wire “cheese cutter” method. In the end, I was able to pry up one corner and as it was a hot day, was able to tease open the entire seal with minimal damage to the roof. The old panel is now charging the redundant leisure battery in our outside cabin at home…
Original 40w Sargent solar panel
Installing the new panel
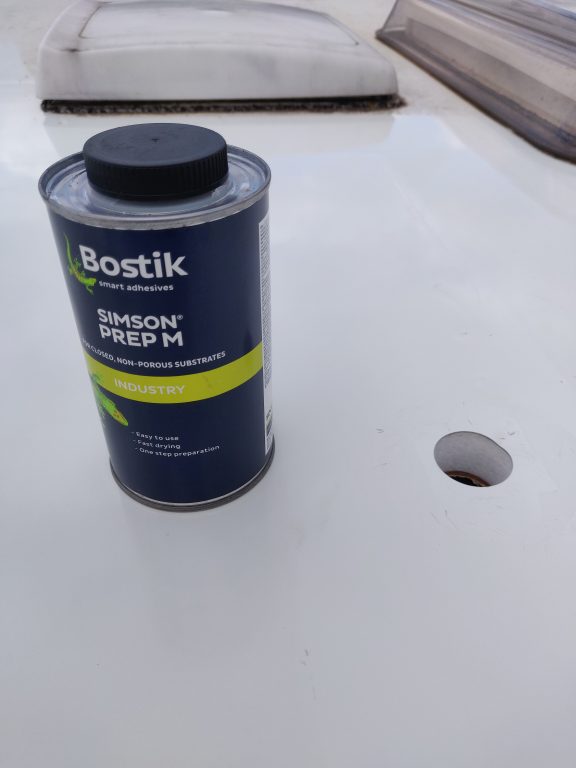
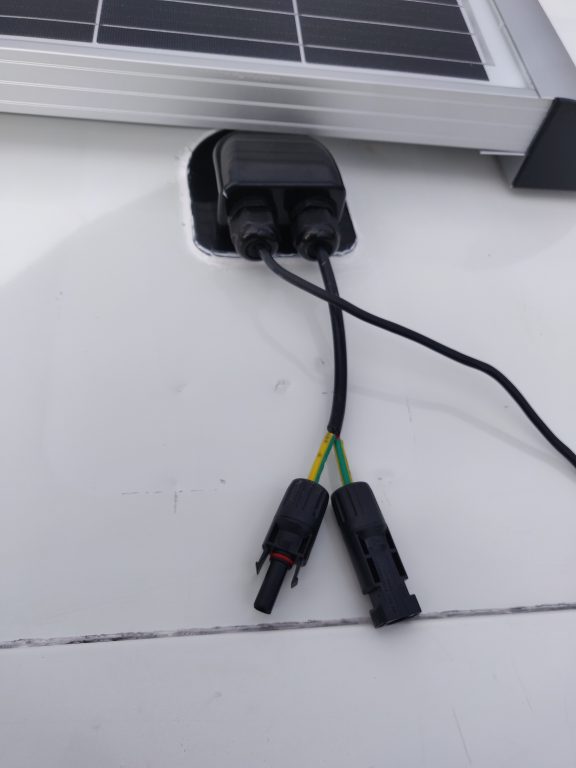
There’s a nice pre-drilled hole in the roof of the caravan and with the purchase of a Solar Roof Entry gland I routed the cables through into the caravan. I also added an extra cable – a USB cable – through the gland as a neat way of mounting the caravan WiFi Extender aerial. Below you can see the roof cable entry hole and I cleaned the roof surface with Bostik Simson Prep M (just the sections where I would bond the new panel).
Prep ‘M’ cleaner
The gland was secured with some 3M VHB tape on the inner edge and then Sikaflex 522 adhesive silicone around the edge.
Cable Entry gland
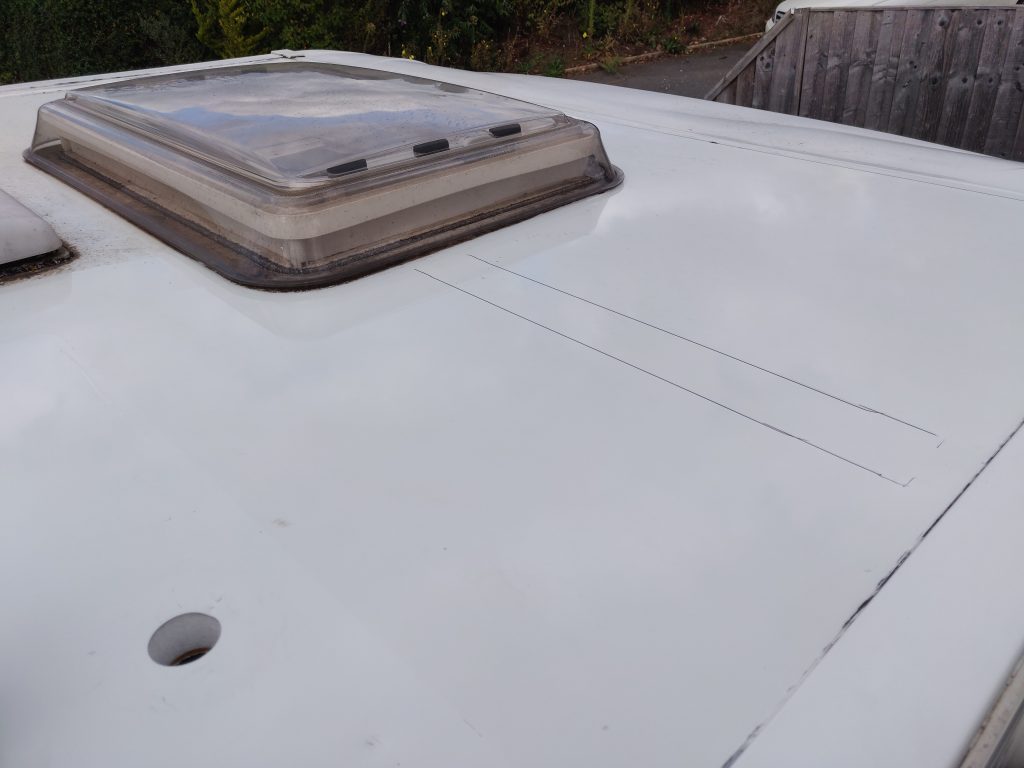
Marking out where to bond the panel
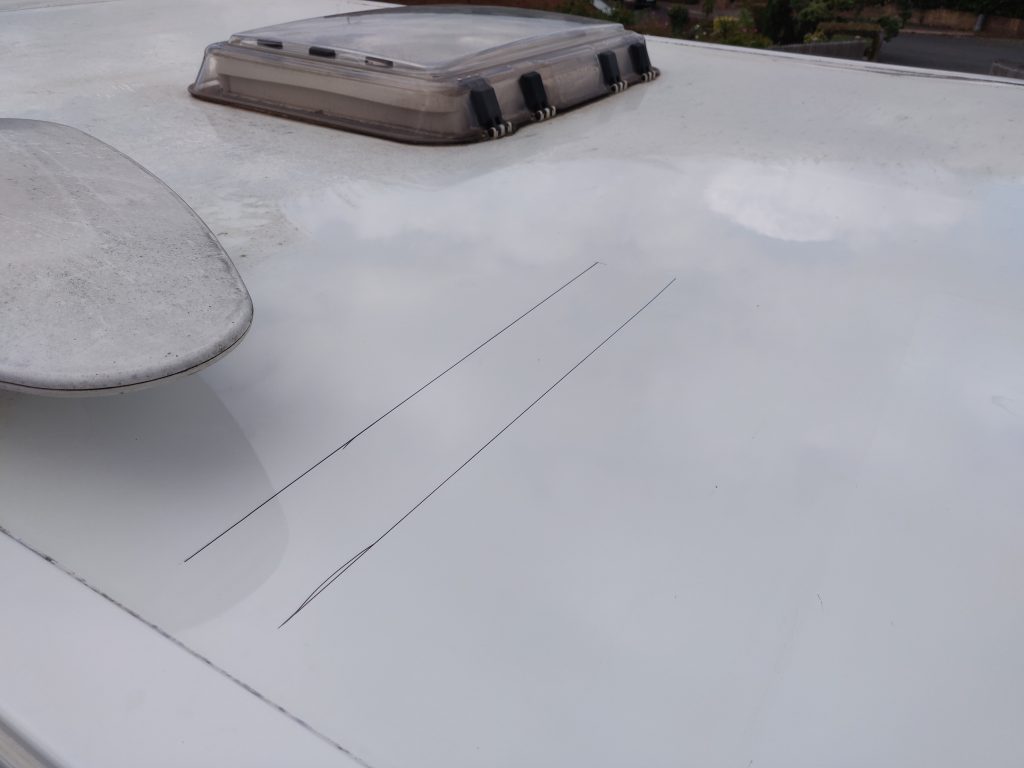
And on the rear side
I used the same technique to bond the panel. A central strip of VHB and plenty of Sikaflex 522 around the edges.
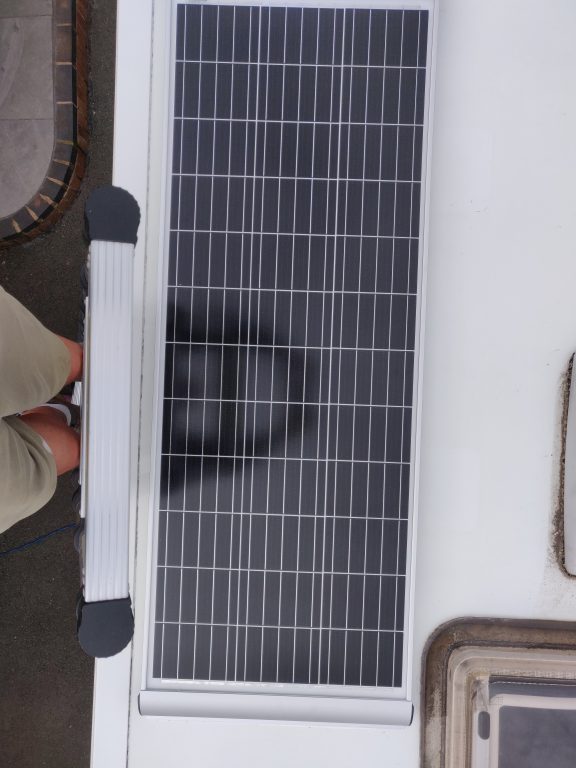
Here’s the panel bonded in place.
Solar panel bonded into place
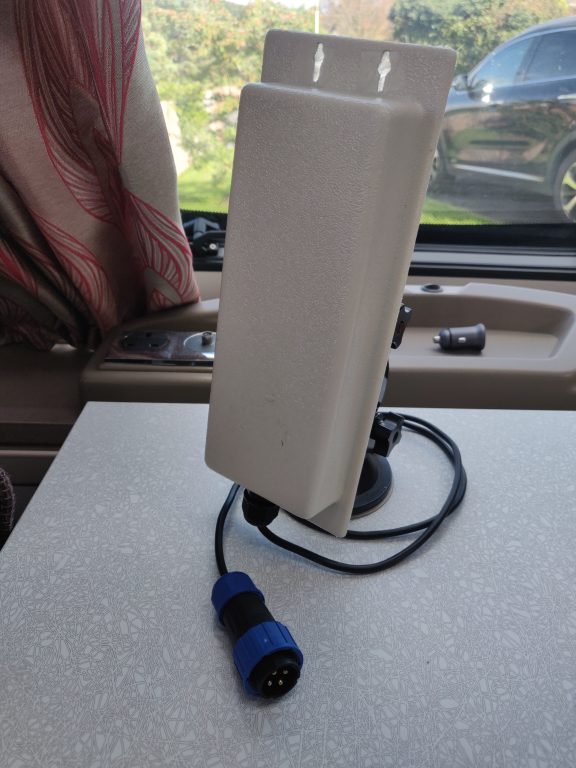
I then attached a terminal box and 4-way plug / socket to the edge of the panel. This will allow me to deploy the WiFi extender onto the roof without trailing a cable into the van through a window.
Terminal box and socket attached to edge of Solar panel
It’s around five years ago that I changed the Alde central heating fluid in our caravan and it’s ready for its next change. I learnt a lot last time round and decided to adopt a slightly different approach.
Key points for the planning were:
Buy a cheap 12v pump from Amazon or eBay. Note I think the one I bought will also substitute as a spare for our Thetford toilet
Don’t faff around trying to drain the system – which on our van isn’t even possible. Just use the pump to flush and fill.
We know the system holds 12 to 15 litres of fluid so the flush and fill was in multiple stages.
Flush with 30 litres of tap water
Then flush through 5 litres of de-ionised water
Then mix 7 litres of Comma Xstream with 5 litres of de-ionised water
Pump this into the system
Continue pumping de-ionised water until the output is pink
Top up the header tank with neat fluid
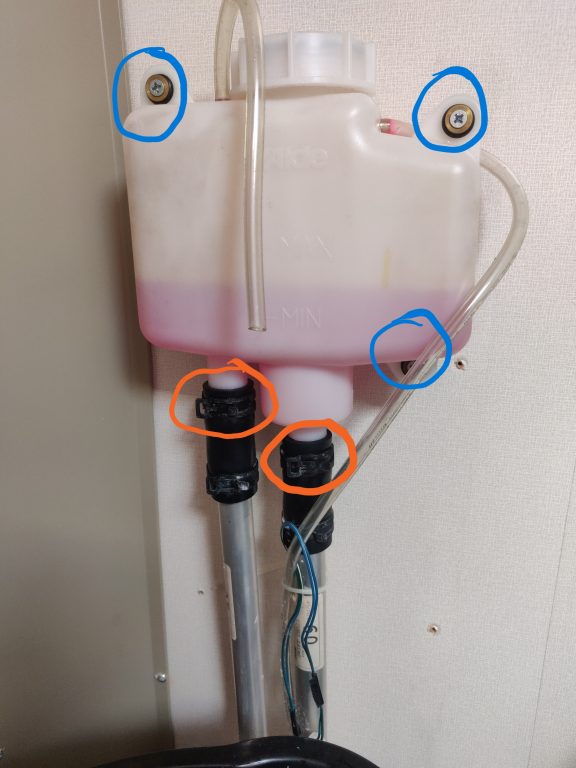
Let’s kick off the fluid change. Remove the covers from around the header tank. This is what you will see.
Header tank removal
I wanted to double check the flow of liquid around the system as I believe there is a one-way valve somewhere. To do this I just operated the heating for a few minutes and noted the warmest pipe into the header tank. I’d already figured this out as I know which radiators get the warmest first but this just confirmed it.
You then need to remove excess liquid from the header tank and a good old suction technique sorted this for me. Fill a 1m length of thin clear plastic tube with water. Place your finger tightly over one end and insert the other end into the header tank and down into the pipe below the tank. Take you finger off the tube and let the liquid drain into a bucket. Repeat for the second pipe.
There are three or four screws circled blue in the picture which will release the tank from the side panel.
Two spring clips, circled orange can then be loosened to allow the extraction of the header tank from the rubber pipe couplers.
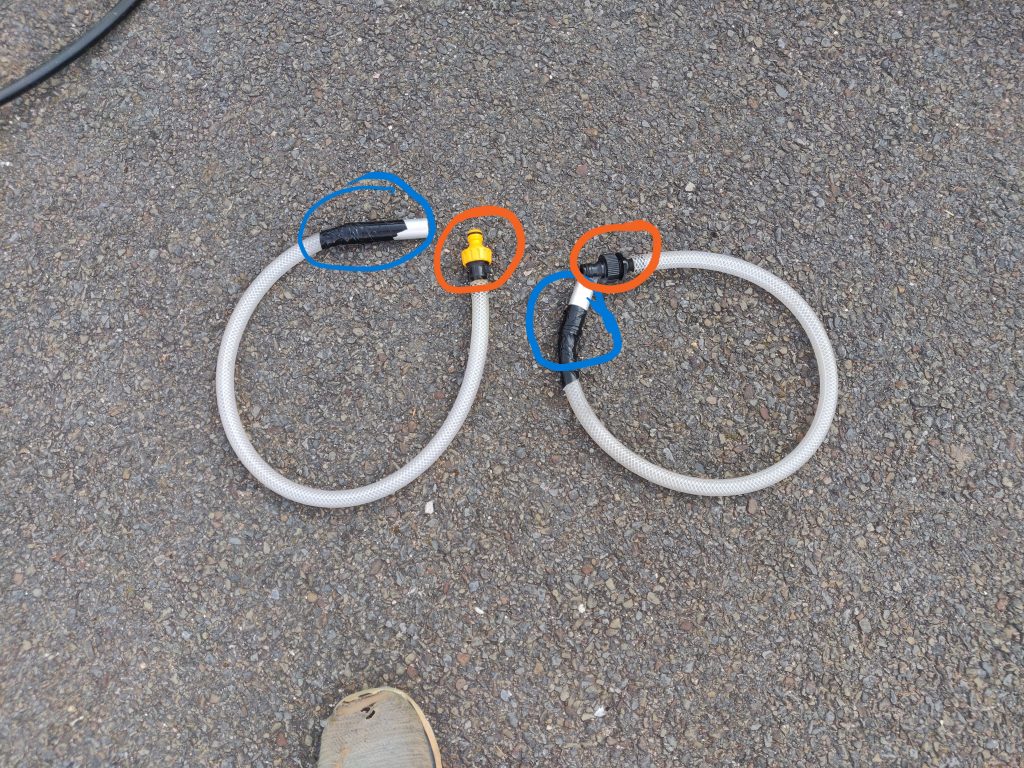
I cobbled together 4 pieces of pipework which interconnected using Hozelock fittings. You can use whatever works for you with regards to this.
The two short lengths connect to the rubber boots of the caravan pipework. I happened to have some Alde metal tube, circled blue, of the correct diameter with which to do this.
Heating coupler tubes
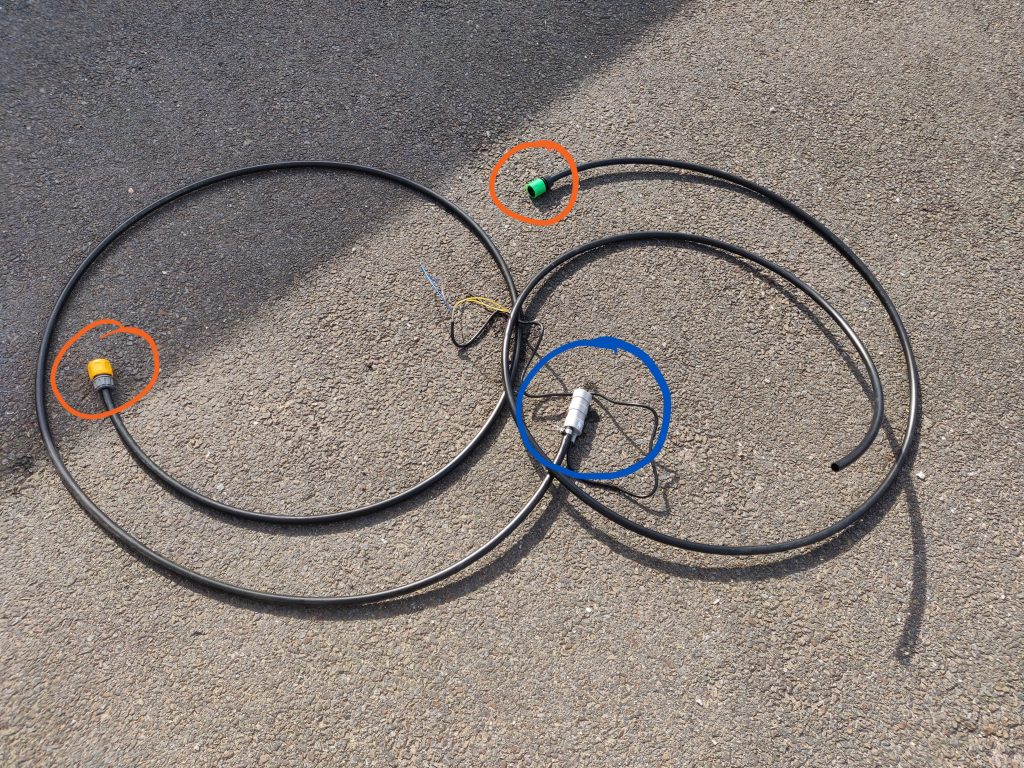
The two longer sections are cheap 14mm irrigation pipe. Terminated with the appropriate Hozelock connectors at one end and the pump at one of the others.
It was then just a case of dropping the pump into the bucket of liquid (see order of liquids above) and activating it by hooking up to an old 12v battery.
Pump and Drain hose with Hozelock connectors.
Once the fluid was replaced, the procedure to reconnect the header tank was the reverse of the above.
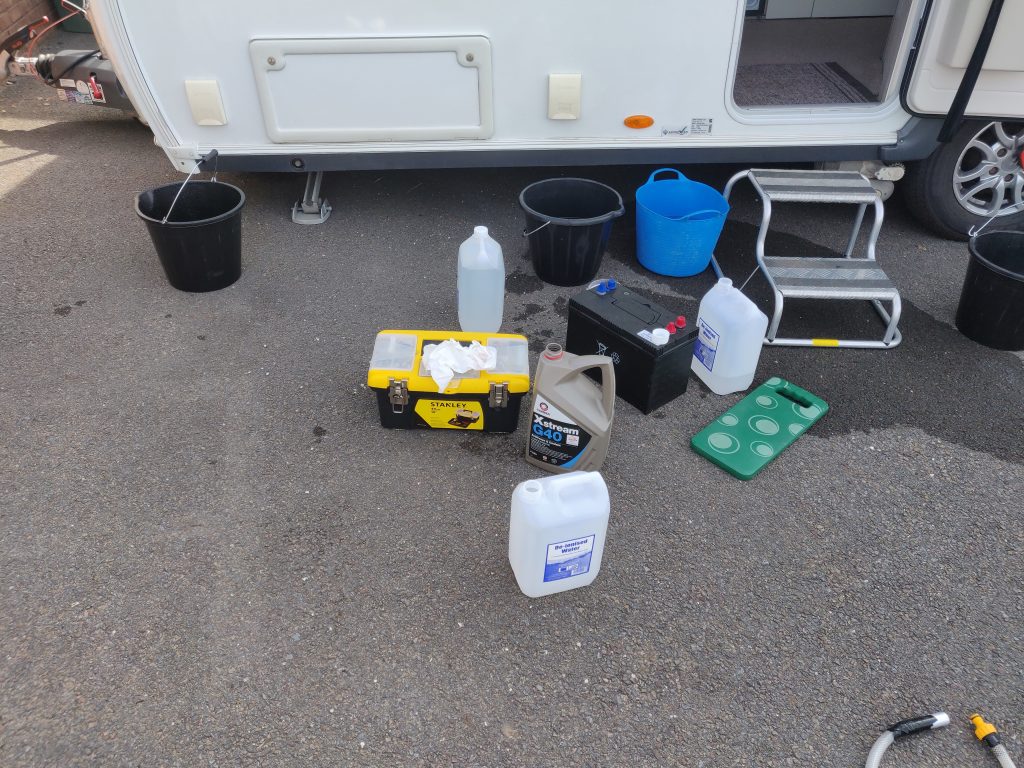
Here’s an image of other equipment used for the swap-out.
“Stuff” for Alde fluid change
Finally, the heating was operated for 10 minutes with the pump at full power.