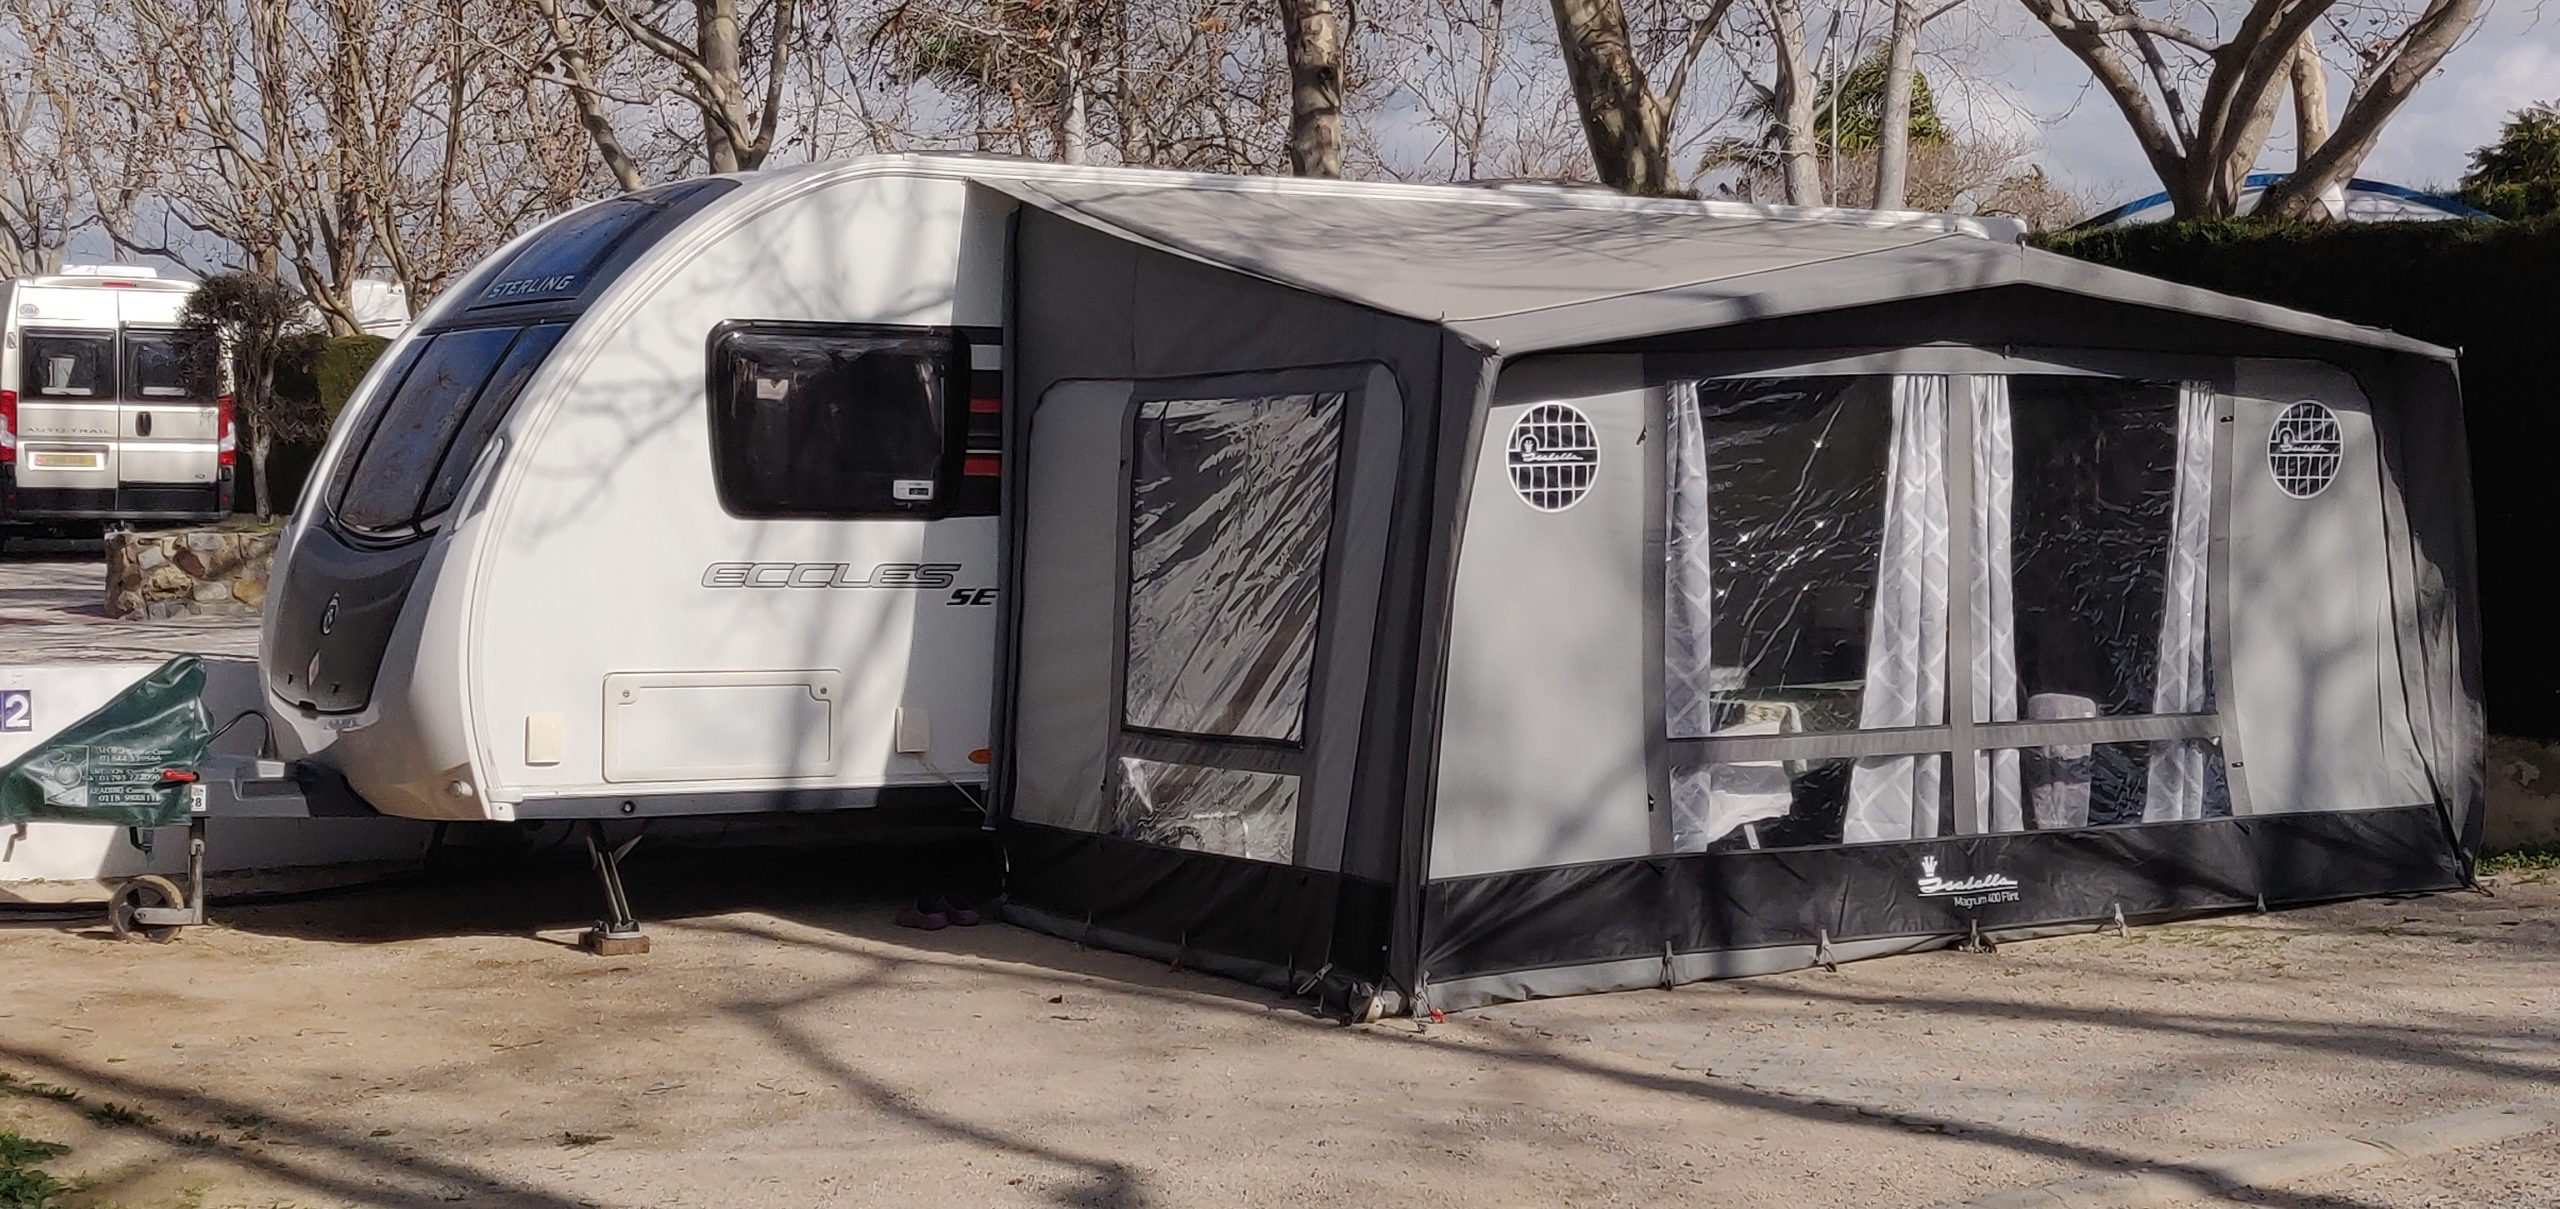
It’s always great to stay on a fully serviced pitch, but how many times do you find the grey waste connection is either at the wrong side of the pitch or even a metre or two higher than the caravan outlet?
How many different lengths of convoluted pipe can one carry in an already over-crowded front locker?
I’d already replaced much of the standard grey pipe with a smooth, smaller bore plastic tubing but this just slowed down the drainage flow even further.
My ultimate solution – sump and pump. I won’t take the credit for this idea because I’d already read that someone had a similar setup but here is my project documented.
In summary, the twin waste outlets will drain into a small Aquamarine shower sump and periodically pump the effluent away. Waste flow rates from the van will be the equivalent of draining into a wastemaster, yet I should be able to achieve a distance to disposal of up to 15 / 20 metres.
Product list:
1 x Sump and pump unit. Around £35 on Amazon
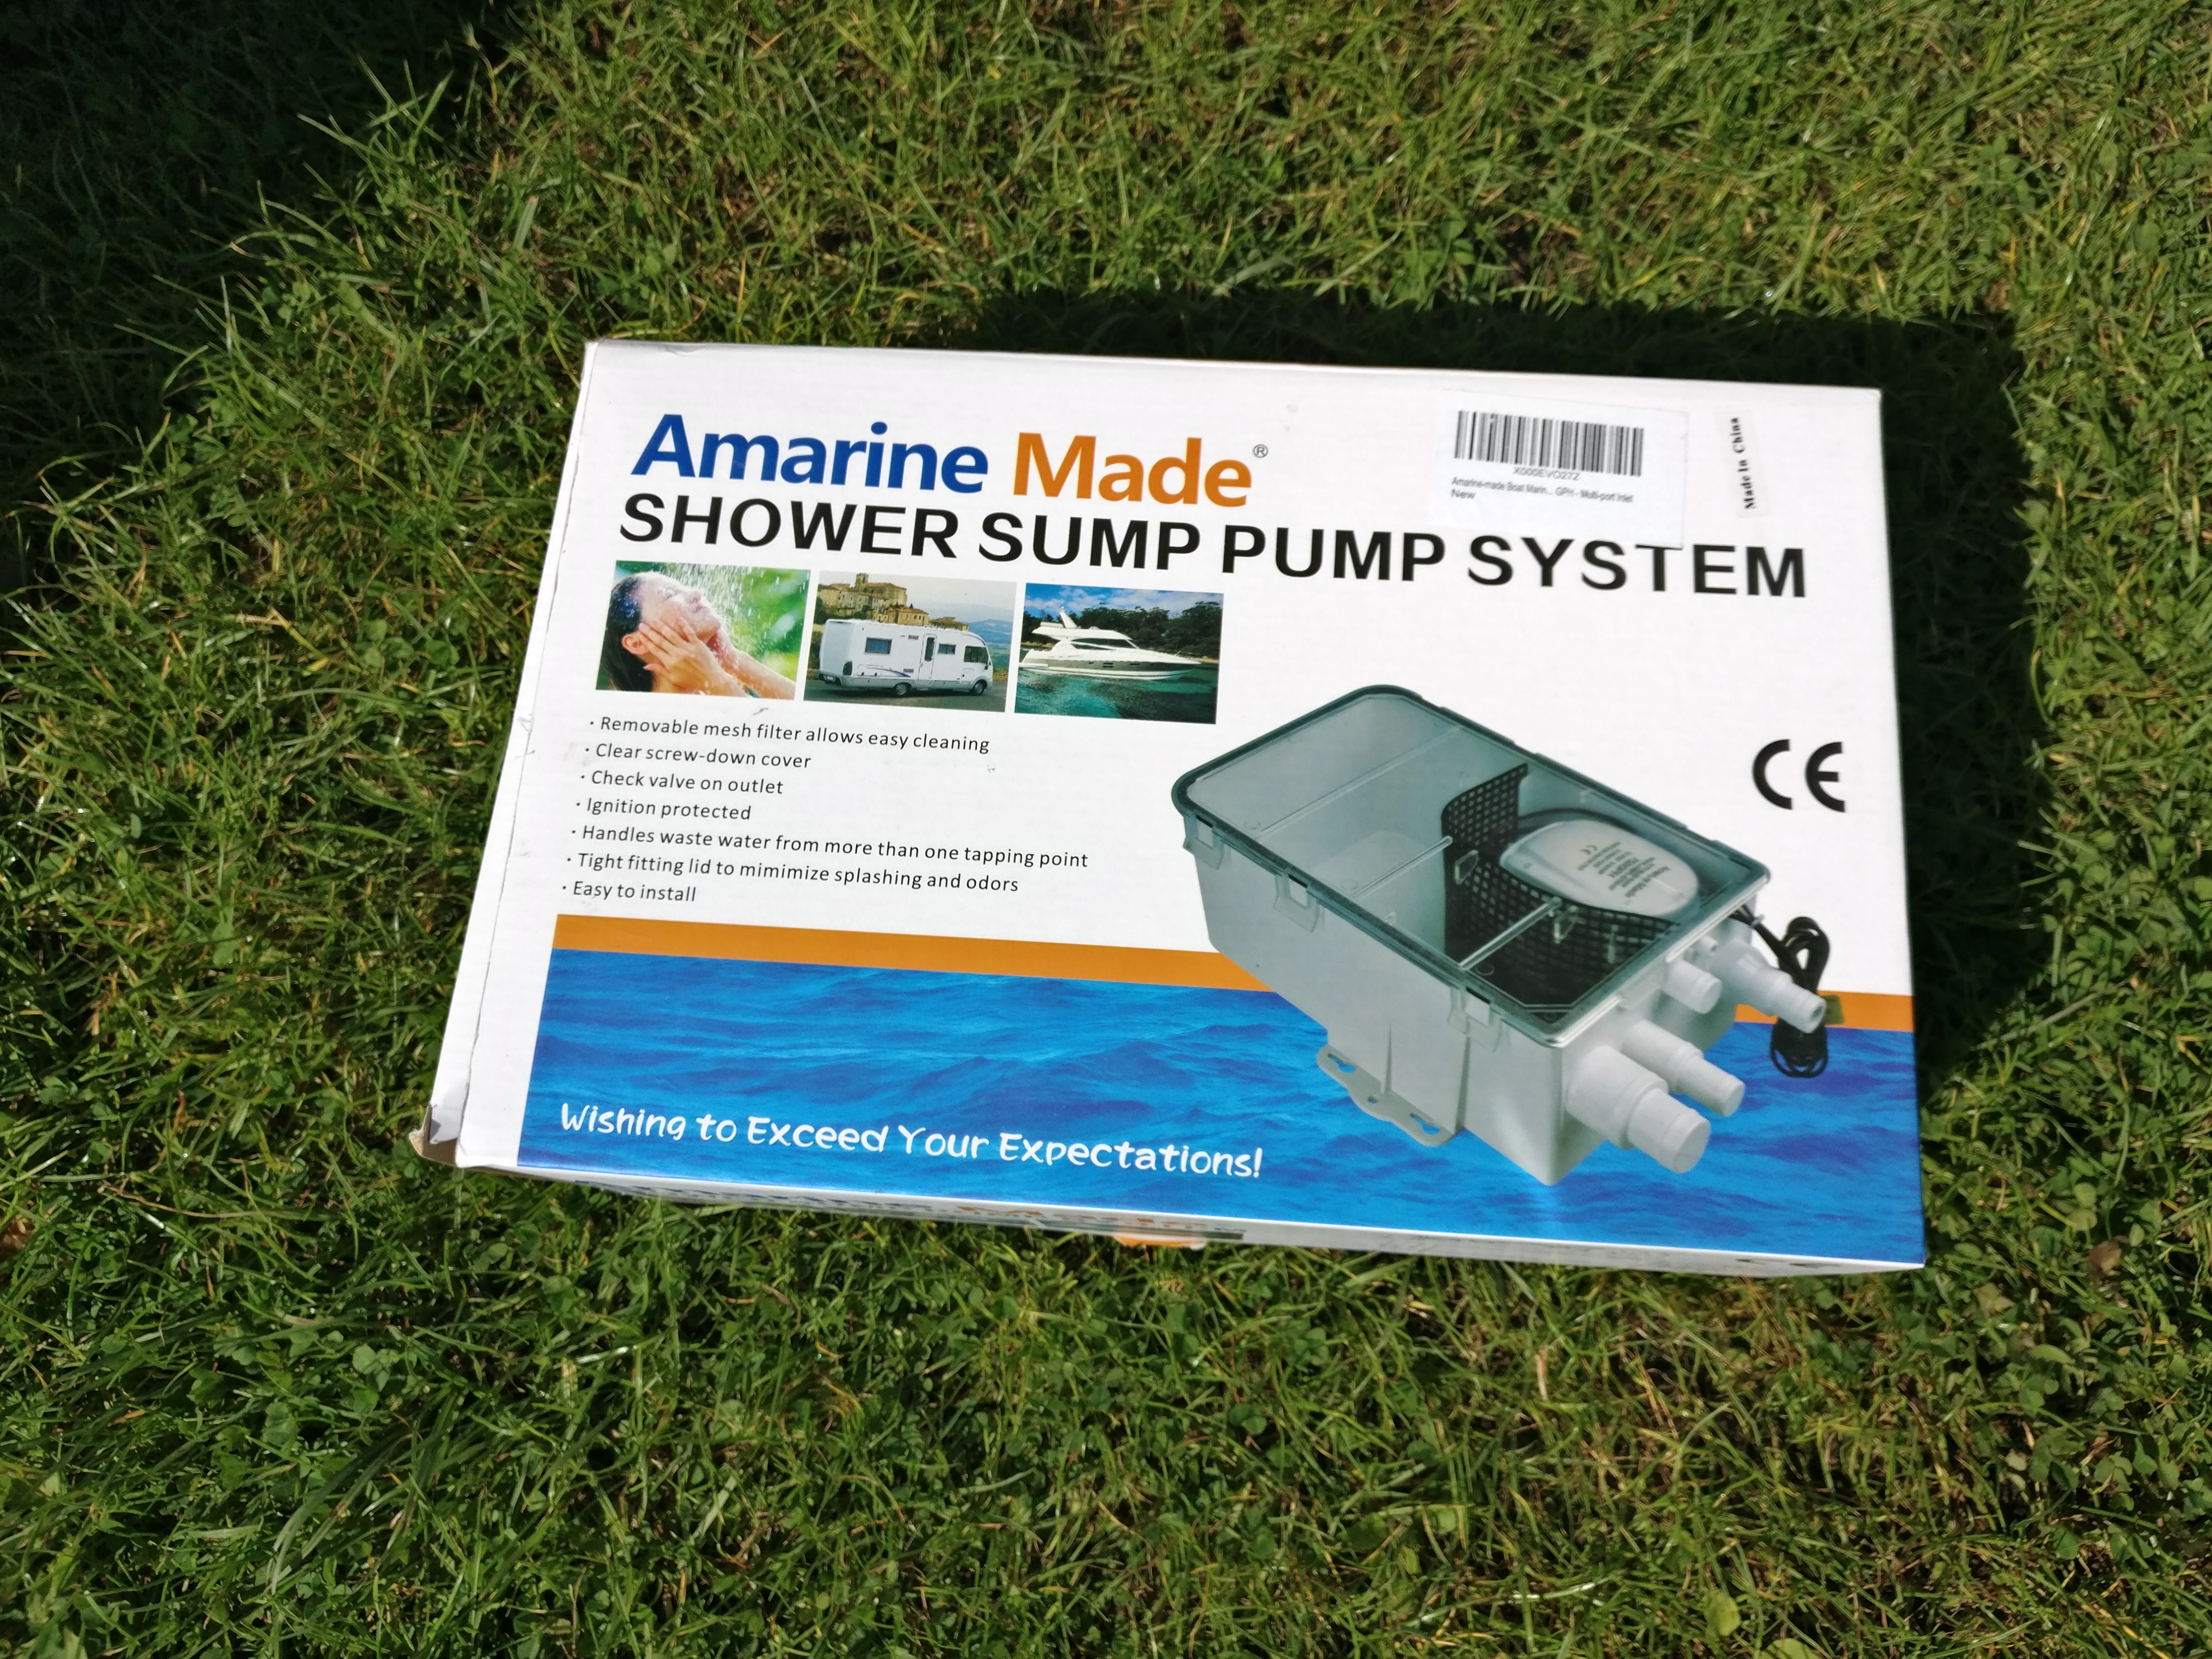
Sump Pump System
3 x 12v Mate N Lok connectors. More than I’ll need. (12voltplanet.com)
12v Mate N Lok
1 x 1m of 12v, 11A red wire
1 x 1m of 12v, 11A black wire
1 x 3m length of Twin and Earth cable
2 x “BT Style” gel filled connectors, to connect pump to cable
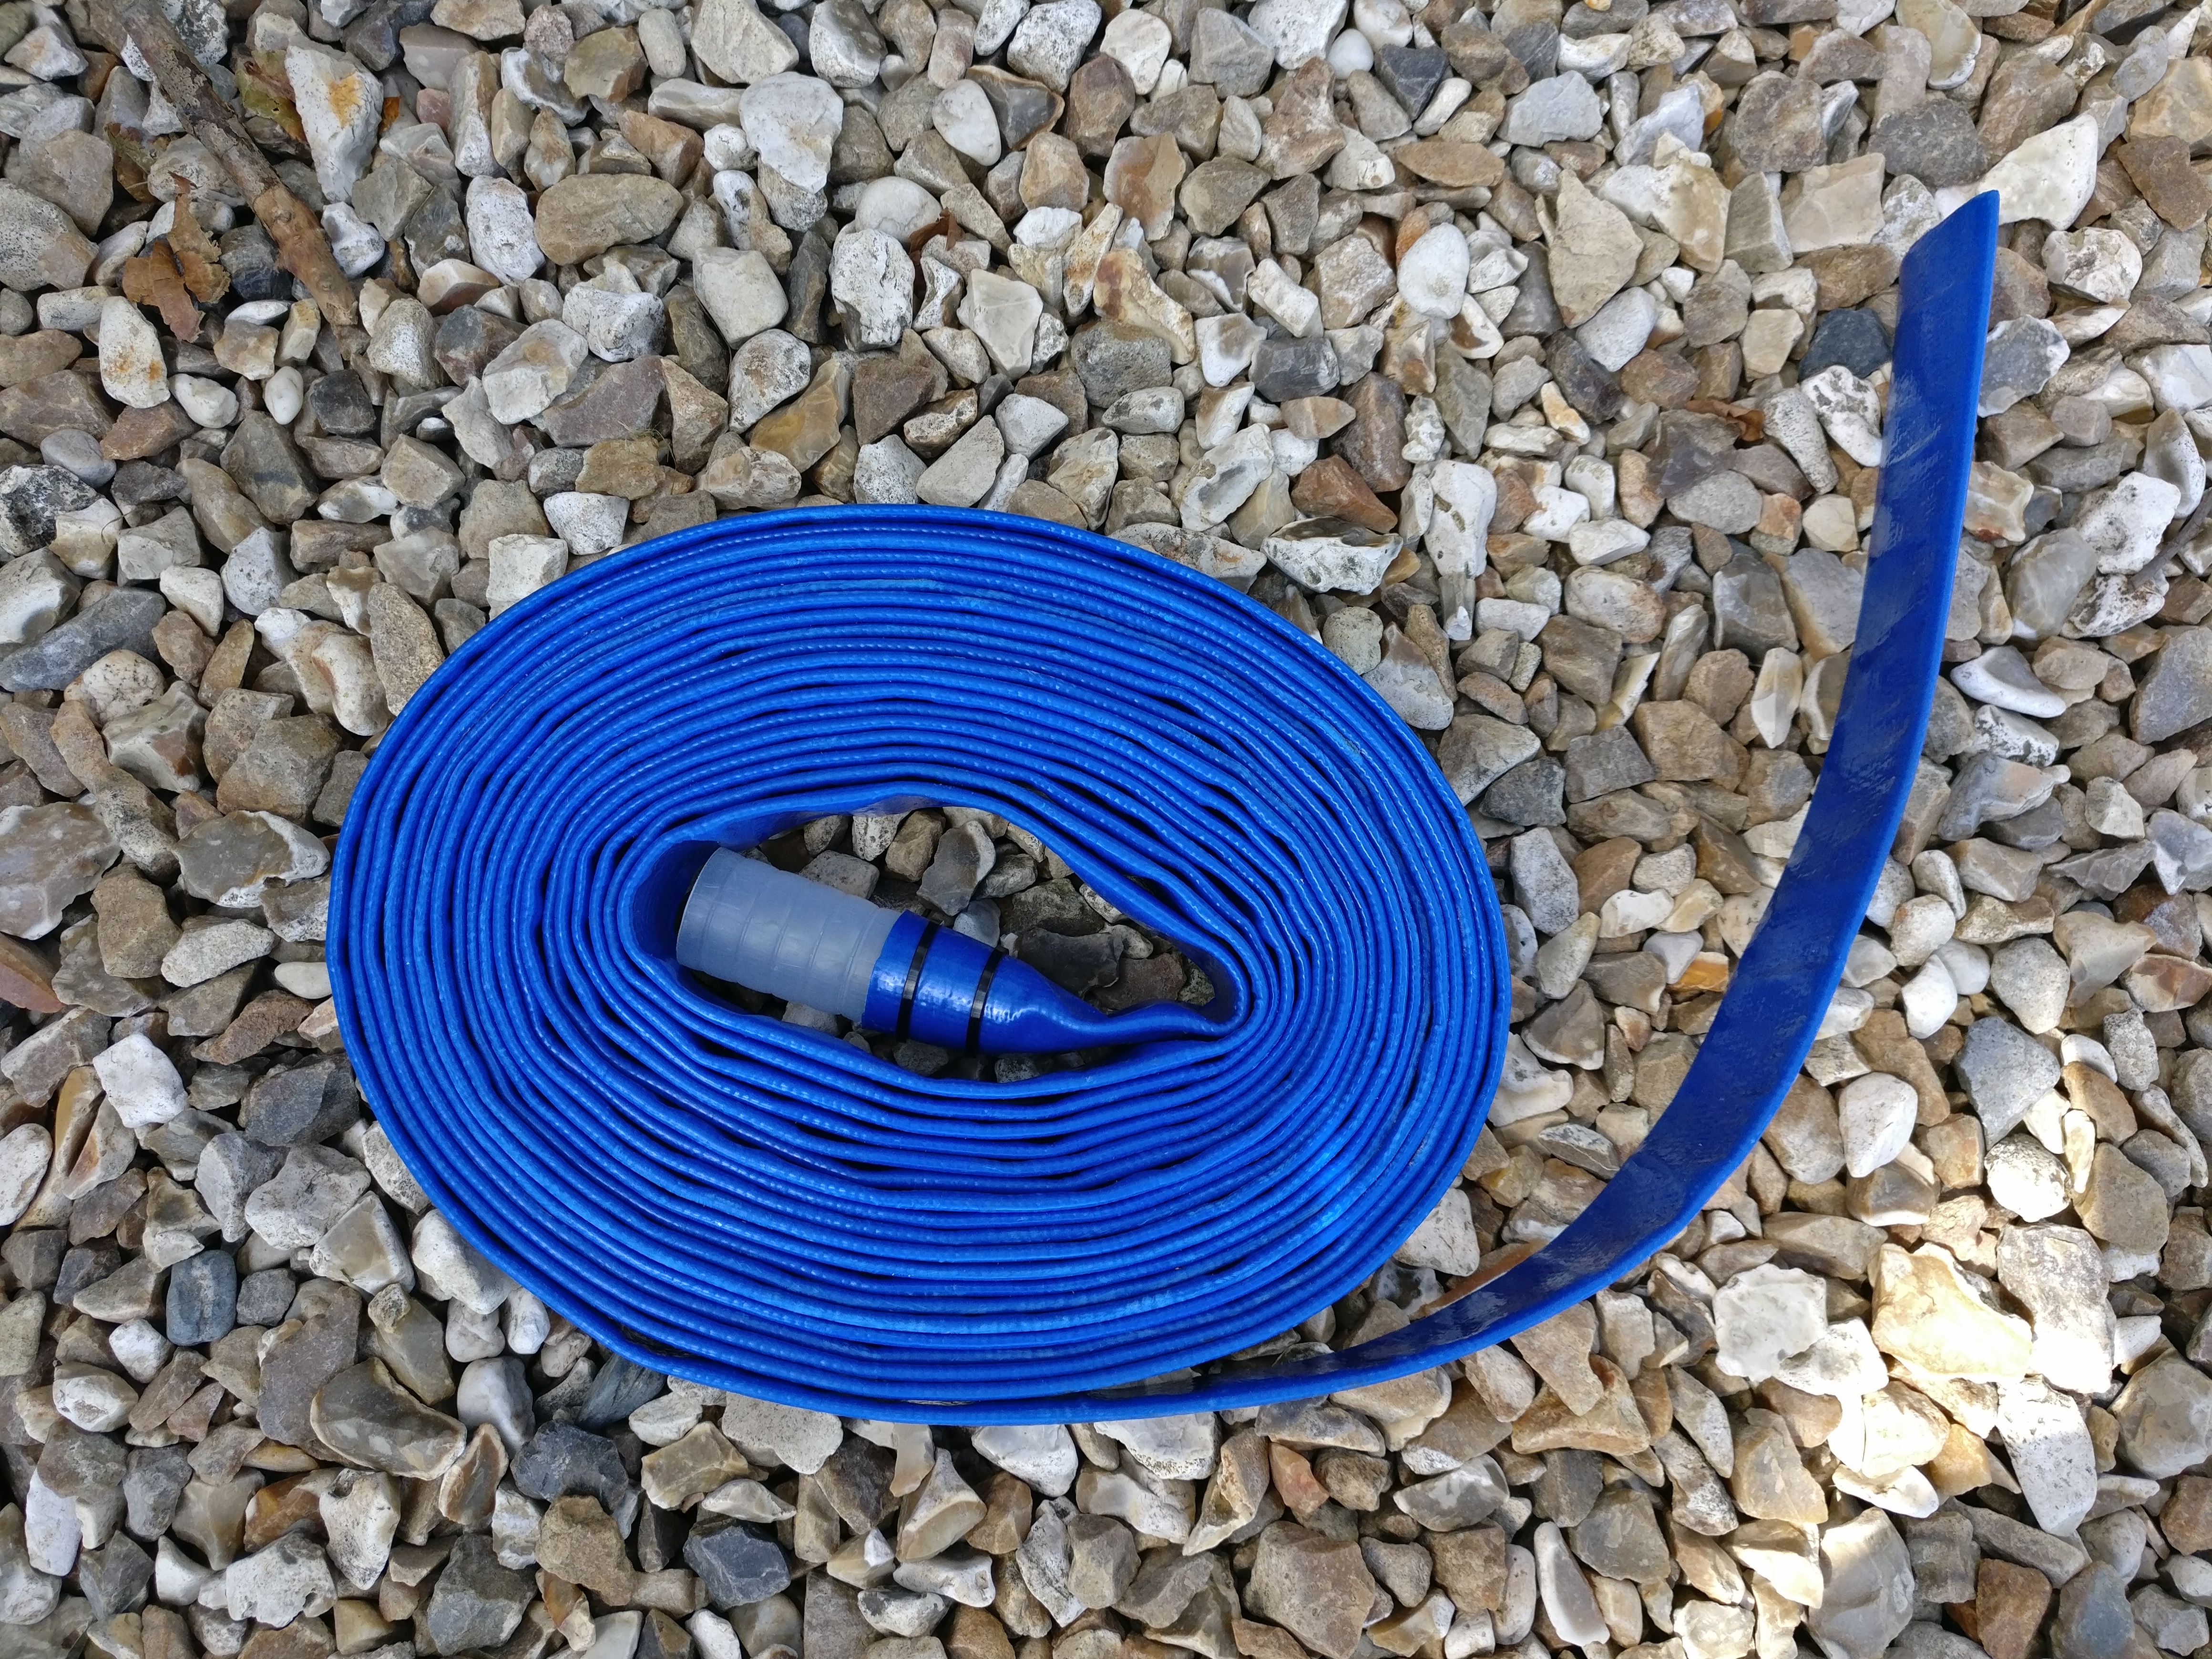
10 x 1m of 1″ Layflat PVC Water Delivery Hose – Discharge Pipe Pump Lay Flat Irrigation Blue
2 x 22mm translucent pipe connectors (joining pipework to sump)
5 x 1m of smooth plastic tubing (alternative to lay flat pipe)
1 x twin outlet hard plastic kit
With regards to the hard plastic waste outlet kit, I made up my own using several 90 degree elbows and a T piece – solvent connectors. In hindsight this probably cost more than spending a few quid on a ready built item from Amazon or ebay. Also, the convoluted grey waste pipe didn’t fit too snugly into the fittings and the excess glue has damaged one of the 90 degree elbows.
So I’m probably going to end up buying one of these anyway.
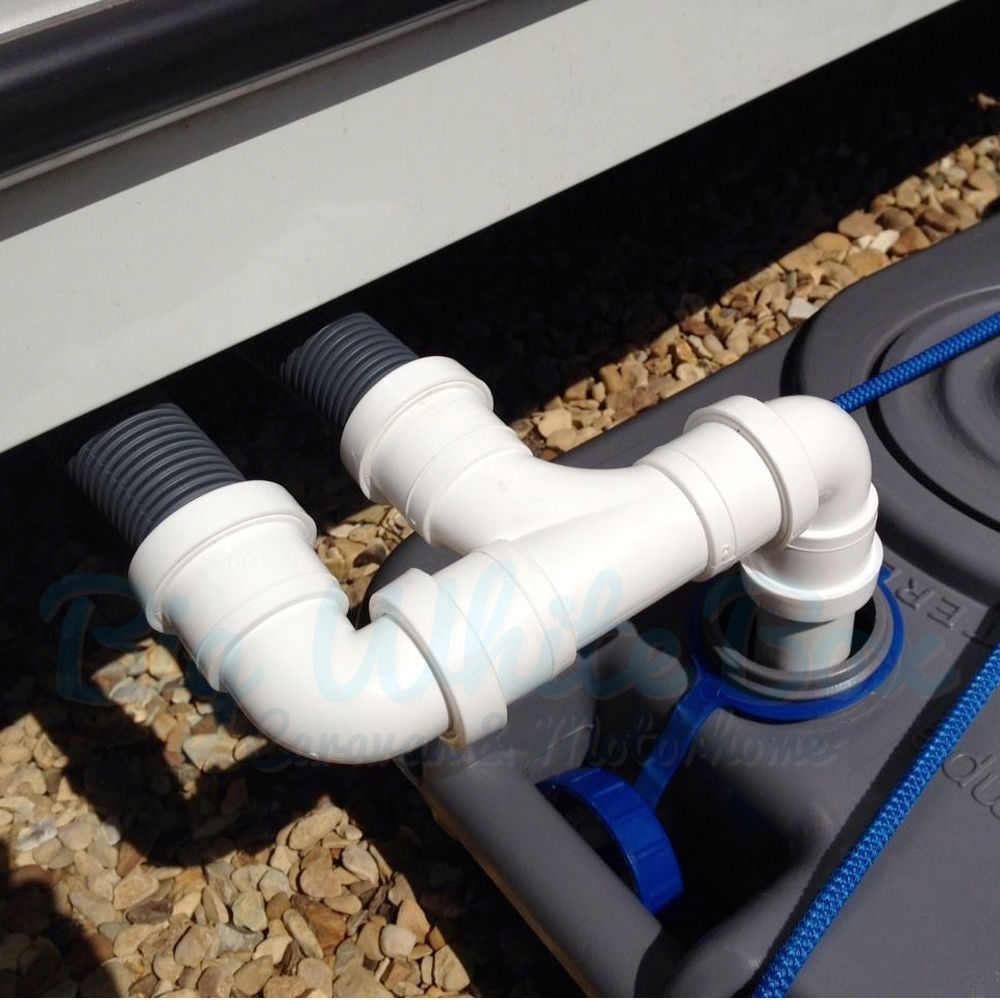
Caravan Waste Kit
Lets start with the outside components as this is where I began the project. Effectively to test the resilience of the system before connecting to the caravan electrics.
The sump and pump is a simple, yet powerful and effective unit. It has 3 wires – neutral, live and switched live. If you apply 12v to the fixed live then the pump stays on permanently (cf bilge pump) but applying the voltage to switched live results in the pump operating via a float valve. When the sump fills up, the pump activates for a few seconds and empties the unit.
The 3 wires are around 1/2 a metre long but I decided I would shorten them and connect a more robust 3A mains cable to the wires inside the sump. The wires are predominantly above the water but I used some “BT Style” gel connectors to connect the wires together. These are filled with grease and very waterproof.
The (now) single convoluted hose pushes onto one of the inlets to the sump. Using the 22mm connectors I can connect the output from the pump either to a short length of narrow bore plastic tubing or lay flat hose.
This is what the sump and pump looks like with its connectors etc. The small bore white pipe is currently in use with the lay flat one shown for illustration purposes.
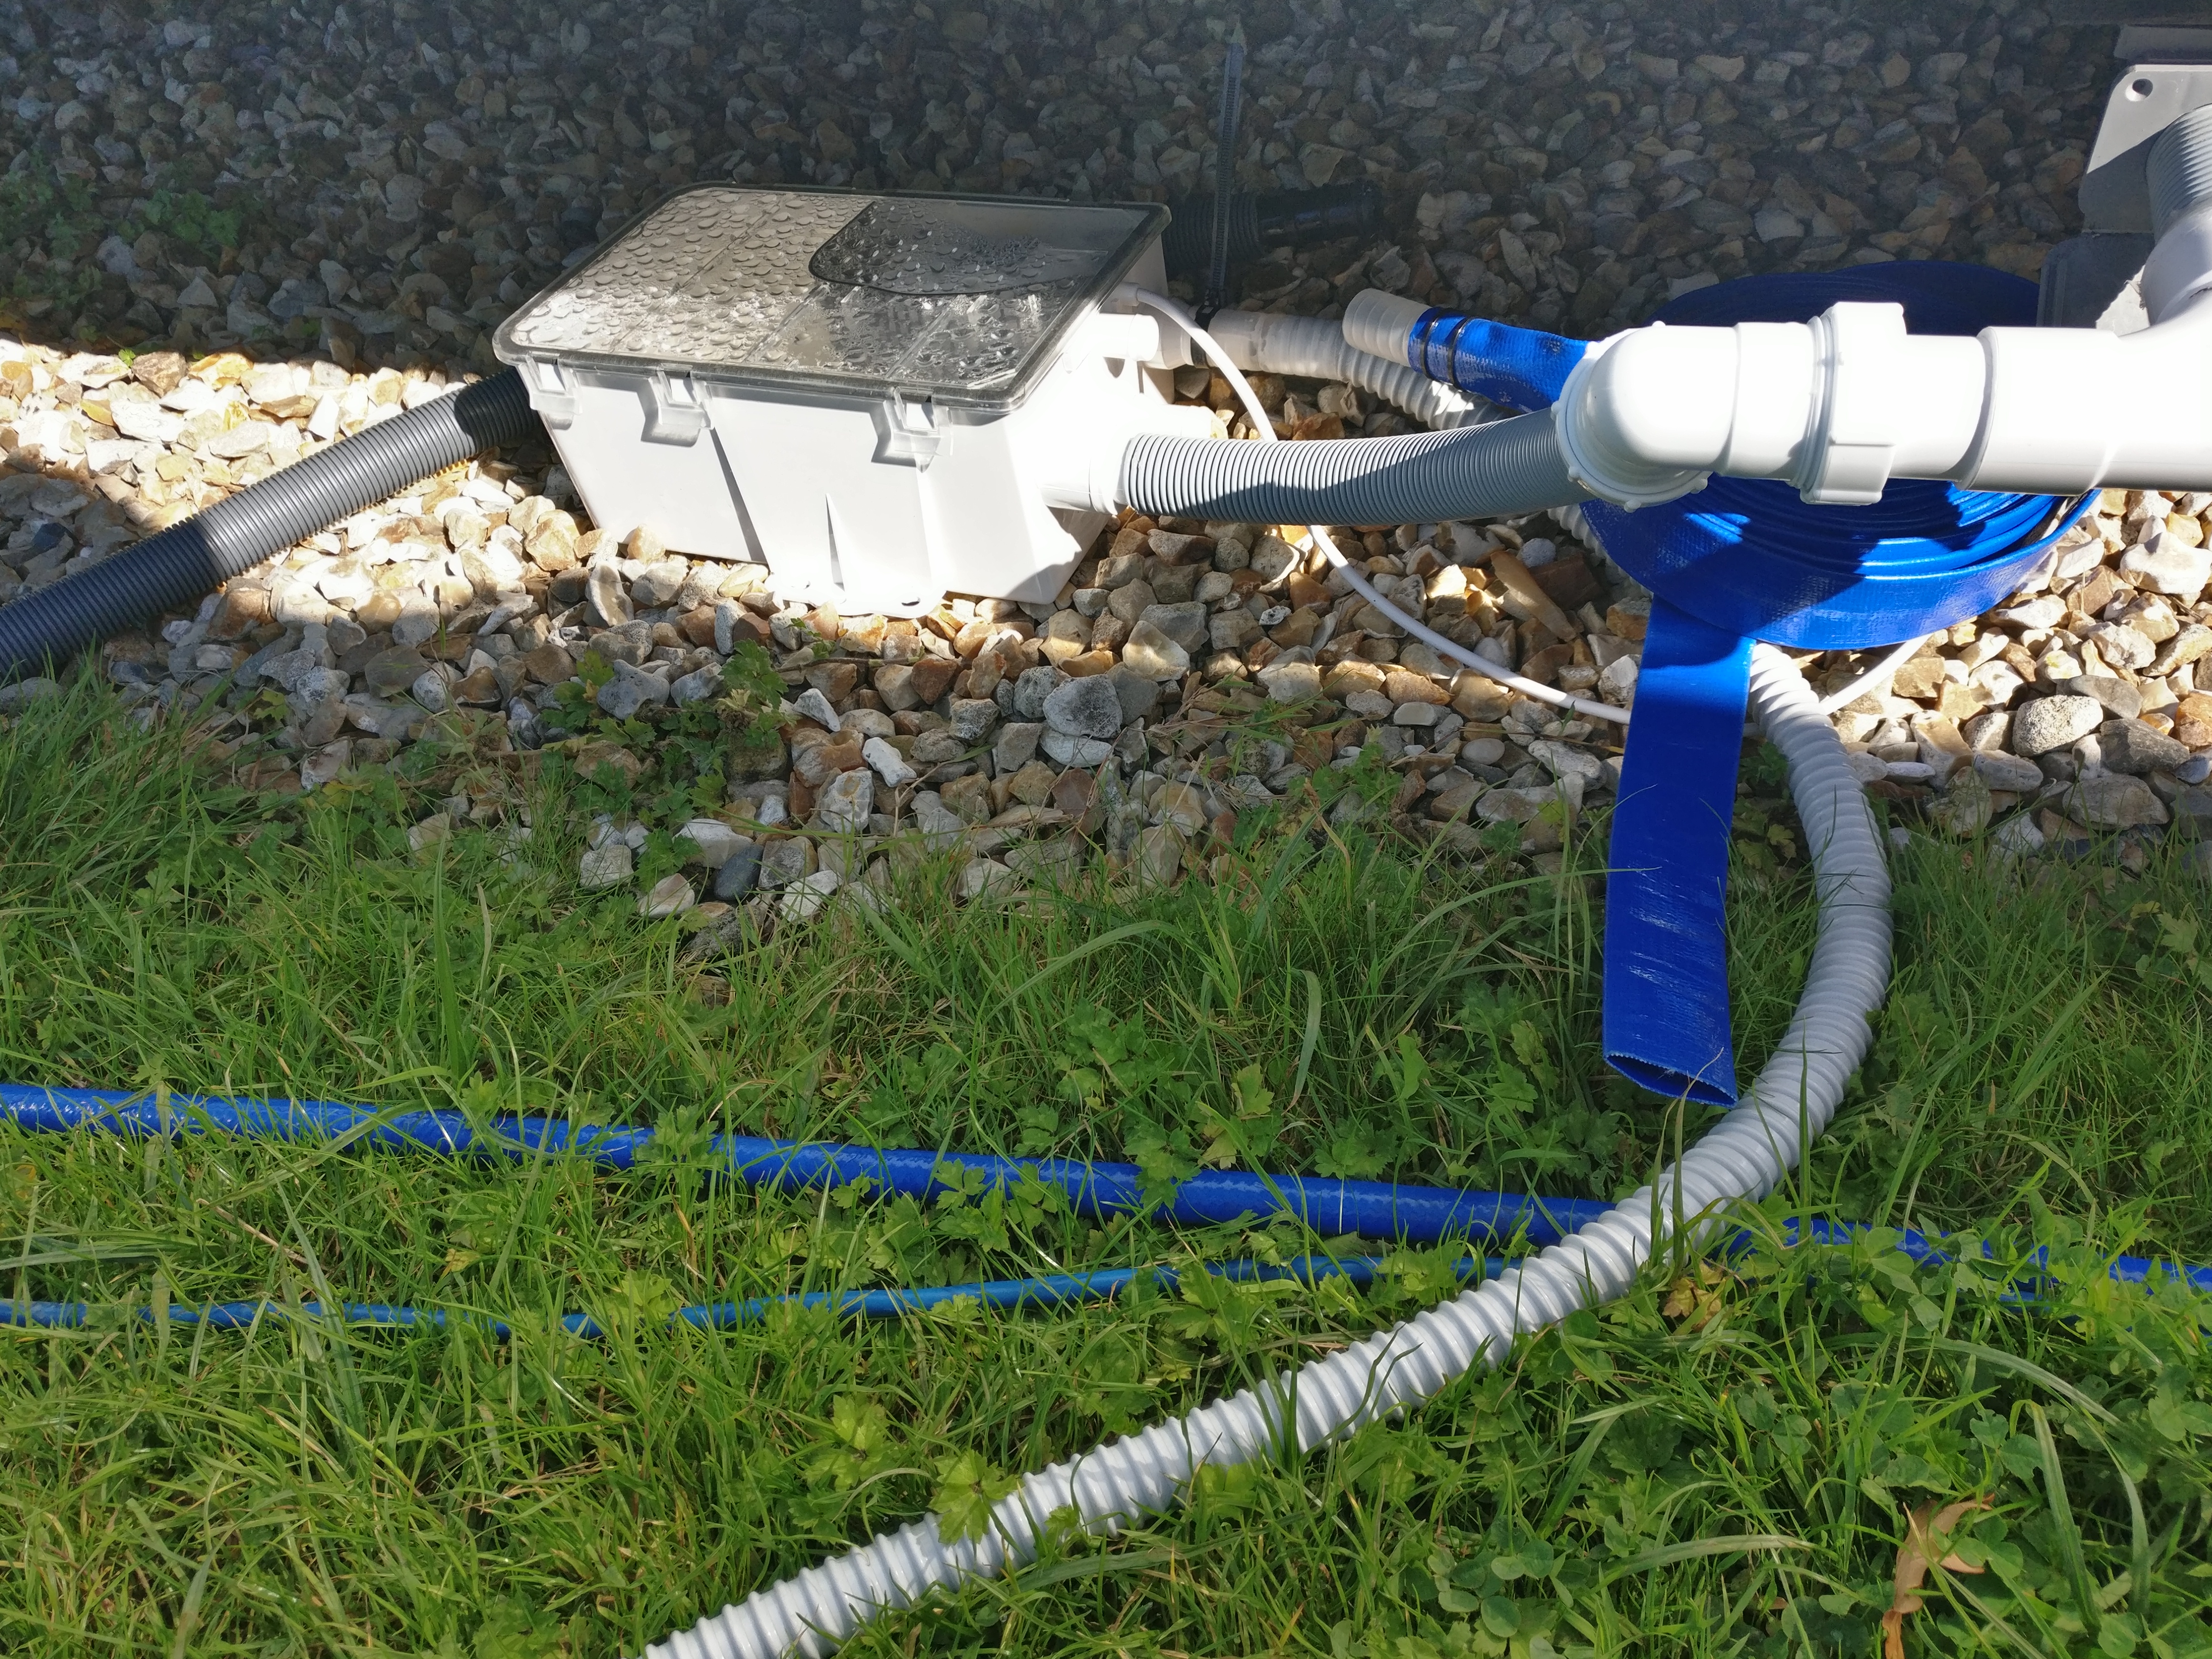
Connected Sump
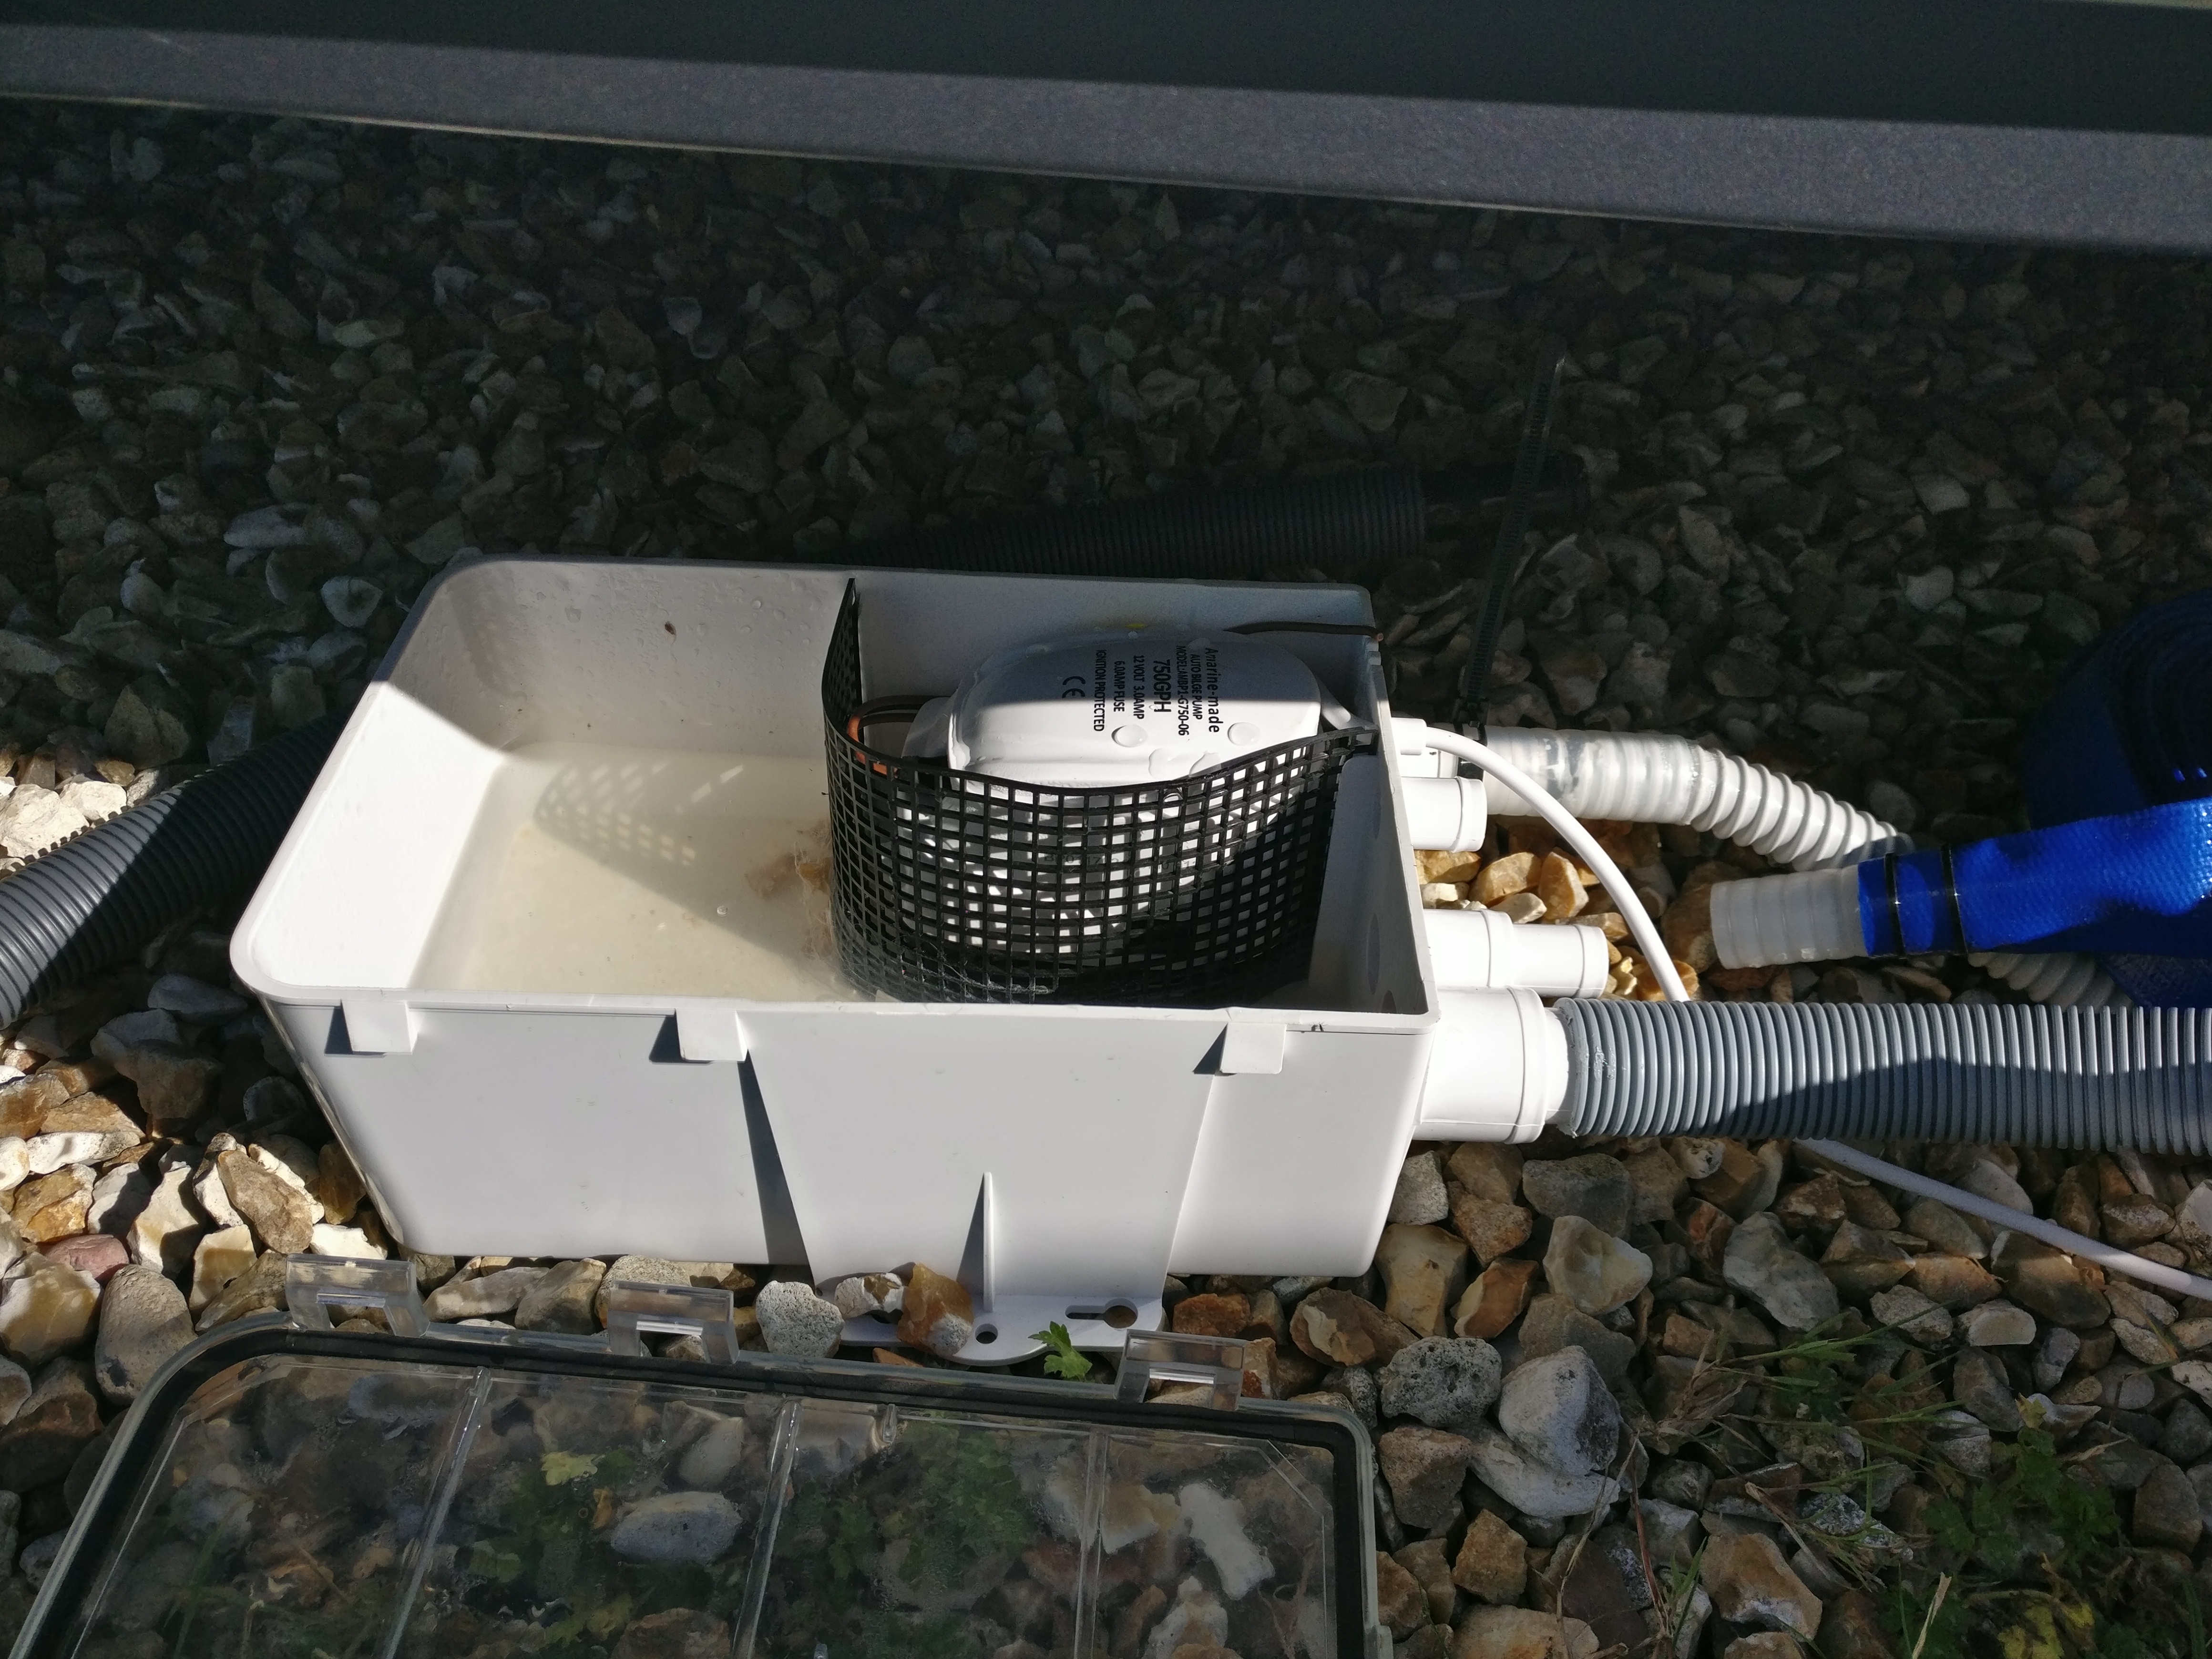
Sump without the watertight lid
I tested the rig using some 12v lead acid batteries and everything operated perfectly, with even plenty of power to drive the water out through the lay-flat hose.
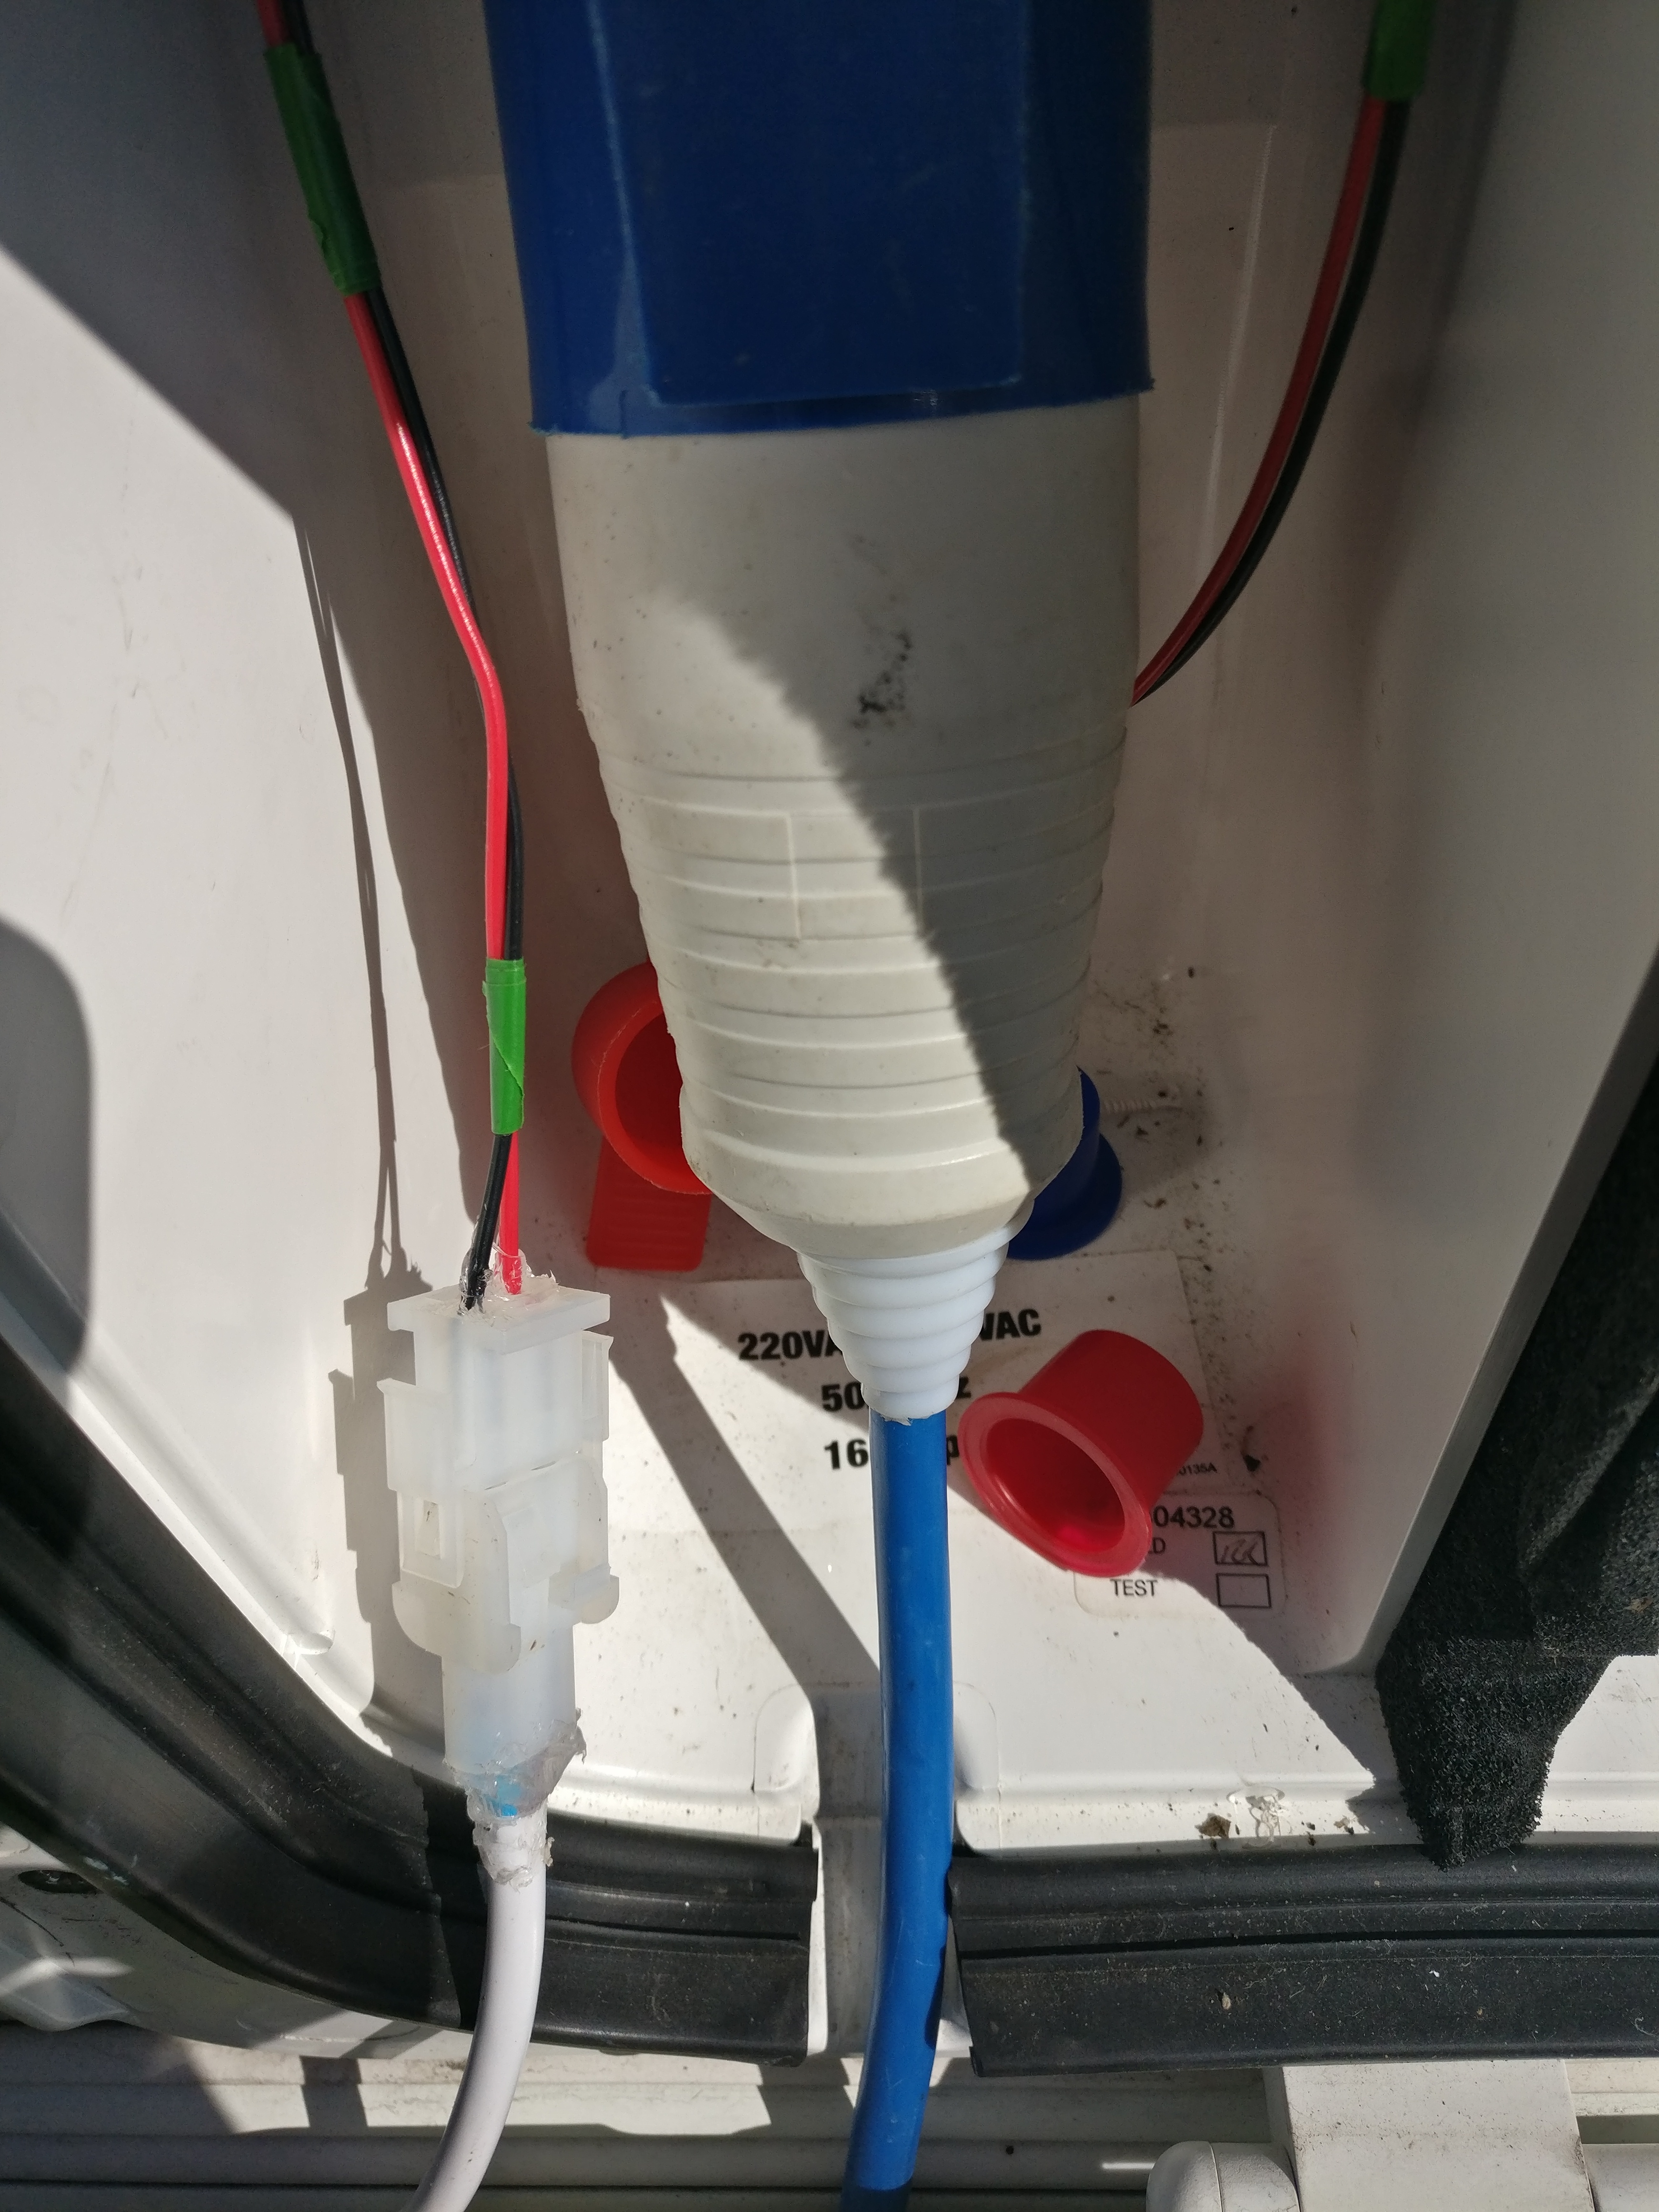
I now needed to connect this to the van electrics. I would run 12v cable into the battery box through a tiny hole drilled through the satellite connector backplate. That way I won’t even damage the main battery box.
Mate N Lok connectors would allow the pump to be joined to the van electrics in the left side of the battery box.
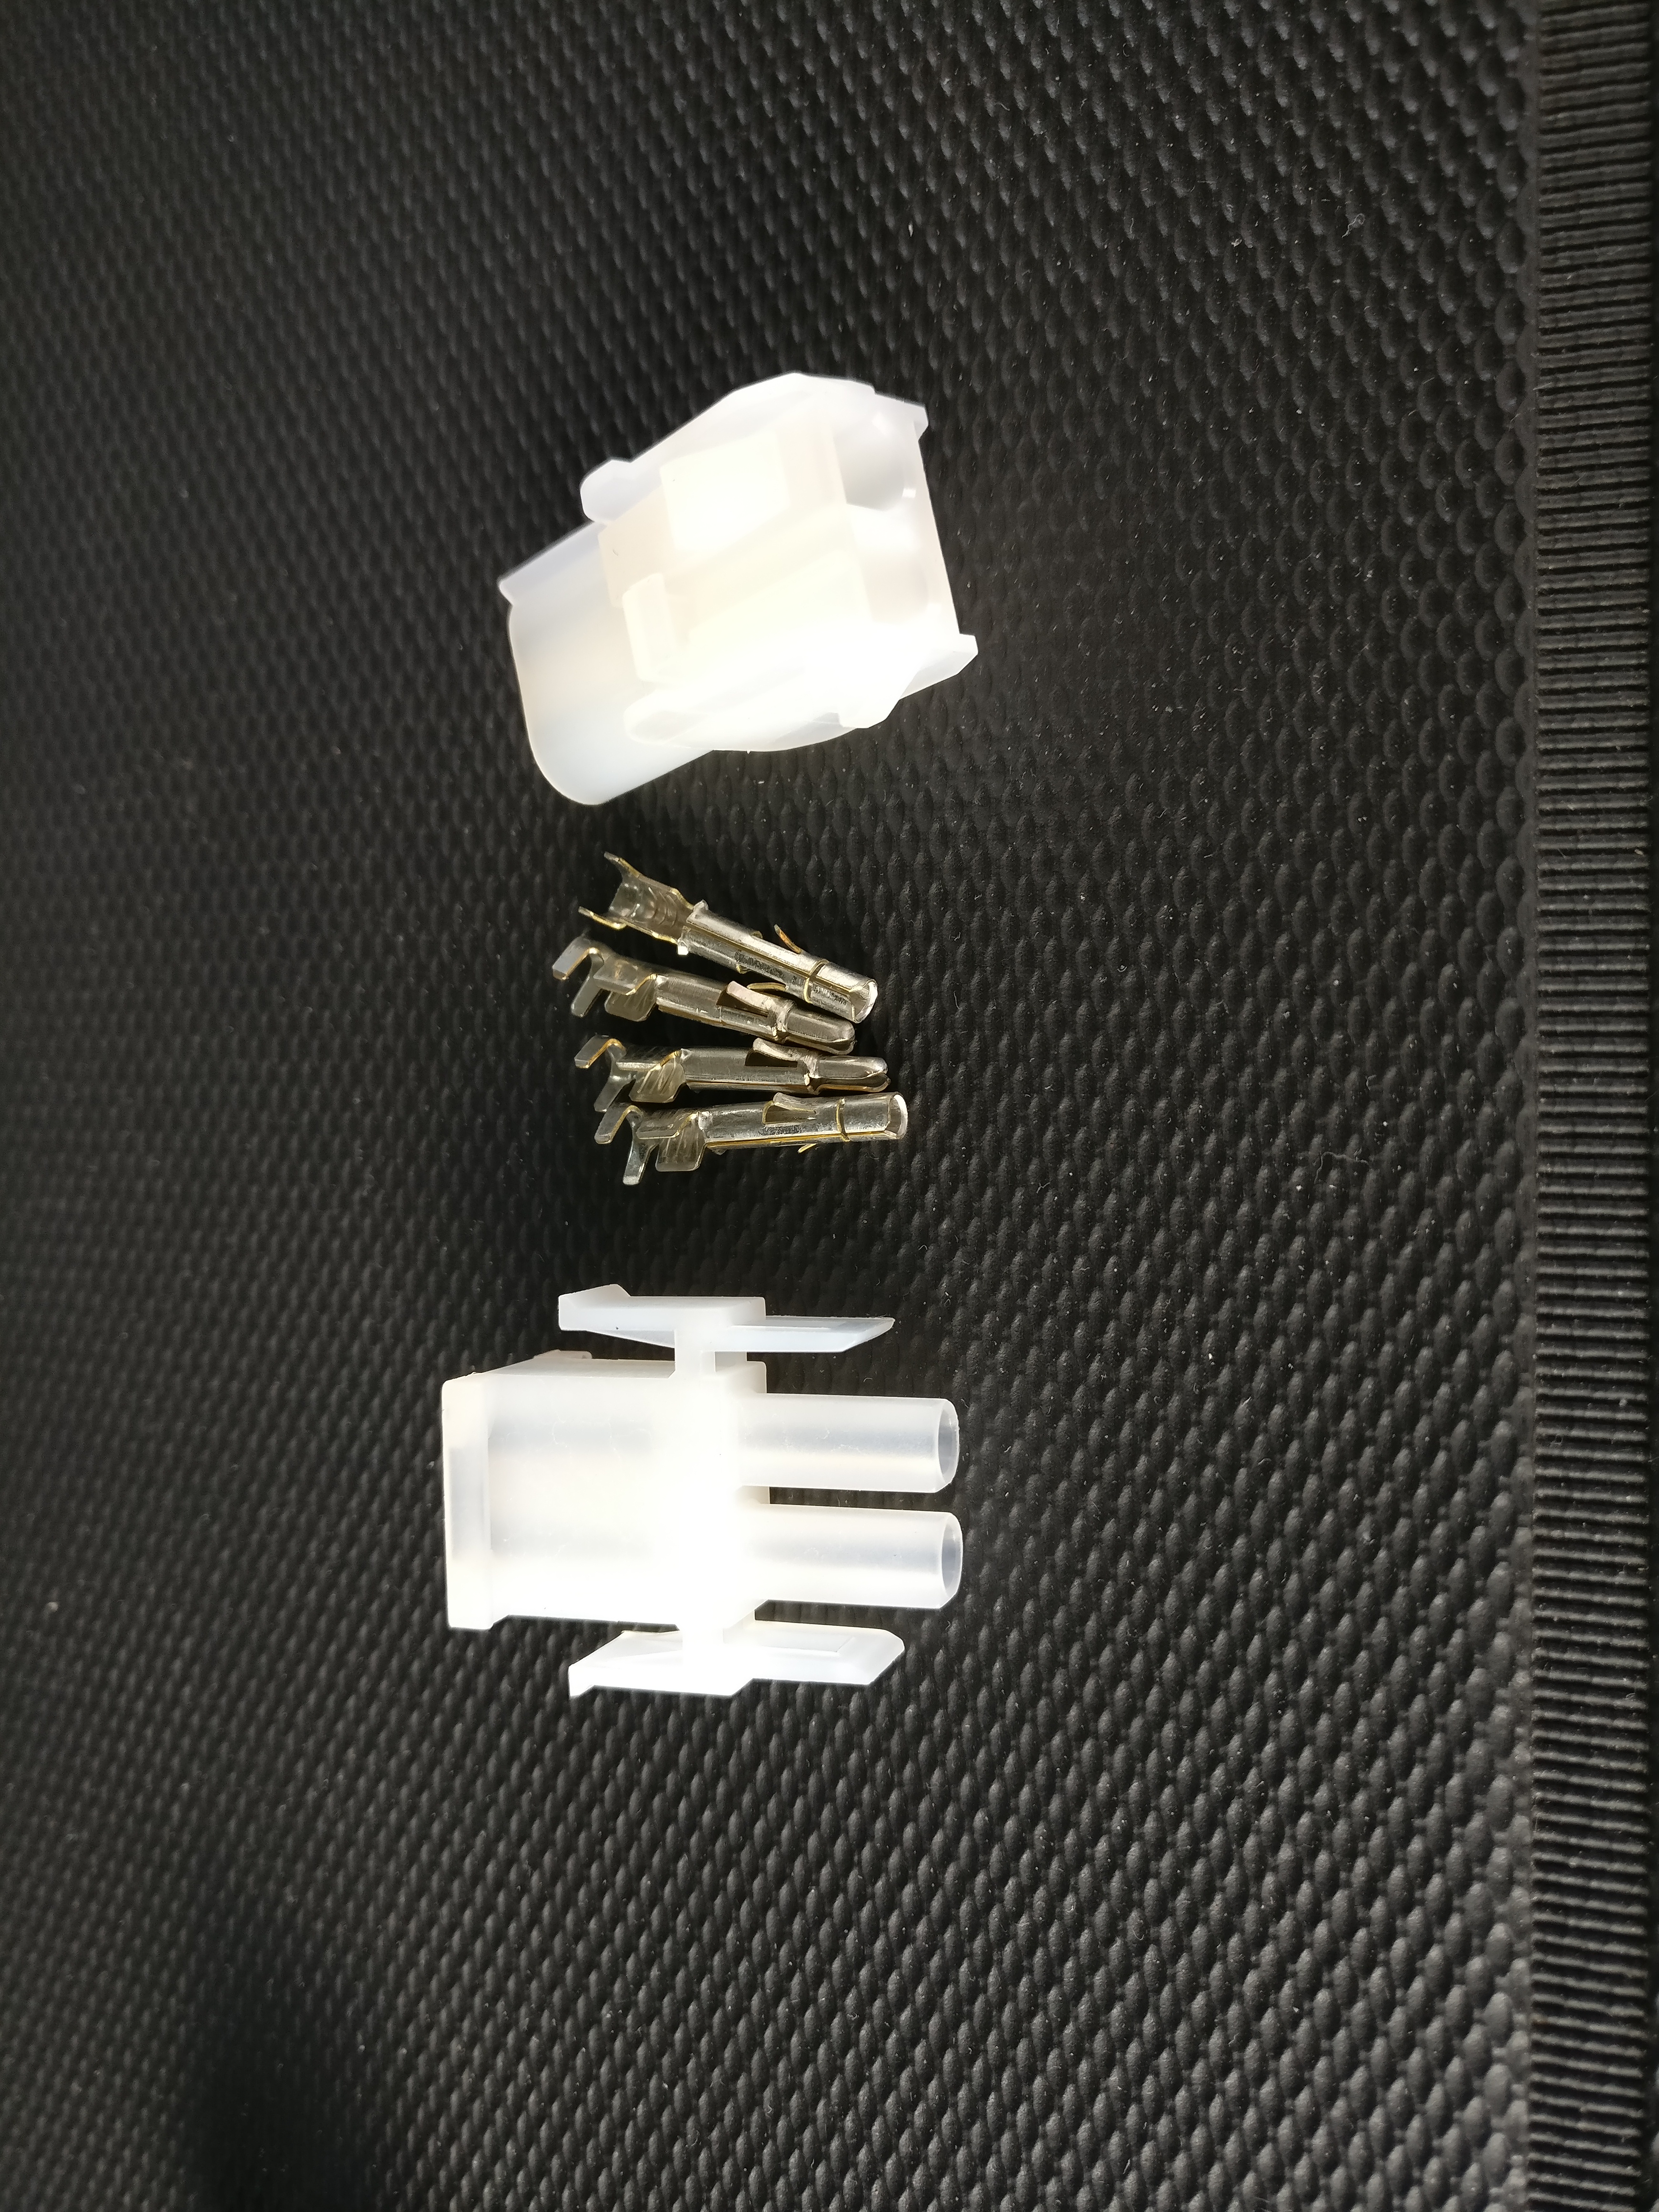
Mate N Lok connectors
And here they are fitted and connected in the battery box.
Battery Box connector
All that remained now was to connect up to the Sargent electricals.
One of the techs at Sargent suggested using the pump connector pin but it turns out this was already in use by the main van water pump. I decided not to splice this but to seek an unused permanent live on one of the blocks. I chose pin 7 on connector block P3, which had no wire present and was permanently live.
There was also an unused neutral available on a separate block (pin 5 block P8) but most of the van’s neutral connections seem to be made directly to the chassis so I didn’t have a lot of choice.
As an aside, my next project is to fit thermostatically controlled computer fans to accelerate the venting of the Dometic fridge and for this, I will use the Roof Fan wire by splicing it and re-joining using Wago snap-shut connector blocks.

Wago connectors
I powered everything on and the system worked – in a fashion! I had an issue in that the pump should empty the sump in a second or two but after a couple of cycles, the pump would run continuously and not move the water properly. I believe what was happening was air entering the output side of the pump due to a poor seal between the 22mm pushfit connector and the white small-bore tubing. I re-sealed the joint on the white pipe a couple of times before it worked and it’s now been running seamlessly for a week or so.
I can now finally ditch much of the convoluted waste and have a system to deal with longs distances, slopes and other obstacles.